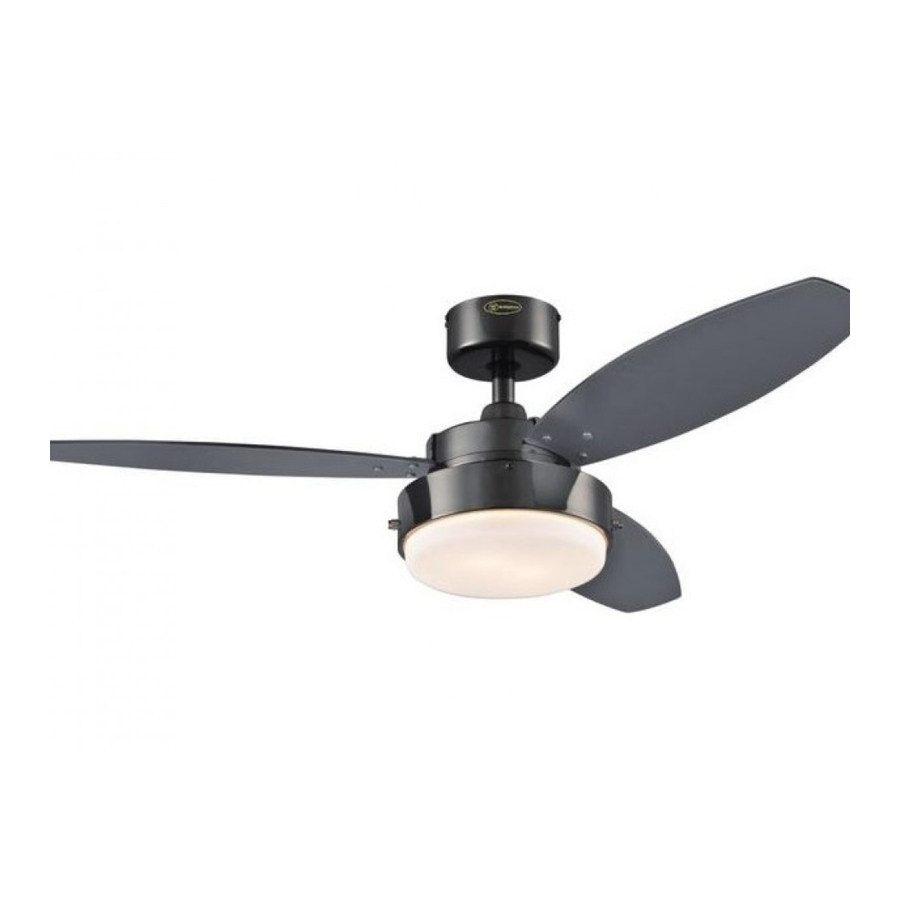
Summary of Contents for Westinghouse Alloy
- Page 1 SAA-Alloy LED-Australia-WH18 OWnEr'S MAnuAL Alloy Please write model number here for future reference: 7876435 LED Module#: SMJD-3V16W2P3 Net Weight: 5.20 KGS 240V~50Hz...
- Page 2 SAA-Alloy LED-Australia-WH18...
-
Page 3: Safety Tips
SAA-Alloy LED-Australia-WH18 SAfETy TIpS READ AND SAVE THESE INSTRUCTIONS WARNING: TO REDUCE THE RISK OF FIRE, ELECTRIC SHOCK, OR INJURY TO PERSONS, OBSERVE THE FOLLOWING: 1. Proceed with caution. Read all instructions before beginning the installation. 2. Only an authorized electrician should execute the installation. - Page 4 SAA-Alloy LED-Australia-WH18 FEAturES DOWNROD VAULTED CEILING INSTALLATION INSTALLATION COMBO-BLADE Combo-Blades feature two high quality finishes on one blade. Select the one that best complements your decor, or change the style with just a flip of the blade. NOTE: Combo-Blade finishes vary, depending upon model.
-
Page 5: Preparing For Installation
SAA-Alloy LED-Australia-WH18 PrEPArInG FOr InStALLAtIOn Use metal outlet box suitable for fan support (must support 35 lbs). Before attaching fan to outlet box, ensure the outlet box is securely Unpack and inspect fan carefully to be certain all contents are included. -
Page 6: Mounting Bracket Installation
SAA-Alloy LED-Australia-WH18 MOuntInG brAckEt InStALLAtIOn WIrInG OPtIOnS Wiring: TERMINAL BLOCK From House: Connector: Light Live (L) Fan Live (L) Neutral (N) Ground Follow diagram above to make wiring connections to the terminal block on the mounting bracket. Install mounting bracket to outlet box in ceiling using the screws and... -
Page 7: Blade Installation
SAA-Alloy LED-Australia-WH18 bLADE InStALLAtIOn Attach blade assembly to motor using the noise-dampening motor gaskets and motor screws provided. Tighten screws securely. Attach blade brackets to blades using the blade bracket screws (1), fabric washers (2) and nuts (3). - Page 8 SAA-Alloy LED-Australia-WH18 MOuntInG With bracket holding fan assembly, attach the male/female plug connection (1) from Carefully lift fan assembly onto mounting bracket. Rotate fan until notch on down- the fan to the terminal block. Attach the ground wire (2) from the downrod rod ball (1) engages the ridge on the mounting bracket (2).
- Page 9 SAA-Alloy LED-Australia-WH18 SEcurE tO cEILInG For downrod fans, slide the canopy up to the mounting bracket. The canopy has two mating slots (1) and two mating holes (2). Position both slots on canopy directly under and in line with two screws in the mounting bracket (3). Lift the canopy, allowing the two screws to slide into the mating slots.
-
Page 10: Glass Installation
SAA-Alloy LED-Australia-WH18 GLASS InStALLAtIOn Locate the indentations on the neck of the glass (2) and align with the protrusions from the light kit (1). Lift the glass up allowing the protrusions to engage the indenta- tions on the glass, and twist the glass clockwise to lock into place. - Page 11 SAA-Alloy LED-Australia-WH18 Assemble decorative fob and extension chains from hardware bag to fan pull chains by inserting end of chain into chain coupling. Confirm chains are held by lightly pulling both chains in coupling.
-
Page 12: Operation And Maintenance
SAA-Alloy LED-Australia-WH18 OPErAtIOn AnD MAIntEnAncE Operation Turn on the power and check operation of fan. The pull chain controls the fan speeds as follows: 1 pull - low; 2 pulls - medium; 3 pulls - high; 4 pulls - off. -
Page 13: Troubleshooting Guide
SAA-Alloy LED-Australia-WH18 If you have difficulty operating your new ceiling fan, it may be the result of incorrect assembly, installation, or wiring. In some cases, these trOubLESHOOtInG GuIDE installation errors may be mistaken for defects. If you experience any faults, please check this Troubleshooting chart. If a problem cannot be remedied, please consult with your authorized electrician and do not attempt any electrical repairs yourself. - Page 14 SAA-Alloy LED-Australia-WH18 PArtS LISt Description 1 ....Mounting Bracket 2 ....Blade Bracket 3 .
- Page 15 SAA-Alloy LED-Australia-WH18...
- Page 16 SAA-Alloy LED-Australia-WH18 Westinghouse Lighting, Philadelphia, PA 19154-1029, U.S.A. www.westinghouselighting.com , WESTINGHOUSE, and INNOVATION YOU CAN BE SURE OF are trademarks of Westinghouse Electric Corporation Used under license by Westinghouse Lighting AS/NZS Approval No. All rights reserved. SAA-181731-EA Made in China...


Need help?
Do you have a question about the Alloy and is the answer not in the manual?
Questions and answers