Table of Contents
Advertisement
Quick Links
INSTRUCTIONS FOR USE AND INSTALLATION
ISTRUZIONI D'USO E DI INSTALLAZIONE
NOTICE D'EMPLOI ET D'INSTALLATION
MANUAL DE INSTRUCCIONES
GEBRAUCHS- UND INSTALLATIONSANWEISUNGEN
INSTRUCTIES VOOR GEBRUIK EN INSTALLATIE
USINES DE ROSIÈRES - 30, rue Y. LACELLE - Rosières - 18400 - Lunery - France
GB
IT
FR
ES
DE
NL
Advertisement
Table of Contents

Related Manuals for Candy TRIO

Summary of Contents for Candy TRIO
- Page 1 INSTRUCTIONS FOR USE AND INSTALLATION ISTRUZIONI D'USO E DI INSTALLAZIONE NOTICE D'EMPLOI ET D'INSTALLATION MANUAL DE INSTRUCCIONES GEBRAUCHS- UND INSTALLATIONSANWEISUNGEN INSTRUCTIES VOOR GEBRUIK EN INSTALLATIE USINES DE ROSIÈRES - 30, rue Y. LACELLE - Rosières - 18400 - Lunery - France...
-
Page 3: Safety Instructions
SAFETY INSTRUCTIONS • During cooking, moisture may condense inside the oven cavity or on the glass of the door. This is a normal condition. To reduce this effect, wait 10-15 minutes after turning on the power before putting food inside the oven. In any case, the condensation disappears when the oven reaches the cooking temperature. - Page 4 SAFETY INSTRUCTIONS • Leaning or sitting on the open door of the dishwasher could cause it to tip over. • If the appliance breaks down or stops working properly, switch it off, turn off the water supply and do not tamper with it. Repair work should only be carried out by an approved service agent and only gen- uine spare parts should be fitted.
- Page 5 SAFETY INSTRUCTIONS category III, between the appliance and the power source. The omnipolar breaker must bear the max- imum connected load and must be in line with current legislation. The yellowgreen earth cable should not be interrupted by the breaker. The omnipolar breaker used for the connection must be easily accessible when the appliance is installed.
-
Page 6: Unpacking The Appliance
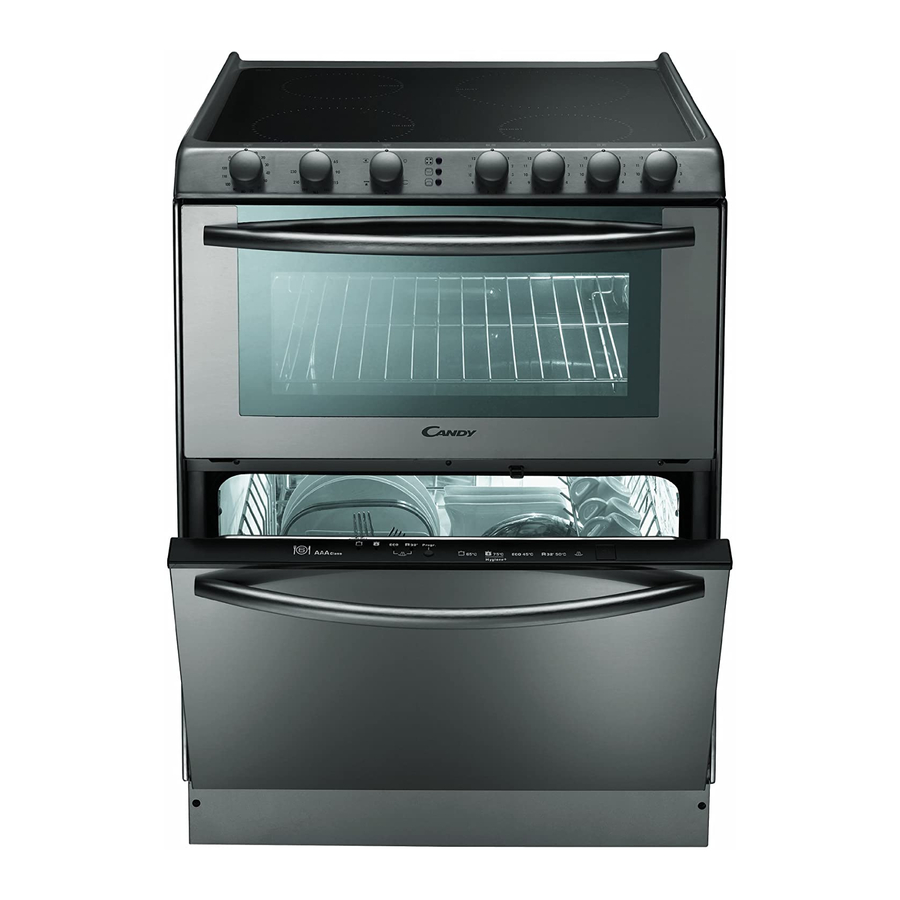
• The Trio consists of three elements, a hob, an oven and a diswasher. For safety reasons under no circumstances should any modifications be carried out to this appliance. -
Page 7: Installation
The Trio is Class2 - Sub class 1 ; furniture adjacent to the unit must not be higher than the top of the appliance. - If the Trio is fitted next to a cabinet on either side, the distance between the Trio and the cabinet must be at least 15 cm (see Figure 1);... - Page 8 INSTALLATION • RIGID PIPE CONNECTION Connect directly to the manifold fittings. • CONNECTION BY FLEXIBLE HOSE WITH MECHANICAL FITTINGS We recommend this type of connection. Screw the hose nuts directly onto the manifold fitting on the one hand and onto the stop cock of the piping on the other hand. •...
-
Page 9: Electrical Connection
Amp socket. T Earth T Earth T Earth A power cord is not supplied with this Trio, but it is equipped with a terminal block that enables you to choose the correct connection for the particular power supply. WATER CONNECTION : The terminal block is located at the back of the Trio. -
Page 10: Gas Burners
INSTALLATION Each burner is contolled by a tap with progressive settings allowing: * a wider choice of settings from the maximum position to the lowest and most precise one, * easier flame regulation according to the pan diameter, * no risk of cutting off the flame or switching off when the flame is turned down quickly. -
Page 11: Choosing Utensils
IMPORTANT : always keep small children away from the Trio Positions Some Tips while it is in use. If the Trio is fitted with a lid, lift it up before use. To keep a dish hot, melt butter and chocolate... ery Low... - Page 12 • Grill : using the top-heating element. Success is guaranteed ATING IS THE BASIS OF SUCCESSFUL for mixed grills, kebabs and "gratin dishes". Five minutes RED MEA preheating is required to get the element hot. PASTRIES AND BISCUITS : • Grill + Turnspit : using the top-heating element in conjunction Avoid using shiny moulds because they reflect heat and can spoil with the rotisserie providing the real flavour of a traditional roast.
- Page 13 THE DISHWASHER DISHWASHER CONTROLS A Programme selection indicator lights B Programme selection button C Programme description SELECTING THE PROGRAMMES AND SPECIAL FUNCTIONS The dishwasher and the oven cannot be used simultaneously. Setting a programme Open the door and press the On/off button ; the 4 Program selection LEDs start flashing. - Set the required programme by pressing Programme selection button, LED of the chosen programme will turn on (2 LEDs for COLD RINSE programme).
- Page 14 USE THE DISHWASHER PRELIMINARY OPERATIONS AND Memorization of the last programme used CLEANING THE FILTER UNIT The last programme used can be memorized by following the below: The filtering system is composed of : IMPORTANT - a central filter cup which traps the The dishwasher must ALWAYS be off before start of this largest food particles.
- Page 15 FILLING THE RINSE AID DISPENSER LOADING DISHES The basket has been carefully designed to make loading easy. For good wash performance, remove any debris from the dishes and has a capacity of about 130 ml. (bones, tooth picks, the remains of meat and vegetables) to avoid Open the lid and pour in enough liquid, which blocking the filters, water outlet and washing arm nozzle and, as will last several washes.
-
Page 16: Washing Programme
Regulating the water softener with electronic programmer The water softener can treat water with a hardness level of up to 60°Fh (French grading) or 33°Dh (German grading) through 5 settings. The settings are listed in the panel below: Water hardness Water hardness Use of regenerating Water softener... - Page 17 Programme for normally soiled tableware (the most efficient in terms of its combined energy and water consumption for that type of tableware). Programme standardised to EN 60436. SOME PRACTICAL HINTS ..- To carry out a wash programme with a full load of dishes load the machine correctly after each meal and do a cold pre-wash between each load to get rid of stains and remove the larger residues of food.
- Page 18 Our After Sales Service Centre can provide spare parts if required. once the Trio has cooled down, simply clean with soapy water and dry with a clean cloth. Before lifting the lid, make sure that anything that might spill over has been removed.
-
Page 19: Troubleshooting
TROUBLESHOOTING REMEMBER! the oven and the dishwasher cannot be used in the same time. Should the dishwasher fail to operate, before contacting the Service Centre, make the following checks: FAULT CAUSE REMEDY Plug is not connected correctly Connect electric plug O/I button has not been pressed Press button No electricity... - Page 20 TRI 5 S TRI 5 S hilight hilight 1200 W 2300 W hilight hilight 1 kW 1800 W 1200 W 1 kW HOBS GAS TYPE TYPE TRI 5 S TYPE TRI 5 S FR, BE CY, GB, GR, IE, IT, PT, ES, CH II 2E+3+ II 2H3+ Gaz Type/Gas type...
- Page 21 TYPE TRI 5 S II 2H3B/P BG, HR, DK, EE, FI, LV, LT, NO, RO, SK, SE, SI, CZ, TR Gaz Type/Gas type G30 / G31 Tipo di gas/Gas type Pressione gas/Gas pressure Pression gaz/Gas pressure 20 mbar 30/30 mbar P (Kw) P (Kw) Min (kW)
- Page 22 STICK RAITING LABEL GAS LABEL (only for Gas products) The manufacturer will not be responsible for any inaccuracy resulting from printing or transcript errors contained in this brochure. We reserve the right to carry out modifications to products as required, including the interests of consumption, without prejudice to the characteristics relating to safety or function. La Ditta costruttrice declina ogni responsabilita per eventuali errori di stampa contenuti nel presente libretto.
Need help?
Do you have a question about the TRIO and is the answer not in the manual?
Questions and answers