Advertisement
Advertisement
Table of Contents

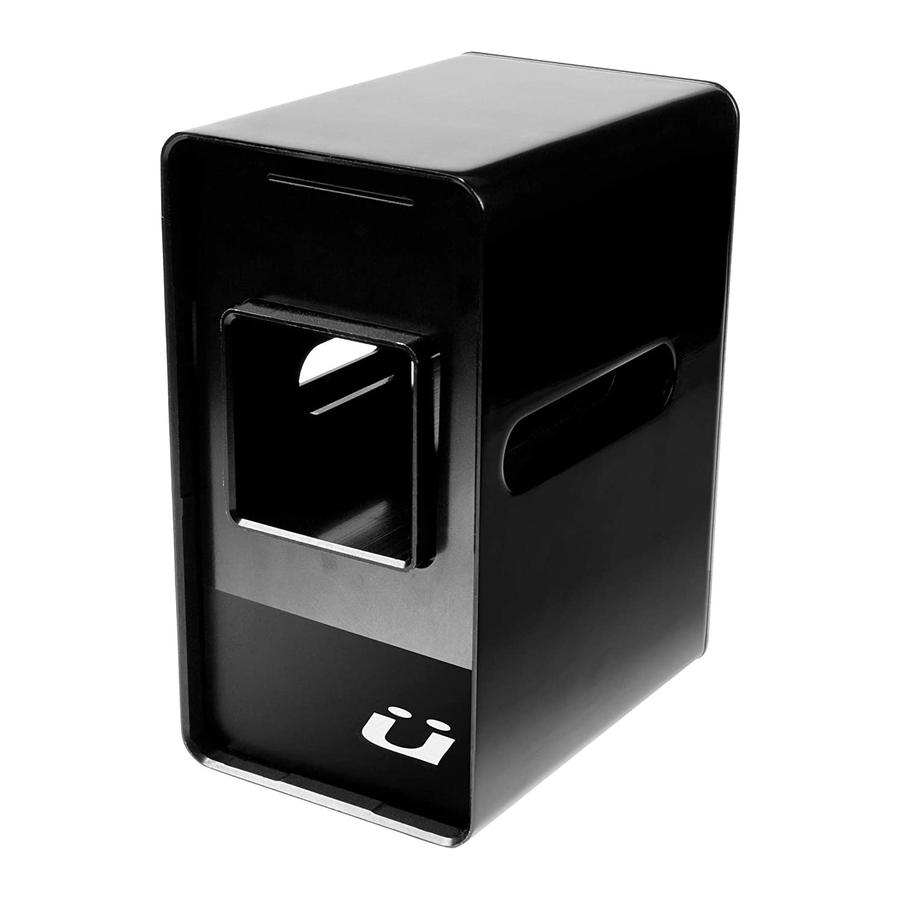
Summary of Contents for Kuat Racks RACKDOCK
- Page 1 RACKDOCK INSTALLATION...
- Page 2 Included 3/8” x 7.25” Lag Screw 3/8” x 6” Lag Screw 1.25” Adapter M6 x 12 Screw T40 Torx Bit 5mm Allen Key RACKDOCK Magnetic Release Push against RACKDOCK face plate to release magnetic catch.
- Page 3 Locate a wood stud in the desired position. RACKDOCK cannot be installed into metal studs or concrete walls. Align RACKDOCK with center of stud, a maximum of 24” from the ground. Using the provided T40 Torx Bit, install the 3/8” x 7.25” Lag Screw into the top c-channel.
- Page 4 Use the installed Lag Screw and a Level to aid in aligning and leveling the RACKDOCK. Using the provided T40 Torx Bit, install the 3/8” x 6” Lag Screw into the bottom c-channel. Once secured, reinstall the RACKDOCK faceplate. The provided Lag Screws will not require any pre-drilling to install.
- Page 5 1.25” Adapter Installation The RACKDOCK is designed to be used with 2” hitch sizes. However, if your rack features a 1.25” hitch, your RACKDOCK includes the necessary adapter. Insert 1.25” Adapter into RACKDOCK hitch port. Secure 1.25” Adapter using the provided 5mm Allen Key and M6 x 12 Screw.
- Page 6 · Ne chargez pas de vélos sur les porte-vélos rangés dans RACKDOCK · Ne laissez pas les enfants grimper sur les paniers rangés dans le RACKDOCK · Ne vous asseyez pas et ne vous tenez pas debout sur des supports rangés dans le RACKDOCK.
- Page 7 Küat Racks Limited Lifetime Warranty Küat honors the warranty on all Küat brand products for original owners of the product. Warranty is not transferable. If a Küat rack that is covered by the terms of this warranty and is determined by Küat, to be defective, Küat will repair or replace the defective parts.
- Page 8 1.877.822.5828 info@kuatracks.com kuatracks.com kuatracks.com...
Need help?
Do you have a question about the RACKDOCK and is the answer not in the manual?
Questions and answers