Advertisement
Quick Links
Thank you for purchasing this product.
THIS INSTRUCTION BOOKLET
CONTAINS IMPORTANT SAFETY
INFORMATION. PLEASE READ
AND KEEP FOR FUTURE
REFERENCE.
Lot Number: ____________________
Date Purchased: __________________
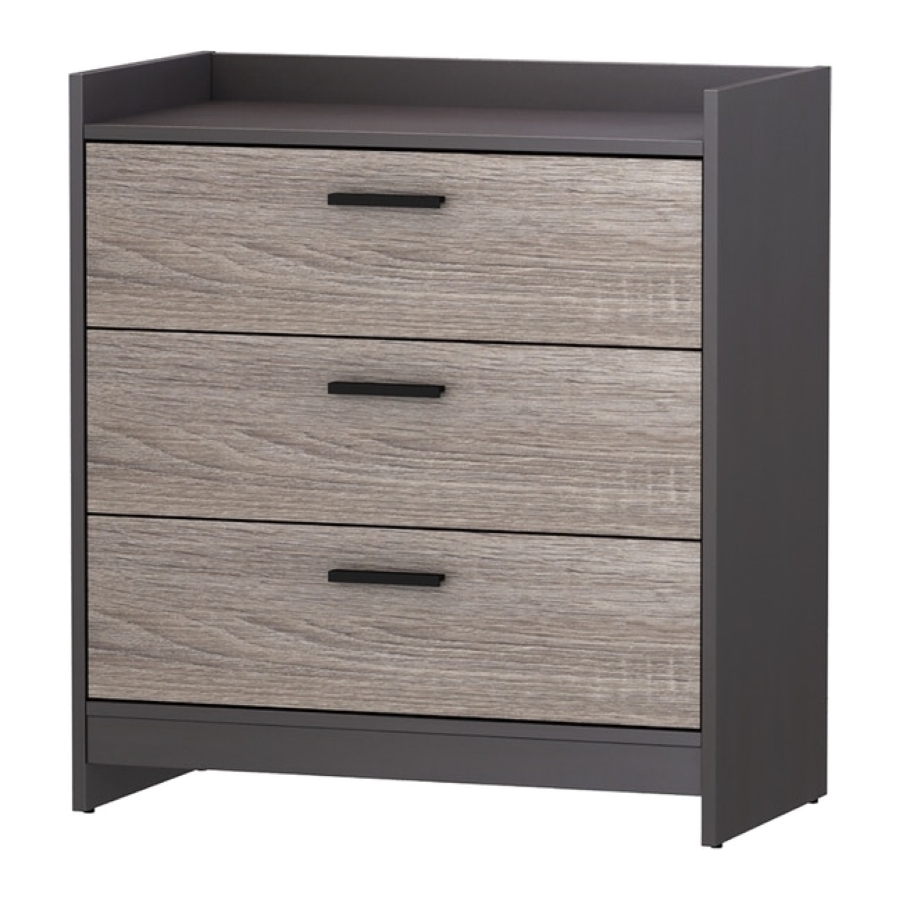
ASSEMBLY INSTRUCTIONS
3 drawer chest
M
ADE
DO NOT RETURN YOUR UNIT
TO THE STORE
CONTACT US FIRST
For FAST, FRIENDLY and EFFICIENT service call
Most replacement parts ship from our facility in two
to three business days.
1
I
USA
N
Advertisement

Related Manuals for Ashley 208751


Summary of Contents for Ashley 208751
- Page 1 ASSEMBLY INSTRUCTIONS 3 drawer chest Thank you for purchasing this product. THIS INSTRUCTION BOOKLET DO NOT RETURN YOUR UNIT TO THE STORE CONTAINS IMPORTANT SAFETY INFORMATION. PLEASE READ CONTACT US FIRST AND KEEP FOR FUTURE For FAST, FRIENDLY and EFFICIENT service call REFERENCE.
-
Page 2: Instrucciones De Ensamblaje
INSTRUCCIONES DE ENSAMBLAJE Cómoda de 3 gavetas EE.UU ABRICADO EN Gracias por adquirir este producto. ESTE MANUAL DE NO DEVUELVA LA UNIDAD A LA INSTRUCCIONES CONTIENE TIENDA INFORMACIÓN IMPORTANTE DE SEGURIDAD.POR FAVOR LEA Y CONTÁCTENOS PRIMERO GUARDE PARA EL FUTURO. Para servicio rápido, amable y eficiente llame La mayoría de las piezas de repuesto se envían desde nuestra planta en dos a tres días hábiles. -
Page 3: Instructions D'assemblage
INSTRUCTIONS D'ASSEMBLAGE Meuble 3 tiroirs FABRIQUÉ AUX ÉTATS-UNIS Merci d'avoir acheté ce produit. CE LIVRET D'INSTRUCTIONS NE PAS RETOURNER VOTRE UNITÉ CONTIENT D'IMPORTANTES AU MAGASIN CONSIGNES DE SÉCURITÉ. VEUILLEZ D'ABORD NOUS CONTACTER VEUILLEZ LE LIRE ET LE CONSERVER POUR DES Pour un service RAPIDE, AMICAL et EFICACE, veuillez appeler BESOINS FUTURS. - Page 4 ATTENTION: INCORRECT CHECK DRAWER SLIDES FIRST INCORRECTO SLIDE STOP MAY HAVE SHIFTED FROM ITS CORRECT POSITION DURING TRAN- SIT. THE “STOP” (DARK) FOR DETAIL “A’” SHOULD BE IN FRONT OF THE “STOP” FOR DETAIL “B”. TO FIX, PUSH DOWN ON DETAIL“B”...
- Page 5 NOTE! This cabinet should take an average time of 60 minutes to build. Having a helper with building this unit will simplify and speed up the assembly process. Assembly should be done in a dry location on a flat, level surface. Note the arrow direction on each panel when assembling the case.
- Page 6 ¡AVISO! • Este gabinete requerirá un tiempo promedio de 60 minutos para ser construido. Tener un ayudante para la construcción de esta unidad simplificará y acelerará el proceso de montaje. • El ensamblaje debe hacerse en un lugar seco sobre una superficie plana y nivelada. •...
- Page 7 REMARQUE ! • Ce meuble devrait être en moyenne construit en 60 minutes. La présence d’une personne supplémentaire pour construire l’unité pourra simplifier et accélérer le processus d’assemblage. • L'assemblage devrait être effectué dans un endroit sec, sur une surface plane. •...
-
Page 8: Parts List/Liste Des Pièces/Lista De Piezas
Parts list/Liste des pièces/Lista de piezas... - Page 9 Hardware Kit / Juego de Herrajes / Kit matériel H72 x 24 H33 x 4 H58 x 6 HH1 x 3 B X 25 pcs C X 4 pcs D X 14 pcs E X 17 pcs H73 x 10 H63 x 6 H61 x 4 H59 x 12...
- Page 10 ACUTAL SIZE/TAILLE RÉELLE / ESCALA REAL...
- Page 11 Tools Required (not included) : Herramientas necesarias (No incluido) : Outils nécessaires (Non inclus) : Phillips screwdriver Hammer Desarmador en cruz Martillo Tournevis Philips Marteau 2 x (H65) 3 x (H71) 6 x (H59) 2 x (H65) Finished Edge Borde Terminado Bord Fini 3 x (H71) Finished Edge...
- Page 12 1 x (H39) 4 x (H38) 2 x (H37)
- Page 13 2 x (H33) 2 x (H61) 5 x (H73) 2 x (H61) 2 x (H33) 5 x (H73)
- Page 14 ° 1 x (H77) 1 x (H79) 1 x (H78) 24 x (H72) 3 x (H40)
- Page 15 2 x (H65)
- Page 16 2 x (H63)
- Page 17 4 x (H68) 15 LBS MAX. 2 x (HH2) 1 x (HH1)
- Page 18 1 x (H58) 1 x (H58)
- Page 19 TIP KIT WALL ANCHORING INSTALLATION 2 x 4 OPTION 1: SCREW THROUGH WALLBOARD INTO STUD AS SHOWN OPTION 2: DRILL 1/4” HOLE IN WALLBOARD AND INSTALL WALL ANCHOR. FASTEN SCREW TO INSTALLED WALL ANCHOR AS SHOWN. Consejos para la Instalación del Ancla de pared OPCIÓN 1: Atornille a través de la placa de pared en la espiga...
-
Page 20: Troubleshooting Problems
Trouble Shooting Problems Drawers appear to be slightly crooked in the case 1) Make sure the back is nailed on squarely 2) Make sure your floor is level Solución de problemas Las gavetas parecen estar torcidas ligeramente en la caja 1) Asegúrese de que la parte trasera esté... - Page 21 ASSEMBLY INSTRUCTIONS INSTRUCCIONES DE ENSAMBLAJE INSTRUCTIONS D'ASSEMBLAGE 3 drawer chest Cómoda de 3 gavetas Meuble 3 tiroirs MADE IN USA / FABRICADO EN EE.UU / FABRIQUÉ AUX ÉTATS-UNIS FOR QUESTIONS ABOUT ASSEMBLY OR TO ORDER PARTS, PLEASE CALL AND REFERENCE THE MODEL #. SI TIENE PREGUNTAS SOBRE EL ENSAMBLE O PARA ORDENAR PIEZAS, POR FAVOR LLAME AL CON EL # DE MODELO.
Need help?
Do you have a question about the 208751 and is the answer not in the manual?
Questions and answers