Advertisement
Available languages
Available languages
Quick Links
BBBBBBBBBB
FFFFFFFF B UFFFFF UFFFFFF
Date of Purchase: ____/____/_____
Lot Number:
THIS INSTRUCTION BOOKLET CONTAINS IMPORTANT SAFETY INFORMATION. PLEASE READ AND KEEP FOR FUTURE REFERENCE.
Do Not Return This Product!
Contact our customer service team for help first
Call: 1-800-489-3351 (toll free)
Monday-Friday 9am - 5pm CST
Visit: www.ameriwoodhome.com
WARNING
–Unit can tip over causing severe injury or death.
–Anchor unit to stud in wall (if instructed to)
–Do not allow children climb on unit
–Put heavy items on lower shelves or drawers
BBBBBBBBBBBBBBBUU
Easy
Assembly Difficulty Meter
Follow Ameriwood Home
Tough
Advertisement

Related Manuals for Ameriwood HOME Franklin


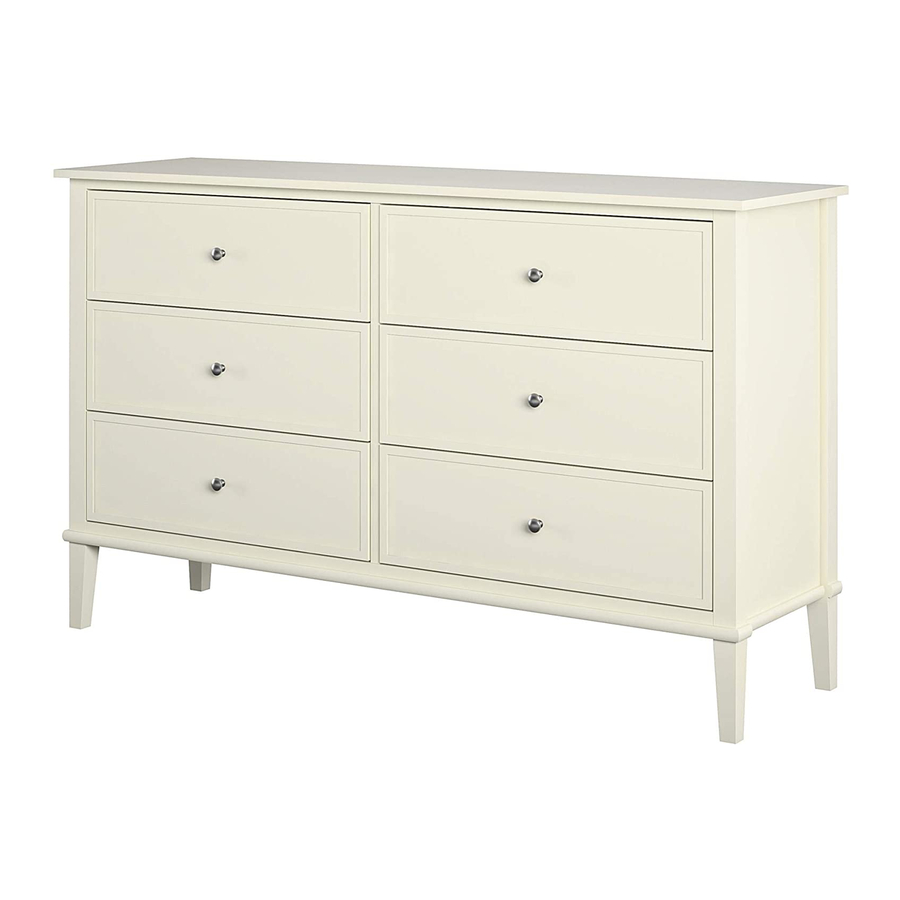
Summary of Contents for Ameriwood HOME Franklin
- Page 1 Easy Tough Assembly Difficulty Meter WARNING Follow Ameriwood Home –Unit can tip over causing severe injury or death. –Anchor unit to stud in wall (if instructed to) –Do not allow children climb on unit –Put heavy items on lower shelves or drawers...
- Page 2 BoFtFct UF! Do NOT return this product! Contact our friendly customer service team first for help Call us! Assembly Tips 1-800-489-3351 Monday-Friday 9am - 5pm CST Visit ameriwoodhome.com HFFpfuF HFFtF PEOPLE NEEDED FOR ASSEMBLY: 1-2 ESTIMATED ASSEMBLY TIME: 1 HOUR - Open your item in the area you plan to keep it for less heavy lifting - Identify, sort and count the parts before attempting assembly - Compression dowels are tapped in with a hammer...
- Page 3 BFfoFF You StFFt Read through each step carefully and follow the proper order Separate and count all your parts and hardware Give yourself enough room for the assembly process Have the following tools: Flat Head Screwdriver, #2 Phillips Head Screwdriver and Hammer Caution: If using a power drill or power screwdriver for screwing, please be aware to slow down and stop when screw is tight.
- Page 4 BoFFd IdFFt f cFt oF Not actual size T6228013010UD T6228013030UD T6228013020UD TOP PANEL BOTTOM PANEL LEFT SIDE PANEL T6228013040UD T6228013050UD T6228013060UD RIGHT SIDE PANEL PARTITION MIDDLE FOOT T6228013070UD T6228013080UD T6228013090UD BACK PANEL DRAWER FRONT DRAWER SIDE LEFT ameriwoodhome.com...
- Page 5 BoFFd IdFFt f cFt oF Not actual size T6228013100UD T6228013110UD T6228013120UD DRAWER SIDE RIGHT DRAWER BACK PANEL DRAWER BOTTOM- PANEL T6228013130UD DRAWER BOTTOM SUPPORT ameriwoodhome.com...
- Page 6 Hardware Bag Reference Number: 26228013COM0UD PFFt LFFt Not Actual Size TUD0002 TUD0004 TUD0001 TUD0009 CAM LOCK DOWEL CBS 4 x 38 CAM BOLT 15-12 8X25 TUD0060 TUD0010 TUD0047 TUD0006 HANDLE PH M4 X 18 NAIL M6 X 40 JCH-0055 x1 set TUD0021 TUD0026 ANTI TIPPING KIT...
- Page 7 Step 1 Proper orientation of CAM LOCK TUD0002 TUD0001 TUD0004 Insert Cam Bolt and fully tighten it. * raw edges are shaded ameriwoodhome.com...
- Page 8 Step 2 Proper orientation of CAM LOCK TUD0002 TUD0001 TUD0028 TUD0004 M6 X 40 Insert Cam Bolt and fully tighten it. Tipping kit mark * raw edges are shaded ameriwoodhome.com...
-
Page 9: Right Hand Side
Step 3 Proper orientation of CAM LOCK TUD0004 TUD0002 RIGHT HAND SIDE LEFT HAND SIDE * raw edges are shaded ameriwoodhome.com... - Page 10 Step 4 Attach 5 to 2 and fully tighten it as below shown. * raw edges are shaded ameriwoodhome.com...
- Page 11 Step 5 Attach 3 to 2 and fully tighten it as below shown. * raw edges are shaded ameriwoodhome.com...
- Page 12 Step 6 Attach 4 to 2 and fully tighten it as below shown. * raw edges are shaded ameriwoodhome.com...
- Page 13 Step 7 Attach 1 to 3,4 & 5 and fully tighten it as below shown. * raw edges are shaded ameriwoodhome.com...
- Page 14 Step 8 TUD0006 Carefully turn the unit over onto its front as shown. Assure that the unit is square. Distance from corner to corner must be equal as shown. * raw edges are shaded ameriwoodhome.com...
- Page 15 Step 9 Proper orientation of CAM LOCK TUD0002 TUD0001 Insert Cam Bolt and fully tighten it. * raw edges are shaded ameriwoodhome.com...
- Page 16 Step 10 Attach 9 & 10 to 8 and fully tighten it as below shown. * raw edges are shaded ameriwoodhome.com...
- Page 17 Step 11 Attach drawer support. * raw edges are shaded ameriwoodhome.com...
- Page 18 Step 12 Slip in drawer bottom inside the groove. * raw edges are shaded ameriwoodhome.com...
- Page 19 Step 13 TUD0009 Attach drawer back and fully tighten it. * raw edges are shaded ameriwoodhome.com...
- Page 20 Step 14 TUD0060 TUD0010 Attach the handle and tighten it from inside. * raw edges are shaded ameriwoodhome.com...
- Page 21 Step 15 For Masonry, Concrete, or other wall materials: Consult your local hardware store for appropriate anchors to securely attach the safety bracket. IMPORTANT: THIS UNIT MUST BE SECURE TO THE WALL TO HELP PREVENT TIPOVER. FOLLOW THESE INSTRUCTIONS TO INSTALL THE ANTI-TIPPING SAFETY BRACKET PROVIDED WITH THIS PRODUCT.
- Page 22 Step 16 Insert all drawer as below shown. * raw edges are shaded ameriwoodhome.com...
-
Page 23: Maximum Loads
Maximum Loads This unit has been designed to support the maximum loads shown. Exceeding these load limits could cause sagging, instability, product collapse, and/or serious injury. 10 lbs. 4.5 kg each drawer 80 lbs. 36.3 kg Warning: Please make sure that all the objects are removed before moving the assembled unit. The unit must be lifted by more than one person, not dragged or pushed. - Page 24 We would like to extend a big “Thank You” to all to assemble this our customers for taking the of our customers for taking the time to assemble Seeds product, and to give us your valuable this Ameriwood Home product, and to give us your feedback. valuable feedback ameriwoodhome.com...
- Page 25 Español BubFFFtF UFFFFtFFF Este libro de instrucciones contiene información IMPORTANTE de seguridad. Por favor lea y manténgalo para referencia en el futuro. No Regrese este producto! Comuniquese con nuestro amistoso equipo de servicio al cliente para obtener ayuda. Llamenos al: 1‐800‐489‐3351 (Gratis) Lunes ‐ Viernes 9am ‐ 5pm CST Visitar: www.ameriwoodhome.com PRECAUCION Este mueble puede volcarse y causar graves heridas y/o muerte.
- Page 26 Español Página 7 Paso 1 Inserte el perno de la leva y apriételo completamente. Página 8 Paso 2 Inserte el perno de la leva y apriételo completamente. Marca de kit de vuelco Página 9 Paso 3 LADO DERECHO, LADO IZQUIERDO Página 10 Paso 4 Adjunte 5 a 2 y apriételo completamente como se muestra a continuación.
- Page 27 Español Página 18 Paso 12 Deslice el fondo del cajón dentro de la ranura. Página 19 Paso 13 Vuelva a colocar el cajón y apriételo completamente. Página 20 Paso 14 Coloque la manija y apriétela desde adentro. Página 21 Paso 15 Para mampostería, hormigón u otros materiales de pared: Consulte con su ferretería local para anclajes apropiados para fijar firmemente el soporte de seguridad.
- Page 28 Visite el sitio web de su distribuidor local, califique su producto comprado y déjenos algunos comentarios! Nos gustaría extender un gran “Gracias” a todos nuestros clientes por tomarse el tiempo para montar este producto Ameriwood Home, y para darnos sus valiosos comentarios Gracias! * raw edges are shaded ameriwoodhome.com...
- Page 29 Français capot avant Ce livret d’instructions contient d’importantes informations de sécurité. S’il vous plaît lire et conserver pour référence ultérieure. Ne pas retourner ce produit! Contactez notre équipe de service à la clientèle amical pour aider. Appel: 1‐800‐489‐3351 (gratuit) Lundi ‐ Vendredi 9am ‐ 5pm CST Visite: www.ameriwoodhome.com BISE EN GARUE Ce mobilier peut basculer et causer des blessures graves et / ou la mort.
- Page 30 Français pFgF 7 Étape 1 Insérez le boulon à came et serrez‐le à fond. pFgF B Étape 2 Insérez le boulon à came et serrez‐le à fond. marque de kit de basculement pFgF 9 Étape 3 DU CÔTÉ DE LA MAIN DROITE, CÔTÉ GAUCHE pFgF BB Étape 4 Attachez 5 à...
- Page 31 Français pFgF BB Étape 12 Glissez dans le fond du tiroir à l’intérieur de la rainure PFgF B9 Étape 13 Remettez le tiroir en place et serrez‐le à fond. PFgF BB Étape 14 Fixez la poignée et serrez‐la de l’intérieur. PFgF BB Étape 15 Maçonnerie, béton ou d’autres matériaux de paroi:...
- Page 32 Visitez le site Web de votre distributeur local, classez votre produit acheté et laisser des commentaires! Nous aimerions étendre un grand “Merci” à tous nos clients pour prendre le temps de rassembler ce pro- duit Ameriwood Home et de nous faire part de vos précieux commentaires Merci! * raw edges are shaded ameriwoodhome.com...
Need help?
Do you have a question about the Franklin and is the answer not in the manual?
Questions and answers