Advertisement
Advertisement
Table of Contents

Related Manuals for Meccano Meccanoid G15


Summary of Contents for Meccano Meccanoid G15
- Page 1 Instructions for: Left arm Lock Nut!
- Page 2 Give this shoulder motor to the teammate building the body. They are probably waiting for it.
- Page 3 Lock Nut!
- Page 7 Instructions for: Right arm Lock Nut!
- Page 8 Give this shoulder motor to the teammate building the body. They are probably waiting for it.
- Page 9 Lock Nut!
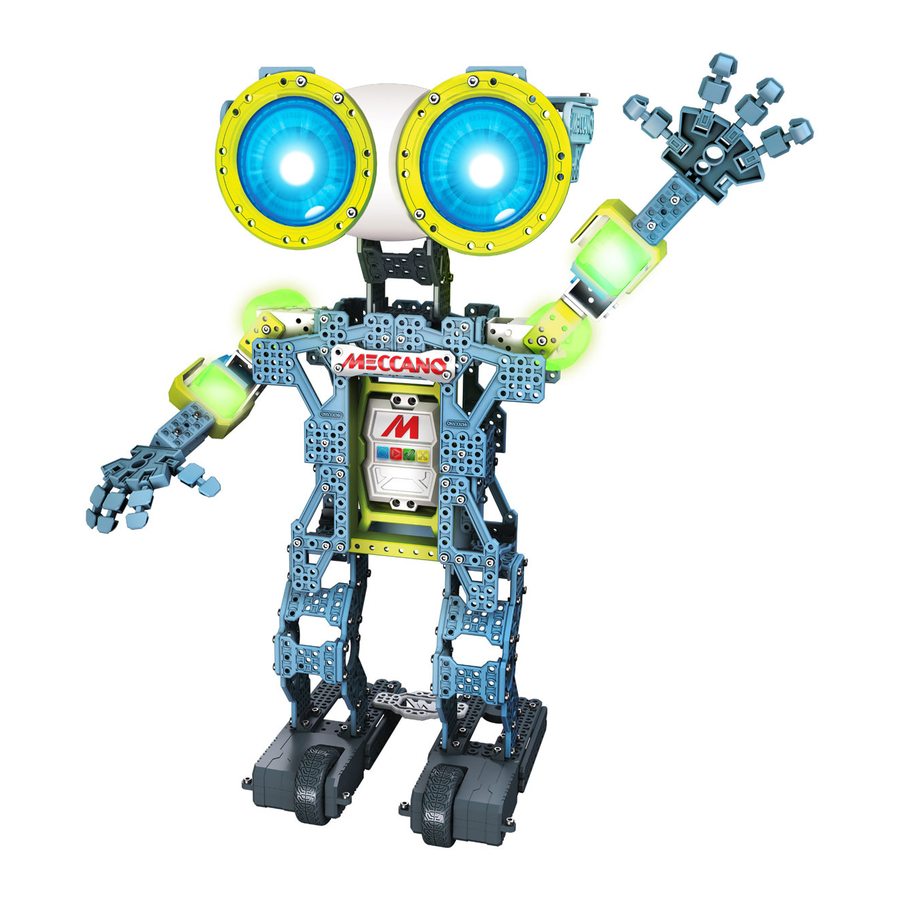
- Page 14 Instructions for: Body 1.1 BUILD YOUR ROBOT • CONSTRUYE DU ROBOT • MONTA TU ROBOT • BAUE DEINEN ROBOTER ZUSAMMEN • BOUW JE EIGEN ROBOT • COSTRUISCI IL TUO ROBOT • MONTE SEU ROBÔ • СБОРКА РОБОТА...
- Page 15 If your teammates are still working on the shoulder motors then skip over step 4 and return to it once the shoulder motors are ready. Tip: Blue motors should be facing the back.
- Page 21 HOW TO INSTALL BATTERIES DE BATTERIJEN PLAATSEN 1. Open the battery door with a Meccano tool. 2. If 1. Open het batterijdeksel met Meccano-gereedschap. 2. Verwijder eventueel gebruikte aanwezige batterijen uit used batteries are present, remove these batteries from the unit by pulling up on one end of each battery.
- Page 22 2.2 CONNECT THE ELECTRONICS Plug in servos and LED module into ports 1, 2 and 3 Right Arm Servo Head LEDs Left Arm Servo Left Foot Motor Right Foot Motor Plug in left foot motor and right foot motor. Make sure robot is in robot mode Plug in battery cable Turn robot on...
- Page 23 Instructions for: Left leg Warning, there is a left and right version of the big plastic part. Use the correct one.
- Page 25 Yellow plug!
- Page 28 Instructions for: Right leg...
- Page 29 Warning, there is a left and right version of the big plastic part. Use the correct one.
- Page 30 Wait for your teammate to finish the left foot. Connect both feet together.
- Page 31 White plug!
- Page 32 Instructions for: Head...
Need help?
Do you have a question about the Meccanoid G15 and is the answer not in the manual?
Questions and answers