Advertisement
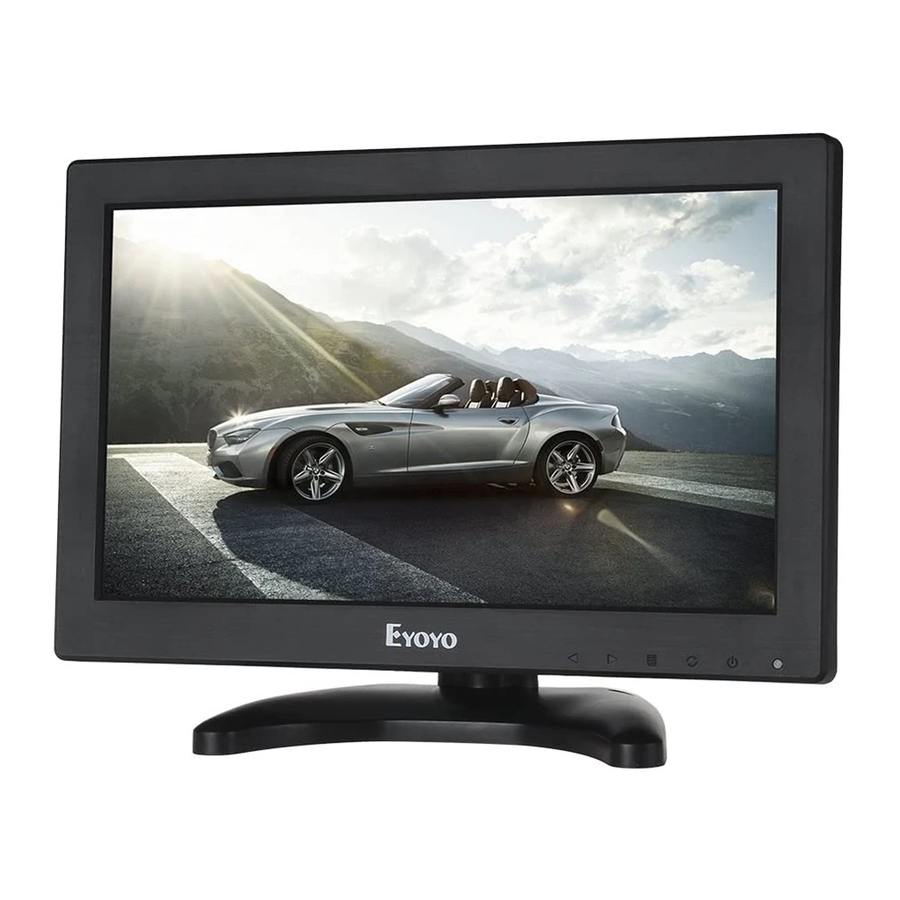
Eyoyo LCD Monitor
User Manual
Join Eyoyo Community:
f
@Eyoyo
Customer Support:
Eyoyo is dedilated to offer the best serice.To reach Eyoyo customer support.
Please email us;
English:support@eyoyousa.com
Italy:support-it@eyoyousa.com
Germany:support-de@eyoyousa.com
Model: EM12B
@EyoyoLtd
France:support-fr@eyoyousa.com
Spain:support-es@eyoyousa.com
Japan:support-jp@eyoyousa.com
Youtube
Advertisement
Table of Contents

Summary of Contents for Eyoyo EM12B
- Page 1 Eyoyo LCD Monitor User Manual Model: EM12B Join Eyoyo Community: @Eyoyo @EyoyoLtd Youtube Customer Support: Eyoyo is dedilated to offer the best serice.To reach Eyoyo customer support. Please email us; English:support@eyoyousa.com France:support-fr@eyoyousa.com Italy:support-it@eyoyousa.com Spain:support-es@eyoyousa.com Germany:support-de@eyoyousa.com Japan:support-jp@eyoyousa.com...
-
Page 2: Main Features
Eyoyo LCD Monitor User Manual Thanks for you choosing Eyoyo LCD monitor,please read this user manual carefully and keep it for future reference ,if you need any assistance ,please fell free to contact our customer support team by email at Eyoyo2016@hotmail.com... -
Page 3: Specification
Specification Display Screen 11.6" 1366×768 Physical Resolution 16:9 Aspect Ratio DISPLAY 300cd/m2 Brightness 500:1 Contrast Viewing Angle 160°/140°(H/V) INPUT HDMI Speaker 10W*2 VGA Channel input AUDIO Ear Phone slot HDMI FORMAT 1080p, 1080i, 720p, 576p, 576i, 480p, 486i Full HD ~ HD Current 1A~2A POWER... - Page 4 ◄ Left button/Volume - ◄ Right button/Confirmation button/Volume + Menu button/Exit Selection button/video Input source button Power switch:Turn on/off monitor Power light (Blue for on,red light for off)
-
Page 5: Input Source
Input Source switch (AV/BNC/PC/HDMI/Media) Keyboard operation 1. Press source button to list this source menu 2 Press source button repeatedly to choose the correct video signal source 3 Press ► button on the Keyboard to enter Main Menu list Keyboard operation 1 Press MENU button to list the main menu 2 Press source button repeatedly to switch through picture menu, sound menu, time... - Page 6 Main menu 1----Picture Sub menu 1-1:Picture Mode 1 Press Source button to select picture mode, press ► button to enter. 2 Press source button to switch mode through standard mode,mild mode,user mode and dynamic mode. Sub menu 1-2/3/4/5/6:Contrast/brightness/color/tint/sharpness 1. Press <Source > button repeatedly to select the contrast, brightness,color,sharpness, tint value setting.
- Page 7 Sub menu 2-1:sound mode Sub menu 2-1:sound mode 1 Press <Source> button repeatedly to select sound mode,press ► button to enter. 2.Press <Source> button to select the standard,music,movie,sports,user mode. 3.Press < menu > to return back to the main menu. Sub menu 2-2/3/4:Treble/Bass/Balance 1.Press <...
- Page 8 Main menu 3----Time Sub menu 3-1:Sleep timer 1 Press < Source> button repeatedly to select sleep timer, press ►to enter. 2.Press < Source > button to select timer(from 10min to 240min) or off. 3.Press < menu > to return back to the main menu. Sub menu 3-2:Auto sleep 1.
- Page 9 Main menu 4----Option Sub menu 4-1: OSD language 1 Press <Source > button repeatedly to select the OSD language, press ►to enter sub menu. 2 Press < Source > button to select. 3 Press < menu > to return back to the main menu. Sub menu 4-2: Aspect radio 1 Press <Source >...
- Page 10 USB Media player mode 1. Only works when usb media source input. 2. Play movie automatically when monitor detect movie file from usb disc. 1. Press <Source > repeatedly to select media,press ►button to enter,and it lists full four sub-menu:Photo,Music,Movie,Text. 2 Press ◄/►...
- Page 11 USB Media player mode 3. Press ◄/► select photo,keep pressing source button for 2 seconds to enter photo playing edit mode;Press menu button to exit photo playing edit mode. 4. Keep pressing source button for 2 seconds to edit photo playing mode,press ► to select play/pause/next etc.operation,and then keep pressing source button for 2 seconds to confirm.
- Page 12 USB Media player mode Sub menu 5-3:Movie 1.Press ► button to select the movie, keep pressing source button for 2 seconds to enter sub menu. 2.Press ► button to select C,keep pressing source button for 2 seconds to enter. 3.Press ◄/► select movie file,keep pressing source button for 2 seconds to enter movie playing edit mode;Press menu button to exit movie playing edit mode.
-
Page 13: Base Install
1.VESA 75mm Wall mount 75mm 75mm 2.BASE INSTALL Take joint apart Clip1,clip2,ridge,knob,screw Place clip 1 to stand Place clip 2 to stand Plug ridge into clip Screw joint well... - Page 14 Buckle Rubber gasket Fixed screw Angle adjusting Knob Notes: 1.do not disassemble, please turn off the machine immediately, consult the dealer or manufacturer. Open or repair without authorization may lead to the damage of the precision electronic components 2.moisture, dust, water, oil, etc., to avoid sun exposure, 3.do not use detergent and other chemical reagents for cleaning, use a soft cloth to wipe clean, 4.please use the specified adapter, power supply and battery components 5.for the sake of safety, please do not use, cut off the power supply, and unplug the adapter...
- Page 15 Apply Now You mean a lot to us in elevatinh our brand and engaging customers. That’s why we’d like to work with you to build a better future for us.
Need help?
Do you have a question about the EM12B and is the answer not in the manual?
Questions and answers
how to use with pos machine
To use the Eyoyo EM12B with a POS machine, connect the monitor to the POS using a compatible video input such as HDMI, VGA, AV, or BNC, depending on the output port available on the POS. Ensure the power adapter is properly connected, and use the source button to select the correct input. The monitor should then display the POS interface.
This answer is automatically generated
Is there a protective film on the screen.
Yes, the Eyoyo EM12B monitor is compatible with protective films. Products like the BoxWave ClearTouch Crystal and ClearTouch Anti-Glare screen protectors are specifically designed for the Eyoyo EM12B (12") monitor.
This answer is automatically generated
How do I reset display to English?