
Related Manuals for Bellman & Symfon BE2350


Summary of Contents for Bellman & Symfon BE2350
- Page 1 DESIGN FOR LIFE BE2350 AMICUS PAGER BE1251 AMICUS PAGER CHARGER BE2320 AMICUS TRANSCEIVER...
-
Page 2: Table Of Contents
Contents Read this first Chapter 1: Read this first Thank you for choosing a product from Bellman & Symfon – the world leader in alerting systems based in Gothenburg, Sweden. Please read Medical device information the information carefully to make sure that you understand and get the best out of your Bellman &... - Page 3 Keep this device out of reach Protect the device from The device may only be This device should not be of children under 3 years. shocks during storage and repaired by an authorized used on aircrafts unless transport. service center. specifically permitted by Be aware that alarms and flight personnel.
-
Page 4: Chapter 2: Installing A Transceiver
Regulatory symbols Transceiver overview With this symbol, Bellman & Symfon confirms that the product meets the Medical Device Regulation EU 2017/745. Removable cover This symbol indicates the manufacturer’s serial number so that a specific medical device can be identified. It’s available on the product and gift box. This symbol indicates the manufacturer’s catalogue number so that the medical device can be identified. -
Page 5: Installing A Transceiver
Installing a transceiver Connecting sensors How to mount a transceiver You can connect up to 3 wired sensors to a transceiver, like for instance an epilepsy alarm, an incontinence alarm and a door sensor. 1 Pull out the battery tab to start the transceiver. 2 Mark and drill two holes. -
Page 6: Chapter 3 Installing A
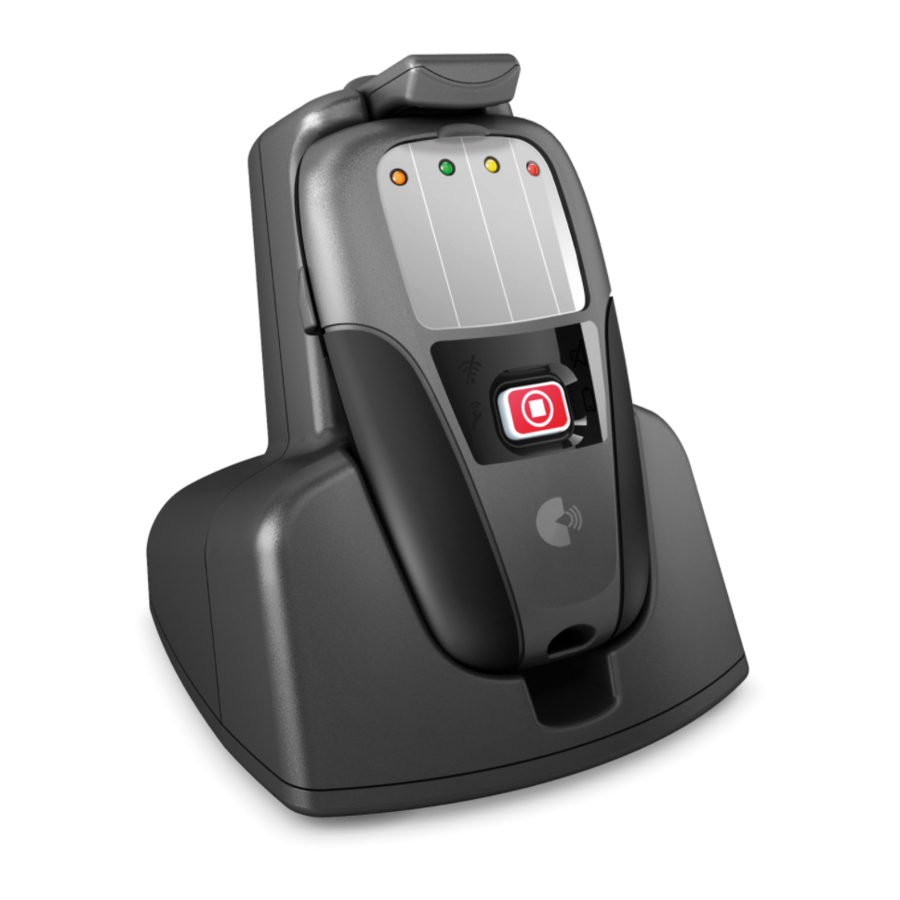
Pager and charger overview Installing a pager 1 Pull out the battery tab on the pager and charger to start the units. Sensor 1 Sensor 2 On/O Sensor 3 Test button 2 Plug the charger into a mains socket. The power LED lights up to Transceiver 1 Transceiver 2... - Page 7 Connecting a transceiver to a pager How to interpret the pager signals 1 To connect a transceiver, press and hold the pager acknowledge but- Using LED colors and blinking patterns, the pager shows which sensor ton. Release the button when the two center LEDs start to blink. and transceiver has been activated.
-
Page 8: Chapter 4 Care And Maintenance
System test Operation and maintenance It is important to check the system’s functionality at least once a week. Failure to follow these care and cleaning instructions could Perform a full system test by activating all sensors and testing all trans- result in damage to the products and void the warranty. -
Page 9: Chapter 5 Troubleshooting And Additional Information
Troubleshooting Pager charger Try this Transceiver The pager is not • Check that the pager is correctly placed in Try this charging the charger. The LED by the -symbol will The transceiver status • The transceiver battery level is low. Connect blink/light up to show that it is charging. -
Page 10: Personalizing The Pager Label
Personalizing the pager label Amicus pager Dimensions H 91 x B 55 x D 23 mm A personalized label makes it easier to identify the different alarms. Weight 60 g incl. battery Depending on configuration, you can write the name of the caretakers or the installed sensors. - Page 11 Manufacturer Bellman & Symfon Group AB Södra Långebergsgatan 30 436 32 Askim Sweden Phone +46 31 68 28 20 Revision: BE2320_001MAN006 E-mail info@bellman.com Date of issue: 2021-01-21 bellman.com TM and © 2021 Bellman & Symfon AB. All rights reserved.
Need help?
Do you have a question about the BE2350 and is the answer not in the manual?
Questions and answers