Table of Contents
Advertisement
Quick Links
Advertisement
Table of Contents

Subscribe to Our Youtube Channel
Related Manuals for Glide G2

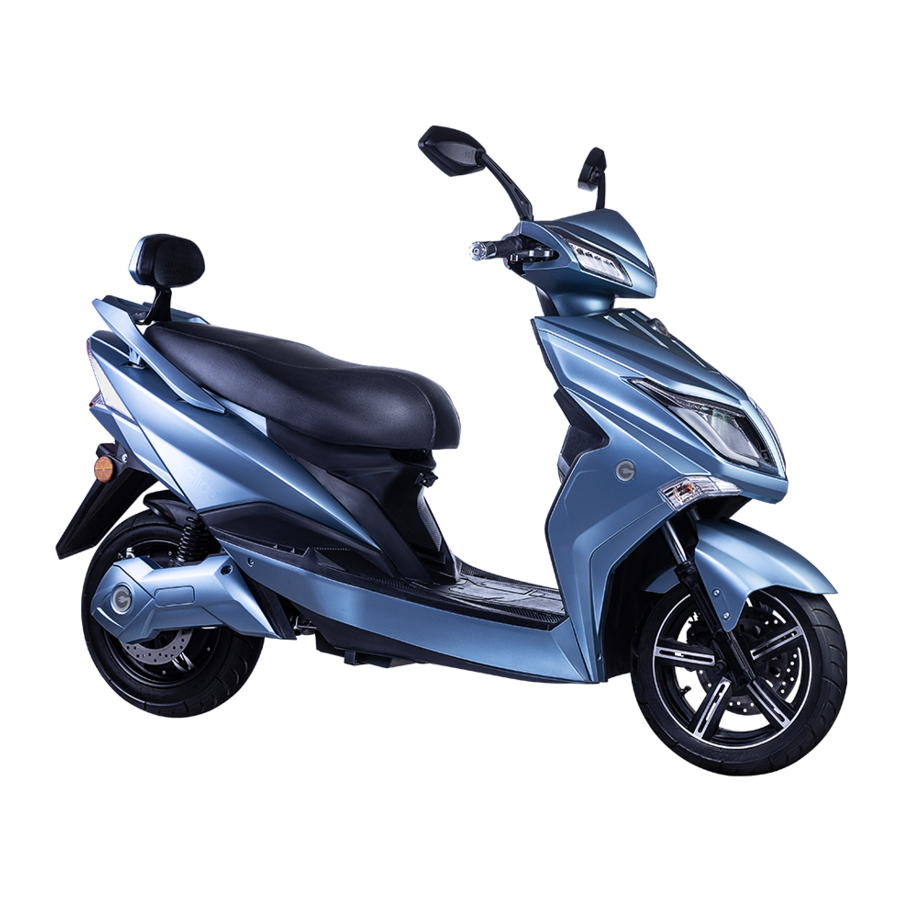
Summary of Contents for Glide G2
- Page 1 USER MANUAL SIDECAR...
- Page 2 INTRODUCTION Dear Customer, Well, first of all, you need to charge your batteries fully before using your Glide. So, while your E Scooter is charging, take the time to read this manual. This manual will help prevent failures & injuries and help maintain your Glide at the best condi tion.
-
Page 3: Understanding This Manual
This Manual contains many WARNING notes concerning the consequences of failure to maintain or inspect your Glide. A WARNING means that failure to follow the instructions following it may result in injury to the rider or others during use, which may include losing control and falling. - Page 4 Glides should not be used under any circumstances without properly wearing a helmet. WARNING! IN ADDITION TO THE REQUIREMENTS ABOVE, GLIDE IS NOT TO BE RIDDEN / USED: On any roadways where the speed limit is in excess of 45 km/h On any sidewalks or pedestrian walkways...
-
Page 5: Before Each Ride
BEFORE EACH RIDE: WARNING ! CAUTION ! Make sure you properly wear a helmet. Wear protective clothing and gloves. Wear eye protection that does not interfere with your peripheral vision. Check local and state laws before operating the E SCOOTER in any area. Make sure all tail/brake lights, turn signals and headlight are operational. -
Page 6: After Each Ride
AFTER EACH RIDE: WARNING! CAUTION! Make sure that the power key is turned OFF and that all keys are removed and kept in a safe place. Make sure to plug the battery on charge. Make sure the throttle is rotated to the off position. Ensure that the kickstand is used so the E SCOOTER will not fall over and get damaged Ensure the E SCOOTER is not kept outdoors or where moisture can damage. -
Page 7: Battery Instructions
BATTERY INSTRUCTIONS BEFORE OPERATING YOUR GLIDE FOR THE FIRST TIME, CHARGE THE BATTERY FOR 4 HOURS NEVER CHARGE THE BATTERY IN EXCESS OF 18 HOURS [This will cause a battery failure}. Be sure to charge the E SCOOTER after each use. Keeping the battery properly charged will help extend the battery life. - Page 8 CAUTION ! DO NOT DROP THE BATTERY CAUTION ! TO AVOID DAMAGE TO THE BATTERY WHEN CHARGING, USE ONLY THE CHARGER PROVIDED WITH YOUR E SCOOTER. WARNING ! DO NOT CHARGE OR STORE THE SCOOTER CLOSER THAN 20 FEET FROM ANY FLAME (E.G. FURNACE, FIREPLACE, WATER HEATER, SPACE HEATER). Be sure to only use 110V AC charger for NA and 220V AC charger for Europe.
-
Page 9: Battery Recycling
BATTERY RECYCLING When maintained and used properly, (by following charging and storage guidelines), the Lead Acid Battery Pack used in this product has a normal lifespan of two to three years. When the battery pack no longer holds a charge or is unable to be charged properly, it should be removed from the E SCOOTER and delivered to a recycling facility. -
Page 10: Maintenance
IF YOUR E SCOOTER SUSTAINS AN IMPACT: WARNING! A CRASH OR OTHER IMPACT CAN PUT EXTRAORDINARY STRESS ON COMPONENTS, CAUSING THEM TO FATIGUE PREMATURELY. COMPONENTS SUFFERING FROM STRESS FATIGUE CAN FAIL SUDDENLY AND CATASTROPHICALLY, CAUSING LOSS OF CONTROL, SERIOUS INJURY OR DEATH. First, check yourself for injuries, and take care of them as best you can. -
Page 11: Flat Tire Repair
BRAKES MAINTENANCE Front and rear brake cables may get stretched. Tighten the nuts at the threaded end of the cable to adjust them. If the breaking power decrease, check the brake pads. If necessary clean them with sand paper. If the brake pads are worn out, replace them. -
Page 12: Key And Throttle Operation
OPERATING INSTRUCTIONS KEY AND THROTTLE OPERATION ON/OFF/LOCK Switch: E SCOOTER is ON. Turn it ON only when you are ready to go. Turn it OFF when you are not riding and remove key. E SCOOTER is OFF. Turn it OFF when not in use to preserve the battery. Push the key in on this position to lock the handlebar and turn it to position Handlebar is locked. -
Page 13: Throttle Control
THROTTLE CONTROL The E SCOOTER uses a speed changing throttle grip. It is on the right side of the handlebar. Rotate the throttle grip toward the seat to accelerate and rotate forward away from the seat to slow down. It is suggested after acceleration to turn back 1/4 turn the throttle. This will increase your range and increase your battery life. - Page 14 TORQUE/GEAR SWITCH You will achieve a Torque/Gear switch maximum range when you ride on low torque (economy mode) When you ride on moderate hills, you will achieve a maximum speed for the hill if you switch to high torque. When you ride on steep hill you should switch to high torque for maximum performance.
- Page 15 OPERATING INSTRUCTIONS The E SCOOTER scooters driving system consist of four main compo nents: Battery Controller Throttle Motor When the throttle is twisted, a signal goes to the con troller, relevant to the angle of turning. Then the con troller draws from the battery current, relevant to the required speed, controlled by the throttle and the power necessary to start the scooter or drive it uphill.
-
Page 16: Warranty Info
WARRANTY INFO WARRANTY Manufacture warrants to the original retail purchaser ("you") that the E SCOOTER for which this warranty has been issued is free from defects in material and workmanship as follows: 12 months warranty Frame, Electric Motor, Controller and electric circuits GEL Battery and charger This warranty is not transferable to a subsequent purchaser. -
Page 17: Troubleshooting
TROUBLESHOOTING Problem Condition Check Solution When I turn 1. No any light 1. Check the main 1. Flip the breaker lever my E Scooter Indications on breaker under the on “ON” the display. seat if it is on 2. Fasten connections. nothing hap “ON”... -
Page 18: Warranty Service Options
WARRANTY SERVICE OPTIONS: To obtain service under this warranty you must Call E SCOOTER dealer for Cus tomer Service/Technical Support on your Product BEFORE returning your Product back to the place of purchase. If you return your product for warranty service you must obtain a return authorization number by contacting dealer. - Page 19 • • • • • • • SIDECAR...
- Page 20 +2 010 688 400 10 Glide Electric Scooters glide_scooters info@glidesmartmobility.com www.glidesmartmobility.com...
Need help?
Do you have a question about the G2 and is the answer not in the manual?
Questions and answers