Table of Contents
Advertisement
Quick Links
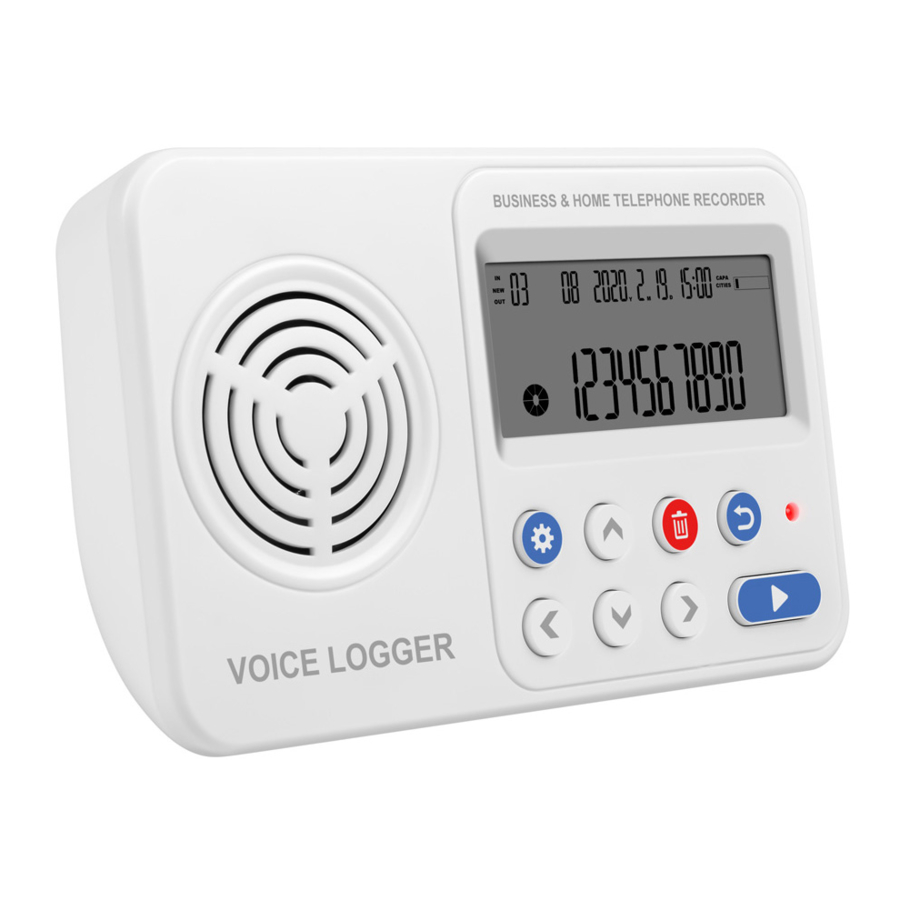
User Manual of DAR-5001A/B/C &
DAR-5002C Standalone Voice Logger
DAR5001A/B/C Manual ................................................................................. 2
1.1 Features ......................................................................................................................... 2
1.2
Installation Methods .................................................................................................. 3
1.3
Functional description of each ministry ................................................................... 4
1.4 LCD Screen Display Instructions ................................................................................ 5
1.5 Settings List ................................................................................................................... 6
Setting Function ................................................................................................. 7
2.1
Date and Time Setting ................................................................................................ 7
2.2
Volume setting .............................................................................................................. 8
2.3
LCD Contrast setting ............................................................................................. 8
2.4 Setting of voltage threshold ......................................................................................... 9
2.5 Recording Trigger Settings .......................................................................................... 9
2.6
Shortest Recording Setting ........................................................................................... 10
2.7
Longest Recording Setting ...................................................................................... 10
2.8
Voice Announcement setting ................................................................................... 11
2.9 Voice announcement to speaker setting ................................................................. 12
2.10
Message Ring Count Setting ...................................................................................... 12
2.11
Maximum Message Time Setting ......................................................................... 13
2.12 Voice control sensitivity setting ............................................................................... 13
2.13
FSK Correction Time Setting ................................................................................ 14
Chapter Third Playback of recorded files ............................................................................... 14
Upgrades and other considerations ............................................................. 15
Chapter Five OGM/anti-harassment ....................................................................................... 17
User Manual of DAR-5001A/B/C & DAR-5002C Standalone Voice Logger
1 / 18
Directory
Advertisement
Table of Contents

Summary of Contents for YiShi DAR5001A
-
Page 1: Table Of Contents
1 / 18 User Manual of DAR-5001A/B/C & DAR-5002C Standalone Voice Logger Directory Chapter One DAR5001A/B/C Manual ................. 2 1.1 Features ......................... 2 Installation Methods ....................3 Functional description of each ministry ..............4 1.4 LCD Screen Display Instructions ................5 1.5 Settings List ........................ -
Page 2: Chapter One Dar5001A/B/C Manual
2 / 18 Chapter One DAR5001A/B/C Manual 1.1 Features ◆ Use SD card to store messages/recordings ◆ Incoming call message/extension call recording ◆ Support voltage control/voice control recording mode ◆ Support up to 128G memory card (Format: FAT32) ◆ Dual system caller ID (FSK/DTMF) ◆... -
Page 3: Installation Methods
3 / 18 Speaker SD card storage FSK automatic time adjustment screen display Comes with clock Note: All of our products support customization (can be customized according to customer Requirements, starting from 3K Installation Methods (Must read when using this product for the first time) 1、... -
Page 4: Functional Description Of Each Ministry
4 / 18 Please follow the steps below before use 1.Please make a voice announcement file before use 2.Install SD card, insert power, LCD display After the card is read, the screen will display the remaining space of the SD card. 3.Set the number of rings for answering: answer on/off. -
Page 5: Lcd Screen Display Instructions
5 / 18 Signal indicator Return Back/Cancel Display Screen Display Information Content 1.4 LCD Screen Display Instructions IN:Incoming Telegram Recording NEW:Message Recording Recording type (playback) OUT:Outing Calls Recording Vacancy:Voice-activated Recording Current serial number Playback: the serial number of the current file Recording: display recording duration Total recordings for the day Playback: Displays the total number of recordings on... -
Page 6: Settings List
6 / 18 (version A only) Break code display Software function display area 1.5 Settings List All settings must be operated on the home screen Display Function Description Operation Method Default Date/time setting Setup+Confirm Volume setting Setup+1 times turn Down+Confirm LCD Contrast setting Setup+2 times turn Down+Confirm Voltage threshold... -
Page 7: Chapter Two Setting Function
7 / 18 card and the LCD screen displays. After the card is read, the screen displays the total SD space and used space. 3. This unit cannot be used without a power adapter connected or power failure. 4. When there is no SD card, this unit cannot use functions such as recording and playback. -
Page 8: Volume Setting
8 / 18 system, you must set the time yourself. Volume setting 1. When in the home screen, press the setting key/ 1 times turn Down to display Press the confirmation key, the screen displays: 2. Press the up/down keys to adjust the volume in order, divided into 1,2,3 levels (will play sound test volume) 3. -
Page 9: Setting Of Voltage Threshold
9 / 18 2. Press the up/down keys to adjust the screen brightness in order, divided into 1, 2, 3, 4, 5 levels (the larger the value, the higher the brightness) 3. After the adjustment is completed, press the confirmation key to complete the setting 2.4 Setting of voltage threshold 1. -
Page 10: Shortest Recording Setting
10 / 18 2. Press the up/down keys to adjust the start recording conditions in sequence (three conditions in total) Voltage controlled Voice controlled Not Recording 3. After the adjustment is completed, press the confirmation key to complete the setting Shortest Recording Setting 1. -
Page 11: Voice Announcement Setting
11 / 18 2. Press Up/Down/Left/Right to set the longest recording duration in sequence (1-120 minutes) 3. After the adjustment is completed, press the confirmation key to complete the setting Voice Announcement setting Note: Only A series supports voice announcement function 1. -
Page 12: Voice Announcement To Speaker Setting
12 / 18 Trigger” method. After the adjustment is completed, press the confirmation key to complete the setting 2.9 Voice announcement to speaker setting 1. When in the home screen, press the setting key/ 8 times turn Down to display Press the confirmation key, the screen displays: 2. -
Page 13: Maximum Message Time Setting
13 / 18 3. After the adjustment is completed, press the confirmation key to complete the setting 2.11 Maximum Message Time Setting 1. When in the home screen, press the setting key/ 10 times turn Down to display Press the confirmation key, the screen displays: 2. -
Page 14: Fsk Correction Time Setting
14 / 18 3. After the adjustment is completed, press the confirmation key to complete the setting 2.13 FSK Correction Time Setting 1. When in the home screen, press the setting key/ 12 times turn Down to display Press the confirmation key, the screen displays: 2. -
Page 15: Chapter Four Upgrades And Other Considerations
15 / 18 Number Description Note Incoming call recording During voice control recording,1/2/3 Message Recording Will not show Dial out to record Number of the current recording file Total number of recordings on the current date Record up to 199 records in a day Date of the current recording file Playback progress bar No number displayed during... - Page 16 16 / 18 Answer: Incoming call announcement audio file name LeaveMessage: Message announcement audio file name for VoiceMail Note: If the above two file names and file formats are wrong, there will be no announcement function Upgrade function: put the upgrade file in the Upgrade directory, then insert the SD card into the device, restart the device, wait for two minutes to complete the upgrade function The device just supports the SD card in FAT32 format.
-
Page 17: Chapter Five Ogm/Anti-Harassment
17 / 18 It’s “Series Connection” for DAR-5001A, then both the two RJ11 ports should be for Phone(as the below picture). If it’s mixed or connected: Left for PSTN, and Right user just “Parallel Connects” only one RJ11 port, the Call Announcement before Ringing can not be available. - Page 18 18 / 18 2. The recording box recognizes the call CID information and plays the announcement content 3. After the announcement is complete, the recording box sends ringing and outside line CID information to the telephone extension 4. When the number of rings reaches the message setting condition (the recording box starts the message function), the recording box enters the message mode, and after the announcement of the message is played, a voice message can be made.
Need help?
Do you have a question about the DAR5001A and is the answer not in the manual?
Questions and answers