Table of Contents
Advertisement
Quick Links
Advertisement
Table of Contents

Related Manuals for Seal One 3100K


Summary of Contents for Seal One 3100K
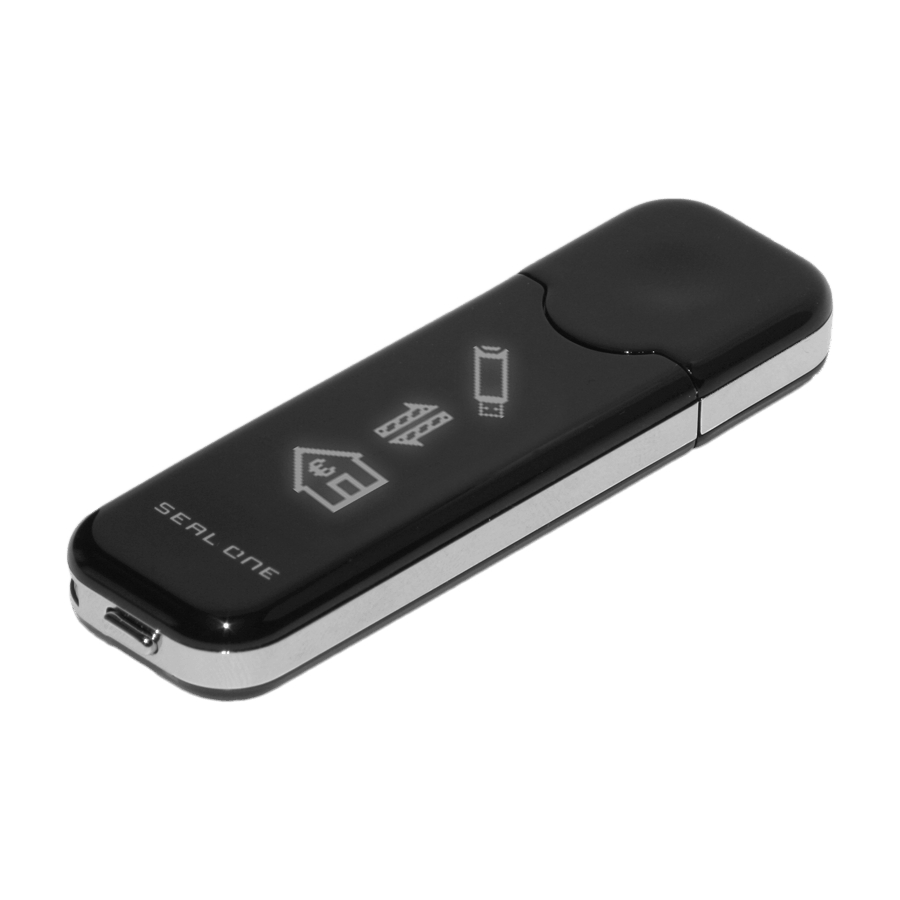
- Page 1 ® Seal One User Manual...
- Page 2 Seal One ® Thank you for choosing the product Seal One® USB. In order to fami- liarise yourself with the device, please read this user manual carefully before using the Seal One® USB. Signing transactions with Seal One ® ®...
-
Page 3: Package Includes
1. Connect: Enter your transaction data in the partner application as usual and connect the Seal One® USB to the USB port of your laptop/ Verify the transaction data on the display of the device. 2. Verify: Approve the transaction by pushing the button . -
Page 4: Getting Started
(Windows, Mac OS, Linux). If the Seal One Logo or any other symbol remains on the display of the Seal One® USB (e.g. Warning or error may appear): see Section 10 - Symbols and their meaning. - Page 5 Section 3, Step 2. Scenario 2: Autostart is disabled on your PC Autorun is disabled: You must start the Seal One® USB manually. Open the Start menu, select „My Computer“ or „Computer“. Start the application by double clicking on „Seal One“. Further instruc-...
- Page 6 „SealOne“. Further steps are explained in Section 3 Step 2. To use the entire functionality of Seal One application, you need a Linux distribution which contains the GTK graphics library. The Application can also be used without a graphical interface. In this line.
-
Page 7: Rotate Display
The logo indicates that the partner application is able to work with Seal One ® 5 Rotate display When the Seal One® USB is connected to the laptop / PC, an icon In some cases it may occur that the displayed text of the Seal One ®... -
Page 8: Proxy Server
For Mac OS this function is not available as it does not have this tab. 6.3 Firewall Settings In some instances, the internet connection of your Seal One Unit may be Should this happen please allow all incoming and outgoing connections for Seal One Application. - Page 9 In order to use your Seal One ® USB with one of our acceptance partners, you must activate it via the application of the partner. For this purpose, you usually need to add the Seal One ® ID in the acceptance ®...
- Page 10 After a successful update, the following window will be displayed. Click „OK“ to close the window. In case the update cannot be performed successfully, you can al- ways repeat it again at a later point in time. In some cases it may be necessary to repeat an incomplete update manually using the restore function „Rescue_SealOne“.
-
Page 11: Safety Instructions
Do not let children play with the device. The device and the device cap can be swallowed by children. Never throw the 9.1 Legal disclaimer Seal One AG disclaims all liability for damages resulting due to improper use. The Seal One ®... - Page 12 9.4 Additional notes and handling instructions ® The Seal One USB is designed and manufactured with great care and should be treated with care. The following recommendations and hand- ling instructions should help you to ensure continuous operation and a long life expectancy: want to perform transactions with the device.
-
Page 13: Return Form
RETURN FORM To keep your return costs low, ask for the best fees for insured shipping. Returns without a completed form cannot be processed, or only processed with a considerable time delay. Reason of return: ____________________________________ Sender: Name/Company: ____________________________________ Street / No.: ____________________________________ Zip/City: ____________________________________... - Page 14 In this case you should try to use the device without using the USB extension cable or make use of another USB port on your Laptop/PC. If you are using the Seal One ® USB in a company, please contact your system administrator.
- Page 15 3 seconds again. Note: To avoid mistakes, the letters ’I’, ’O’, ’M’, ’W’ are not used. This message icon indicates an internal device error. First, pull the Seal One® USB out of the USB port and then re-connect ® the Seal One USB to your Laptop/PC.
- Page 16 ® USB. Your Seal One ® is ready to use. If the „CD“ icon on the display of the Seal One® USB is permanently displayed (e.g. because auto-start is disabled), you must start the Seal One ® USB manually. For further details see Chapter 3 in this user manual.
Need help?
Do you have a question about the 3100K and is the answer not in the manual?
Questions and answers