Advertisement
Quick Links
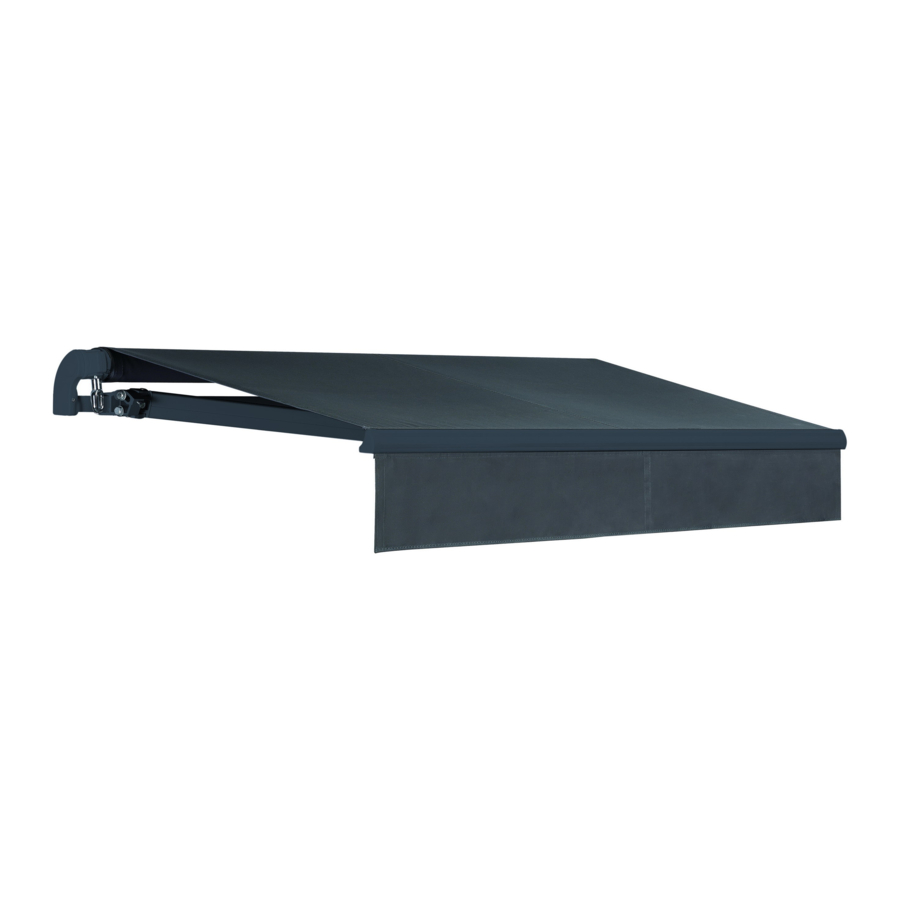
GELENKARM-MARKISE
Artikel-Nr.: 28351 (beige) / 2836 (anthrazit)
Maße: 3,95 x 2,5 m
- INSTALLATIONSANLEITUNG -
ACHTUNG: Lesen Sie diese Anleitung vor der Installation und
Inbetriebnahme unbedingt komplett durch und bewahren sie gut auf.
Markisen sind ein Sonnenschutz und dienen nicht als Regenschutz,
diese müssen zwingend bei Wind eingefahren werden. Bitte prüfen
Sie mit einem Fachmann vor Ort welche Art der Befestigung bei Ihrer
Wand benötigt wird. Die mitgelieferten Dübel sind nicht für jeden
Wandtyp geeignet. Für falsche Befestigungen, fehlerhafte Montage
oder Wind / Sturmschäden übernehmen wir keine Haftung.
„SUNCONNECT"
Advertisement

Related Manuals for Jet-Line SUNCONNECT


Summary of Contents for Jet-Line SUNCONNECT
- Page 1 GELENKARM-MARKISE „SUNCONNECT“ Artikel-Nr.: 28351 (beige) / 2836 (anthrazit) Maße: 3,95 x 2,5 m - INSTALLATIONSANLEITUNG - ACHTUNG: Lesen Sie diese Anleitung vor der Installation und Inbetriebnahme unbedingt komplett durch und bewahren sie gut auf. Markisen sind ein Sonnenschutz und dienen nicht als Regenschutz, diese müssen zwingend bei Wind eingefahren werden.
- Page 2 & BAUTEILE ERFORDERLICHES WERKZEUG...
-
Page 3: Installation
Anleitung Legen Sie vor der Installation folgende Werkzeuge bereit: Schrauben- Schrauben- Bohrmaschine mit Maßband zieher schlüssel Bohrspitze Ø 12 mm Installation Abb. A Abb. B... - Page 4 Hier einziehen Durch den Stoff, in die Welle und das Front-Profil...
- Page 5 mgeist Festziehen Festziehen Festziehen Festziehen...
- Page 6 Grund...
- Page 8 Alle Teile auf einem Tisch ausbreiten. Verbinden des Aufrollers Fixieren des Aufrollers Verbinden der vorderen Leiste...
- Page 9 Fixieren der vorderen Leiste Verbinden des 4-kant Rohres Fixieren des 4-kant Rohres Befestigung der Armaufhängung...
- Page 11 Einsetzen Markisenarm in die Halterung...
- Page 12 Festziehen des Markisenarms in der Halterung. Montage der Rolleinrichtung mit der Seitenabdeckung...
- Page 13 Beidseitig Einführen der Tuchverstärkung...
- Page 14 Kürzen der überschüssigen Tuchverstärkung nachdem diese an beiden Seiten anliegt.
- Page 15 Einführen der Volantverstärkung...
- Page 16 Einführen des Tuches mit Verstärkung in die Markisenrolle. Vorsichtig durchziehen Verschließen des Einzuges auf beiden Seiten.
- Page 17 Festziehen Tuch in die vordere Schiene einfügen...
- Page 18 Tuch auf die Laufrolle gleichmäßig aufwickeln. Anbringen der Seitenkappe.
- Page 19 Aufsatz der Antriebsschnecke.
- Page 20 Antriebsschnecke fixieren.
- Page 21 Armhalterungen an vorderer Schiene befestigen. Markisen Arme mit Halterung verbinden.
- Page 22 Fixieren der Halterung So sollte dies nach der Montage aussehen. Anbringung der seitlichen Abdeckung.
- Page 24 Fixieren der Arme Anbringen der Markise an die vorher an der Wand montierten Wandhalterungen.
- Page 25 Anbringen der Wasserwaage in der Mitte der Markise Ausrichten der Arme und fixieren.
- Page 26 Installationsvideos und Aufbauanleitungen zu unseren Produkten finden Sie unter www.gartenmoebelkauf.de Nutzername: jet-line • Passwort: user2011 Weitere Produkte für Ihren Garten finden Sie unter www.gartenmoebelkauf.de KBW Trading GmbH Gewerbering 2 88518 Herbertingen Deutschland Tel: 07586-921160 Fax: 07586-9211616 E-Mail: info@jet-line.de www.gartenmoebelkauf.de...
- Page 27 ARTICULATED ARM AWNING „SUNCONNECT“ Article-No: 28351 (beige) / 2836 (anthracite) Dimension: 3,95 x 2,5 m - INSTALLATION & USER MANUAL - WARNING: Please read this instruction carefully prior to installation and follow it exactly. Save your manual well for future reference.
- Page 28 & PARTS & REQUIRED TOOLS...
- Page 29 Instruction Please prepare the following tools prior to installation: Measuring Measuring Tape Wrench Screwdriver Drilling machine Tape with drill bit Ø 12 mm Installation Image B Image A...
- Page 30 Total Size 3,95 x 2,5 m 580 mm Insert here Through the fabric into the shaft and the front-panel...
- Page 31 mgeist Tighten Tighten Tighten Tighten...
- Page 32 Ground...
- Page 33 Ground Festziehen Festziehen...
- Page 34 Before you start assembly, make sure that your shipment is complete and there are no parts missing or damaged. Connect the retractors Fix the retractors Connect the front-panel...
- Page 35 Fix the front-panel Connect the square tube Fix the square tube Install the holder for the arms...
- Page 37 Insert the arms into the holders...
- Page 38 Connect the arms firmly with the holders Assemble the winder and the side-cover...
- Page 39 On both sides Insert the reinforcement material in the tunnel of the roof-fabric...
- Page 40 Shorten the reinforcement to make it fit the tunnel on both sides...
- Page 41 Insert the reinforcement material in the tunnel of the volant-fabric...
- Page 42 Insert the reinforced tunnel in the awning shaft Carefully pull the cloth through to the other side Afterwards plug the tunnel- entry on both sides...
- Page 43 Tighten carefully Insert fabric in the front-panel...
- Page 44 Evenly wind the cloth onto the roll Install the side cap...
- Page 45 Put on the driving worm...
- Page 46 Fix the driving worm...
- Page 47 Fix arm-brackets onto the front rail Connect the awning-arms with the holders...
- Page 48 Fix the holders That’s how it should look like after finishing assembly Put on the side cover...
- Page 50 Fix the arms Install the awning onto the brackets priorly mounted onto your wall...
- Page 51 Fix the spirit level in the middle Align and fix the arms...
- Page 52 Installation-videos and further instructions for our products can be found on www.gartenmoebelkauf.de Username: jet-line • Password: user2011 Further products for your garden can be found on www.gartenmoebelkauf.de KBW Trading GmbH Gewerbering 2 88518 Herbertingen Germany Phone: 07586-921160 Fax: 07586-9211616 E-Mail: info@jet-line.de...
Need help?
Do you have a question about the SUNCONNECT and is the answer not in the manual?
Questions and answers