Advertisement
Quick Links
Franklin Electric Co., Inc.
P. O. Box 12010
Oklahoma City, OK 73157-2010
405.947.2511 • Fax: 405.947.8720
www.LittleGiantPump.com
CustomerService-WTS@fele.com
INTRODUCTION
EN
Congratulations on the purchase of your Simply Falls™ water
feature. Use your Simply Falls™ in places where a conventional
water garden pond may not fit. Water garden ponds are not easily
justifiable for all households. There are concerns with space,
maintenance, as well as concerns for small children or pets playing
in the near vicinity of a pond. Simply Falls™ creates the sights
and sounds of a water garden without the concerns that come
with having a pond. Please follow these instructions to ensure a
successful installation.
Typical installation (Figure 1) shown with model F1000/F5000
waterfall vault and flexible 2" hose.
DO NOT use extension cords with this pump. Install according to
local electrical/building codes. Connect only to a circuit that is
protected by a ground-fault-circuit-interrupter (GFCI).
Model SF
Simply Falls™ vault with lid
Model SF-3
Simply Falls™ vault with lid
Pump model: WGFP-15
Waterfall filter: WF5
Discharge kit: DK-A
2" flexible PVC
Auto-fill valve
Liner and underlayment
EXCAVATING FOR THE VAULT
When excavating for your vault it is important to maintain a specific
water level in the reservoir at all times. This is important to ensure
the pump is submerged at all times with an adequate water supply
in the waterfall and/or stream.
Depth of the excavated hole should be deep enough to accommodate
the Simply Falls™ vault. Allow another 1-2" for river rock to cover lid
of the vault, this will help to hide lid but still make it easy to access
the pump inside the vault. Keep in mind that the larger/longer you
make your stream/waterfall, the larger the pit must be to ensure
there is a suitable amount of water. Do not use river rock that is
smaller than 1/2" diameter as it can get inside vault and damage
pump. Refer to the diagrams for the overall dimensions.
Discharge Kit
Trousse d'Évacuation
Juego de Descarga
Pompe
Bomba
Simply Falls™ Vault
Bassin Simply Falls
MC
Bóveda Simply Falls™
SIMPLY FALLS
MODELS
MODÈLES
MODELOS
SF • SF-3
Waterfall Vault
Bassin de la Cascade
Bóveda de la Caída de Agua
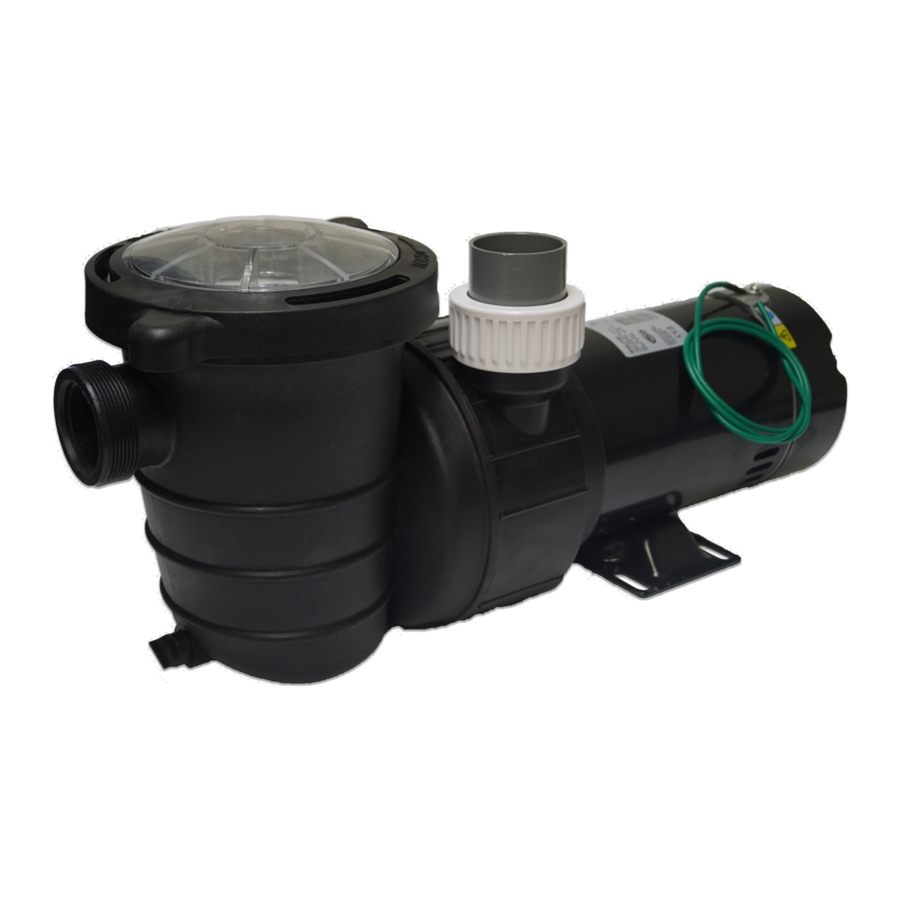
Pump
Figure 1
™
IMPORTANT – Before beginning, read all instructions to familiarize
yourself with the products and additional accessories that can
be used. This will help ensure that your water feature has been
developed to meet your needs and ensure a proper installation.
If using an alternate pump inside vault, the maximum recommended
pump flow rate should not exceed 5,000 gallons per hour.
Inspect excavated hole and make sure there are no sharp objects
present. Lay underlayment inside the excavated hole and along the
stream/waterfall regions.
Similarly, place pond liner on top of the underlayment in same regions.
If using two separate liners: Liner used for the stream/falls should over-
lap liner in the excavated pit. BE SURE THAT 1-2 FEET OF OVER-LAP
IS BETWEEN THESE LINERS PREFERABLY ALONG AN INCLINE. If
possible, over-lap the liners at a drop-off point, such as where a waterfall
will occur. This will eliminate the possibility of water ever escaping. Do
not over-lap liners in an area that will continually hold water.
Optional: Install the waterfall vault.
Before placing your Simply Falls™ vault into the excavated hole,
place pump inside the vault along with discharge kit. DO NOT GLUE
FITTINGS TOGETHER AT THIS TIME. With discharge kit installed on
pump (inside vault), check to make sure discharge kit is in line with
the pump discharge hole in the vault (Figure 1). Make adjustments
where applicable. Repeat temporary installation as required until
these items are in line. IMPORTANT: MAKE SURE THE CORRECT
PVC CEMENT IS USED WHEN GLUING FLEXIBLE PVC. This cement
is available at most swimming pool supply stores.
Once discharge kit/pump has been checked with vault, glue
discharge kit components together using PVC primer/cement or
suitable all-purpose cement. It is still recommended to use Teflon®
tape on all threaded fittings to ensure a proper seal with minimal
flow loses.
Place vault into the excavated hole (on top of the liner). Install pump with
the discharge kit and make hose connection through the 3" hole in side
of the vault. It is a good idea to fill with water and make a trial run before
placing rock into the excavated hole. This will give you an idea of how far
the water level drops in pit beforehand.
Begin placing rock around vault to fill up excavated hole. It is
recommended that larger rock be placed at the bottom of excavated
hole and then use a small layer of river rock at top. Avoid using sharp
edged rocks as they could damage liner.
Optional: It is recommended to install a 2" ball valve in the 2"
connecting hose, between the pump vault and the waterfall. This
allows you to control the flow rate exiting the waterfall.
Water evaporation will occur with your Simply Falls™. Periodically
inspect water level of the reservoir to ensure pump has plenty of
water. As a rule of thumb it is best if water level is maintained at
about the same level as top layer of rock in the pit.
Winterizing may be required depending upon the geographical
region for the installation. If this is applicable, please pump water
out of reservoir, remove water in hose upstream of check valve, and
remove pump.
19.25"
Hose
Boyau
Manguera
19.25"
INSTALLATION
MAINTENANCE
24.5"
Figure 2
1
Advertisement

Related Manuals for Little Giant SIMPLY FALLS SF


Summary of Contents for Little Giant SIMPLY FALLS SF
- Page 1 SIMPLY FALLS ™ INSTALLATION IMPORTANT – Before beginning, read all instructions to familiarize MODELS yourself with the products and additional accessories that can MODÈLES be used. This will help ensure that your water feature has been Franklin Electric Co., Inc. developed to meet your needs and ensure a proper installation.
- Page 2 Facultatif : Installez le bassin de la cascade. INTRODUCTION Avant de placer le bassin Simply Falls dans le trou, mettez la Nous vous félicitons pour l’achat de votre dispositif Simply Fall pompe à l’intérieur du bassin avec la trousse d’évacuation (NE Utilisez votre Simply FallsMC là...
- Page 3 Warranty will be VOID if any of the following conditions are found: Any product that should fail for either of the above two reasons and is still within the warranty period will be repaired or replaced at the option of Little Giant as the sole 1. Sealed motor housing opened.
- Page 4 Si La présente garantit que votre pompe Little Giant est en parfaite condition à sa sortie se produce una disputa sobre el reemplazo de la bomba, el distribuidor o vendedor de l’usine.