Table of Contents
Advertisement
Quick Links
Advertisement
Table of Contents

Summary of Contents for Ronix 9210
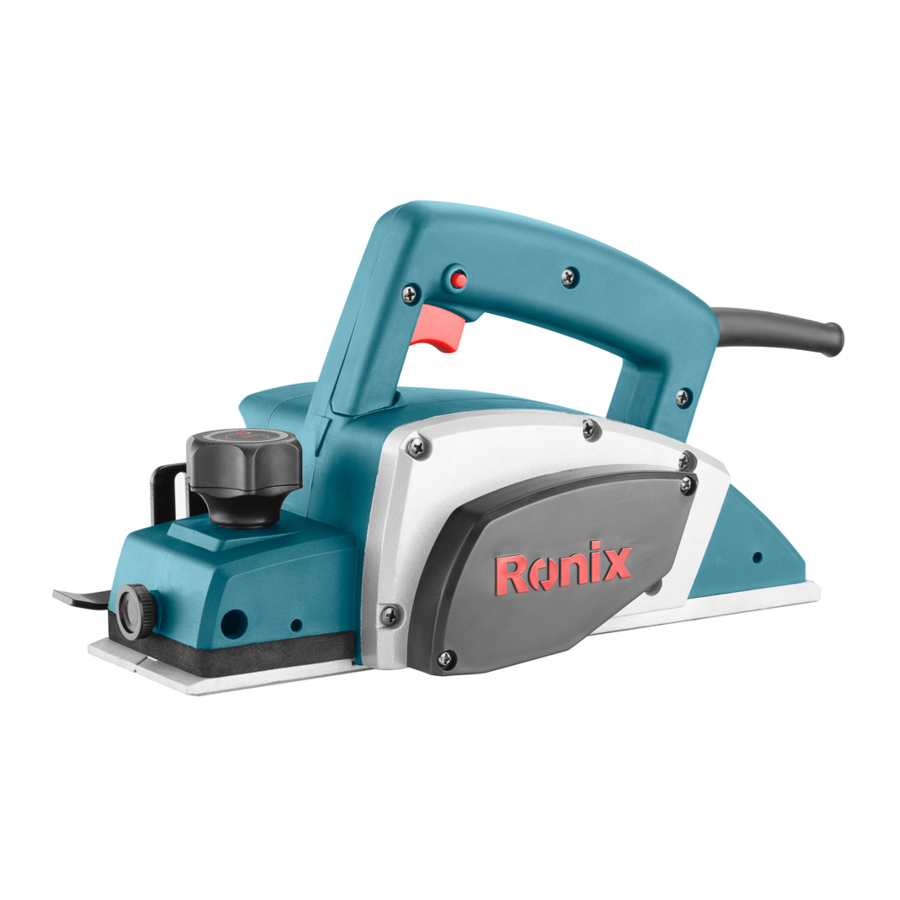
- Page 1 POWER PLANER 82mm 9210...
-
Page 2: Specification
SPECIFICATION Model 9210 Power 500W Voltage 220V Frequency 50Hz No load speed 18000rpm Wood Planning capacity 82mm Rabbet planning operation 23mm Planning depth Weight 2.9Kg PARTS LIST IMPORTANT SAFETY INSTRUCTIONS WARNING! When using electric tools, basic safety preucations should always... - Page 3 be followed to reduce the risk of fire, electric shock, and personal injury, including the following: READ ALL INSTRUCTIONS. - KEEP WORK AREA CLEAN. Cluttered areas and benches invite injuries. - CONSIDER WORK AREA ENVIRONIMENT. Don’t use power tools in damp or wet locations.
- Page 4 changing accessories, such as blades, bits, cutters. - REMOVE ADJUSTING KEYS AND WRENCHES. From habit of checking to see that keys and adjusting wrenches are removed from tool before turning it on. - AVOID UNINTENTIONAL STARTING. Don’t carry plugged-in tool with finger on switch.
-
Page 5: Additional Safety Rules
to the fool. If in doubt, DO NOT PLUG IN THE TOOL. Using a power source with voltage less than the nameplate rating is harmful to the motor. ADDITIONAL SAFETY RULES 1) Rags, cloth, cord, string and the like should never be left around the work area. -
Page 6: Removing Or Installing Planer Blades
REMOVING OR INSTALLING PLANER BLADES CAUTION: Always be sure that tool is switched off and unplugged before removing or installing the blade. To remove the blades on the drum, unscrew the three installation bolts with the socket wrench. The drum cover comes off together with the blades. - Page 7 gauge plate, the planer blade locating lugs sit in the blade groove with the back side o the gauge base. Check this alignment carefully to ensure uniform cutting. 5) Slip the heel of the adjust plate into the groove of the drum. 6) Set the drum cover the adjust plate/set plates and screw in the three hex flange head bolts so that a gap exists between the drum and the set plate to slide locating planer blade into position.
-
Page 8: Adjusting Depth Of Cut
ADJUSTING DEPTH OF CUT Depth of cut may be adjusted by simply turning the knob on the front of the tool. SWITCH ACTION To start the tool, simply pull the trigger. Release the trigger and then push in the lock button. To stop the tool from the locked position, pull the trigger fully, then release it. - Page 9 piece of wood. Convenient holes are provided in the fence for this purpose, and also for attaching an extension guide (optional accessory). NOTE: When planning, move the tool with the edge fence flush with the side of the workpiece. Otherwise uneven planning may result. Max.
-
Page 10: Maintenance
MAINTENANCE CAUTION: Always be sure that the tool is switched off and unplugged before attempting to perform inspection or maintenance. REPLACING CARBON BRUSHES Remove and check the carbon brushes regularly. Replace when they wear down to the limit mark. Keep the carbon brushes clean and free to slip in the holders.
Need help?
Do you have a question about the 9210 and is the answer not in the manual?
Questions and answers