
Related Manuals for Royalcraft Faro Black


Summary of Contents for Royalcraft Faro Black
-
Page 2: Before You Start
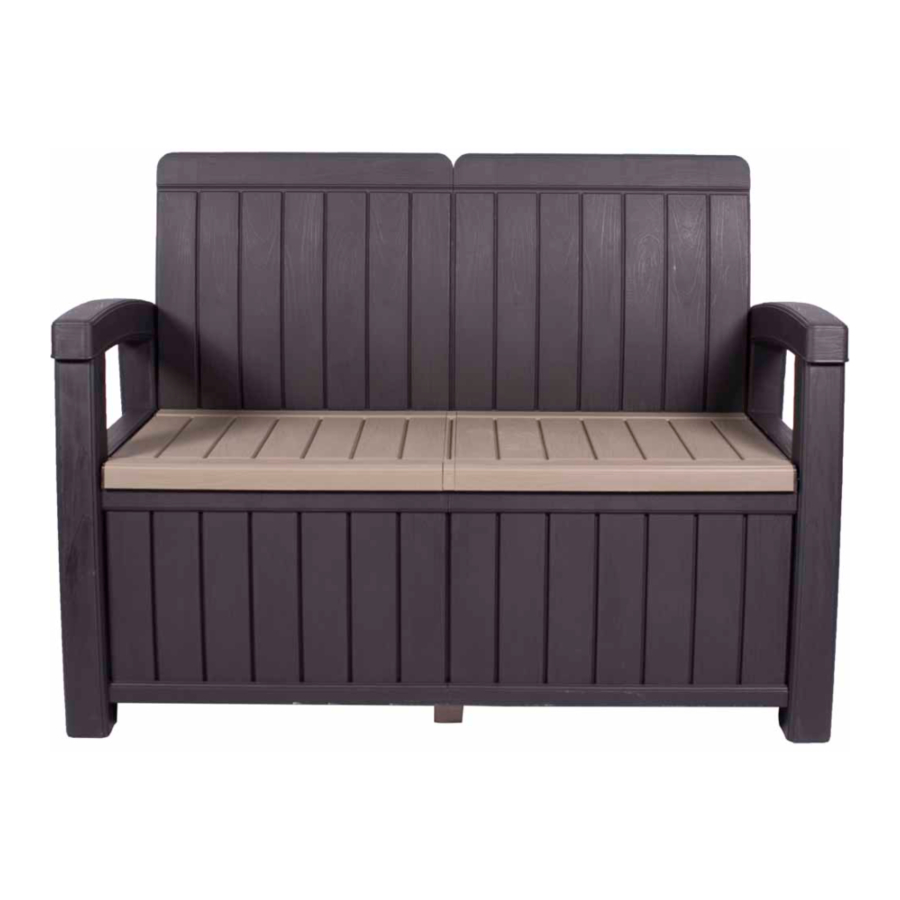
Faro Black Storage Bench Assembly Instructions Before you start Warnings be wiped down by hand with a damp sponge and a IMPORTANT, RETAIN FOR FUTURE weak solution of soap and water. REFERENCE READ CAREFULLY We would recommend lifting the products to move the... -
Page 3: Parts List
Faro Black Storage Bench Assembly Instructions Components, fixtures & fittings (not actual size) Parts List Part Part Diagram Qty. Diagram Qty. 1 PC 1 PC Right Leg Left Leg 2 PCS 2 PCS Box Bottom Panel Box Rear Panel 2 PCS... - Page 4 Faro Black Storage Bench Assembly Instructions 2 PCS 1 PC Connecting Bar for Seat Panel Seat Panel 1 PC 1 PC Middle Leg Middle Leg Backrest Pole 1 PC 23 PCS Bolt 2 PCS 1 PC Spanner Step by step assembly instructions www.royalcraft.co.uk...
- Page 5 Faro Black Storage Bench Assembly Instructions Step One Attach Part (ML2) to Part (ML1). Step Two Attach the Box Bottom Panels (D) to the Part (ML2) & (ML1). www.royalcraft.co.uk Produced in China for A Mir & Co., Ltd. © A Mir & Co., Ltd.
- Page 6 Faro Black Storage Bench Assembly Instructions Step Three Attach Box Rear Panel (R) to each other. Step Four Attach Box Rear Panel (R) to the Part (ML2) and (ML1) using Bolts (N). 2 Bolts are used in this Step. www.royalcraft.co.uk Produced in China for A Mir &...
- Page 7 Faro Black Storage Bench Assembly Instructions Step Five Attach Box Front Panel (F) to each other. Step Six Attach Box Front Panel (F) to the Part (ML1) and (D) using Bolts (N). 2 Bolts are used in this Step. www.royalcraft.co.uk Produced in China for A Mir &...
- Page 8 Faro Black Storage Bench Assembly Instructions Step Seven Attach Connecting Bar for Backrest (H) to the assembled Parts. Step Eight Attach Front Panel for Backrest (BC) to the assembled Parts using Nut (M) and Bolts (N). 7 Bolts are used in this Step.
- Page 9 Faro Black Storage Bench Assembly Instructions Step Nine Attach Right Leg (RS) to the assembled Parts using Bolts (N). Attach Left Leg (LS) to the assembled Parts using Bolts (N). 12 Bolts are used in this Step. Step Ten Attach Rear Panel for the Backrest (B) to the assembled Parts.
- Page 10 Faro Black Storage Bench Assembly Instructions Step Eleven Attach Seat Panel (I) to Connecting Bar for Seat Panel (ML3). Step Twelve Place the Seat Panels (I) onto the assembled parts. Plug in the Caps (O). Your Storage Bench is ready for use.
Need help?
Do you have a question about the Faro Black and is the answer not in the manual?
Questions and answers