Advertisement
Advertisement
Table of Contents

Summary of Contents for OneScreen GoSafe
- Page 1 OneScreen GoSafe Quick Start Guide...
-
Page 2: What's Included
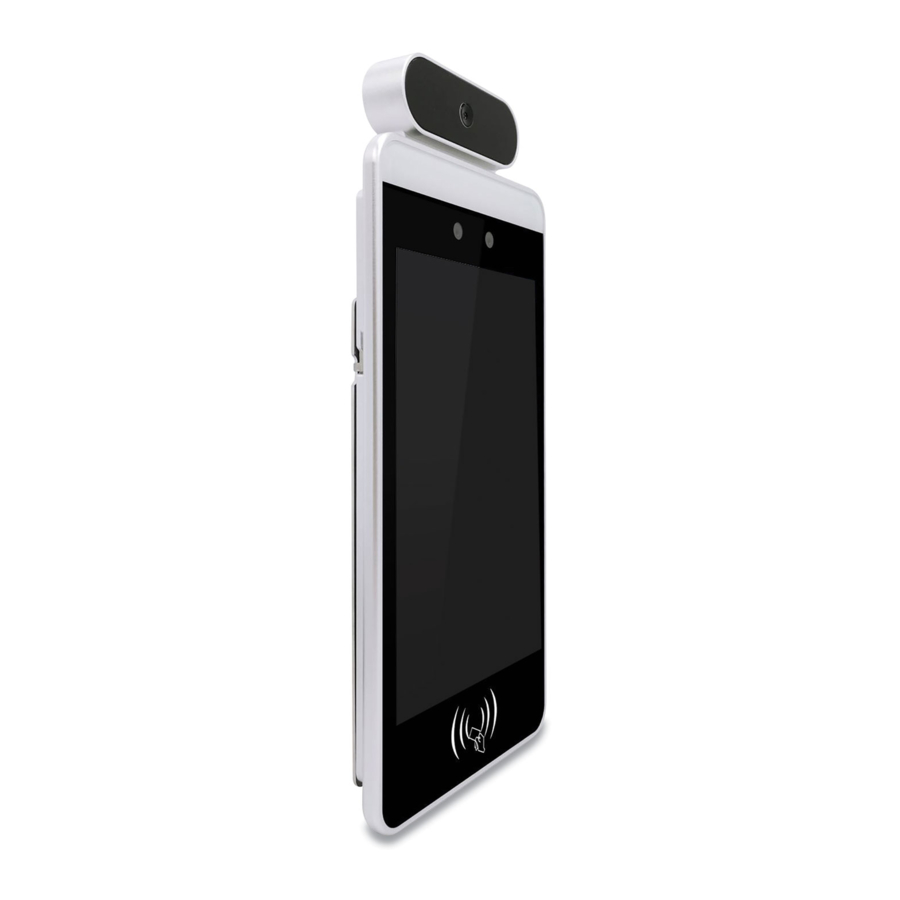
What’s included? OneScreen GoSafe has three different mounting options to choose from; floor stand, table stand and wall mount. The contents and respective assembly options vary based on the customer’s preferences. The following hardware and software items are shipped as part of OneScreen GoSafe. - Page 3 Desktop Stand: The OneScreen GoSafe Desktop Stand is an ideal option if the scanner is to be placed at the reception desk or a table next to the entrance. People entering can immediately scan their faces before proceeding further. The stand comes with screws and a bolt to fix the main assembly of the scanner firmly with the base.
-
Page 4: Floor Stand
Step 4: Pass cables Pass the cables through the bolt removed in step 1 and use through the hole on it to secure the OneScreen GoSafe and top assembly the top assembly. together. Step 5: Step 6: Connect the RJ45 (Ethernet) cable, power... -
Page 5: Installing The Wall Mount
Power on the device to start using it. Wall Mount: The OneScreen GoSafe has an option for Wall mount as well. The wall mount version cannot be used with a floor stand or a table stand version as it has a different assembly. -
Page 6: Connecting To A Network
Note: Using the middle click on mouse will also show options such as pass records, face database etc. Clicking on Pass records, will show you all the pass records of people who scanned themselves using OneScreen GoSafe. Face Data Upload will upload a facial record of anyone by taking a picture, assigning a name and an ID. All the faces that are saved for facial identification can be viewed on the facial database. - Page 7 To establish connection between your GoSafe device and its management software, plug in a mouse to your GoSafe device. Make sure this mouse has a scrolling wheel on it. Now do a middle click on the mouse, inside the GoSafe app. To do a middle click, press the scrolling wheel inwards. Now enter password and click on login management.
Need help?
Do you have a question about the GoSafe and is the answer not in the manual?
Questions and answers