Table of Contents
Advertisement
Available languages
Available languages
Quick Links
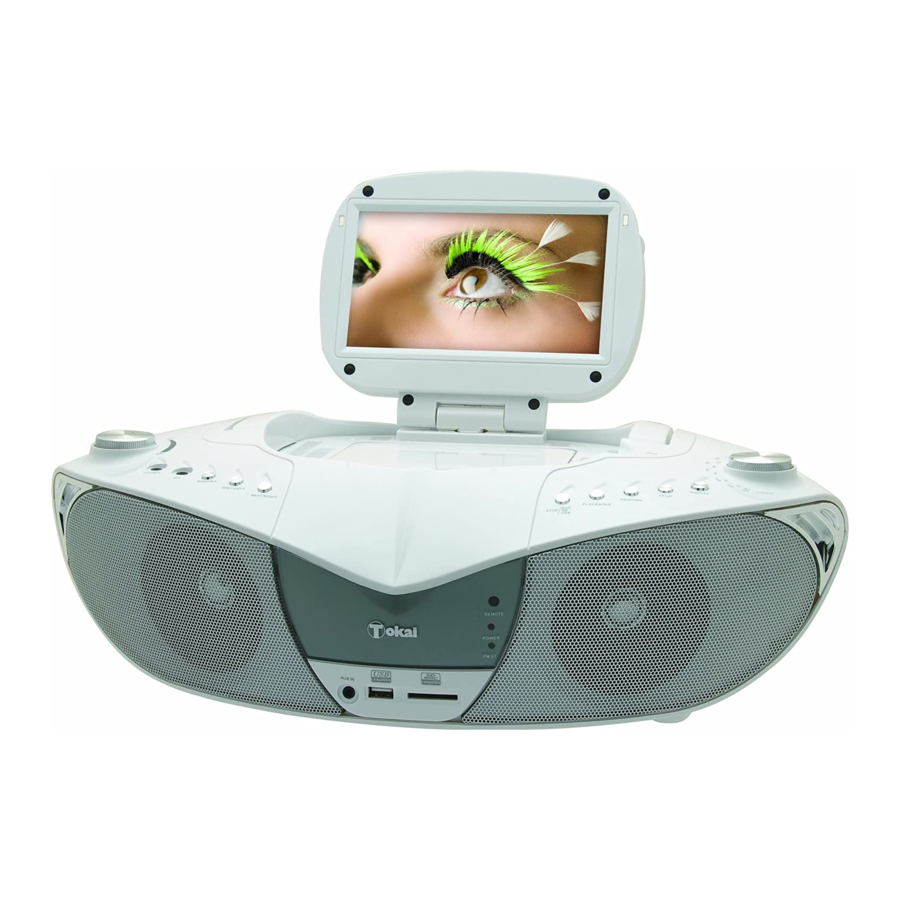
LRD-3050W
www.tokai.fr
NOTICE D'EMPLOI
1
INSTRUCTION MANUAL
11
MANUAL DE INSTRUCCIONES
20
MANUAL DE INSTRUÇOES
30
HANDLEIDING
40
Lire attentivement la notice avant d'utiliser l'appareil
Before operating this product, please read user manual completely
Lea atentamente el manual de instrucciones antes de utilizar el aparato
Lea atentamente o manual de instruçoes antes de utilizar o aparelho
Lees de handleiding door voordat u deze eenheid gebruikt
Français - English
Espanol - Portugues
Dutch
LRD-3050W
LRD-3050W
Advertisement
Table of Contents

Subscribe to Our Youtube Channel
Related Manuals for Tokai LRD-3050W


Summary of Contents for Tokai LRD-3050W
- Page 1 LRD-3050W NOTICE D'EMPLOI INSTRUCTION MANUAL MANUAL DE INSTRUCCIONES MANUAL DE INSTRUÇOES HANDLEIDING Lire attentivement la notice avant d'utiliser l'appareil Before operating this product, please read user manual completely Lea atentamente el manual de instrucciones antes de utilizar el aparato LRD-3050W Lea atentamente o manual de instruçoes antes de utilizar o aparelho...
- Page 2 Informations de sécurité Le symbole « point d’exclamation » à l’intérieur d’un triangle avertit l’utilisateur que d’importantes instructions d’utilisation PRECAUTIONS : et de maintenance sont contenues dans le LE LECTEUR DVD EST UN PRODUIT DE CLASSE LASER mode d’emploi. CE LECTEUR UTILISE UN RAYON LASER INVISIBLE QUI PEUT ÊTRE DANGEREUX EN CAS D’EXPOSITION Le symbole «...
- Page 3 ILLUSTRATION DES COMMANDES/PRISES DE L’APPAREIL 9 11 13 8 10 12 22 23 25 1. REGLAGE DU VOLUME 17. PORT COMPATIBLE CARTES SD/MMC 2. PRISE CASQUE 18. VOYANT D’ALIMENTATION 3. PRISE MICROPHONE 19. VOYANT FM STEREO 4. BOUTON DVD/DVB-T (DVD/TNT) 20.
-
Page 4: Installation Des Piles
NOTE : Des piles très usées peuvent gonfler et fuir à l’intérieur ILLUSTRATIONS DES BOUTONS DE LA du compartiment. Pour éviter d’endommager votre appareil, TELECOMMANDE ET FONCTIONS retirez les piles du compartiment lorsque vous n’utilisez pas PRINCIPALES l’appareil pendant une période prolongée ou lorsque les piles sont usées. - Page 5 RECHERCHER UNE SCENE PREFEREE FONCTIONNEMENT 1. Appuyez sur la touche SEARCH (recherche) pendant la lecture et indiquez l’option que vous souhaitez lire (titre, PREPARATION chapitre ou point du chapitre) avec les touches de Si vous avez branchez votre appareil au téléviseur, allumez navigation.
- Page 6 VISUALISATION DES ANGLES MULTIPLES (DVD 4. INVERSION D’IMAGES seulement) Appuyez sur la touche de navigation HAUT de votre Appuyez sur la touche ANGLE de manière répétée pendant la télécommande ou maintenez appuyé la touche de navigation lecture et vous verrez apparaître les différents angles HAUT de votre appareil, pour une inversion verticale de disponibles sur le disque.
-
Page 7: Fonctionnement De La Radio
1. CONFIGURATION DU SYSTEME 3. CONFIGURATION VIDEO VIDEO SETUP SYSTEM SETUP BRIGHTNESS TV SYSTEM CONTRAST SCREEN SAVER TV TYPE SATURATION PASSWORD RATING EXIT SETUP EXIT SETUP 1.1 SYSTEME TV – utilisé pour sélectionner le mode de TV. 3.1 LUMINOSITE – pour régler la luminosité de l’écran LCD. Veuillez sélectionner l’option adaptée au système de votre TV. - Page 8 NOTE : lorsqu’un casque (ou écouteurs) est branché à cette AFFICHER LES INFORMATIONS DETAILLEES DU PROGRAMME TV prise, aucun son ne sortira des haut-parleurs de l’appareil. Si vous utiliser un casque d’écoute ou des écouteurs avec cet Appuyez sur la touche DISPLAY en mode TNT pour afficher appareil, prière de respecter les précautions suivantes : l’information détaillée du programme.
-
Page 9: Caracteristiques Techniques
Configuration de la vidéo CARACTERISTIQUES TECHNIQUES LUMINOSITE – pour régler la luminosité de l’écran. Alimentation : Entrée CA 230 V. 50Hz CONTRASTE – pour régler le contraste de l’écran DC 12 V. Piles 8 x LR-14 (UM2) COULEUR – pour régler la couleur de l’écran. Télécommande : s’utilise avec une pile CR2025 (non fournie) SATURATION –... -
Page 10: Resolution De Problemes
PRECAUTIONS LORS DE LA MANIPULATION DES DISQUES • Tenez le disque par ses bords afin d’éviter de souiller la surface du disque avec des traces de doigts. • Les traces de doigts, la saleté et les rayures causent des déformations et des sauts. •... - Page 11 Mise au rebut en fin de vie Attention ! Ce logo apposé sur le produit indique qu’il s’agit d’un appareil dont le traitement en tant que déchet rentre dans le cadre de la directive 2002/96/CE du 27 janvier 2003, relative aux déchets d’équipements électriques et électroniques (DEEE).
-
Page 12: Safety Precautions
SAFETY PRECAUTIONS CAUTION: THE UNIT EMPLOYS A LASER SYSTEM. TO ENSURE THE CAUTION PROPER USE OF THE UNIT, READ THIS MANUAL CAREFULLY AND KEEP IT FOR FUTURE REFERENCE. DO NOT OPEN IF THE UNIT REQUIRES SERVICING, CONTACT THE SELLER OR SEE "TROUBLESHOOTING". THE LIGHTNING FLASH WITH ARROWHEAD TO PREVENT DIRECT EXPOSURE TO THE LASER SYMBOL WITHIN AN EQUILATERAL... - Page 13 Illustration of the Controls/Jacks on the Main Unit 9 11 13 8 10 12 22 23 25 1. VOLUME CONTROL 17. SD/MMC CARD SLOT COMPATIBLE 2. PHONES JACK 18. POWER INDICATOR 3. MIC JACK 19. FM ST. INDICATOR 4. DVD/DVB-T BUTTON 20.
-
Page 14: Basic Connection
stored for long periods of time or if the batteries become Illustration of the Keys on the Remote exhausted. Controller and Their Main Functions NOTE: To use your set on battery power, you MUST remove the AC cord from both the wall outlet and the back of the set. REMOTE CONTROL BATTERY INSTALLATION Insert the battery while observing the correct (+) and (-) polarities. - Page 15 OPERATIONS PROGRAM PLAY (UP TO 16 MEMORIES) 1. Press PROGRAM/GUIDE during playback to display the program menu. PREPARATION 2. Select location(s) to be memorized via navigation buttons Power on the TV set and select video input mode. and then enter desired Titles/Chapters numbers via numeric GET STARTED buttons.
-
Page 16: Initial Settings
RETURNING TO MAIN MENU AND PLAYING TITLE (DVD) with media files into the SD/MMC card slot compatible, after During playback, press MENU button to return to main menu. the USB or SD/MMC is successfully detected and read for a Press the TITLE button to play the title. few seconds, the TV screen will show all its folders. -
Page 17: Radio Operation
1.4.2 Input user's password "0000" to unlock it, in this case, RADIO OPERATION select the input box again to change the password by inputing TO PLAY THE RADIO another new four numeric numbers and then press 1. Slide the FUNCTION switch to the RADIO position. ENTER/SELECT button to confirm. - Page 18 A dialogue of first time installation shows on the screen, select 2. System config YES option to perform the first time installation, then select the TV setting options as mentioned in the dialogue to finish the first time TV system: it is used to select TV system. installation, select NO option to exit this interface.
-
Page 19: Specifications
SPECIFICATIONS: Audio signal output: Power source: AC 230V/50Hz 1. DVD (linear audio) DC 12V UM2/"C" x 8pcs (1) Frequency response: 20Hz-20KHz (48KHz sampling) & Remote control: CR2025 20Hz-20KHz (96KHz sampling) Receiving bands: AM/FM (2) S/N ratio: >45dB Tuning range: AM 540 - 1600 kHz (3) Wow and flutter: below measurable level FM 88 -108 MHz 2. -
Page 20: Important Safety Instructions
IMPORTANT SAFETY INSTRUCTIONS The apparatus shall not be exposed to dripping or splashing and that no objects filled with liquids, such as vases, shall be placed on the apparatus. When the mains plug or an appliance coupler is used as the disconnect device, the disconnect device shall remain readily operable.
Need help?
Do you have a question about the LRD-3050W and is the answer not in the manual?
Questions and answers