Table of Contents
Advertisement
Quick Links
Advertisement
Table of Contents

Summary of Contents for SECURENET OKO DB3A
- Page 1 3MP DOORBELL CAMERA Quick Start Guide POWERED BY DB3A...
-
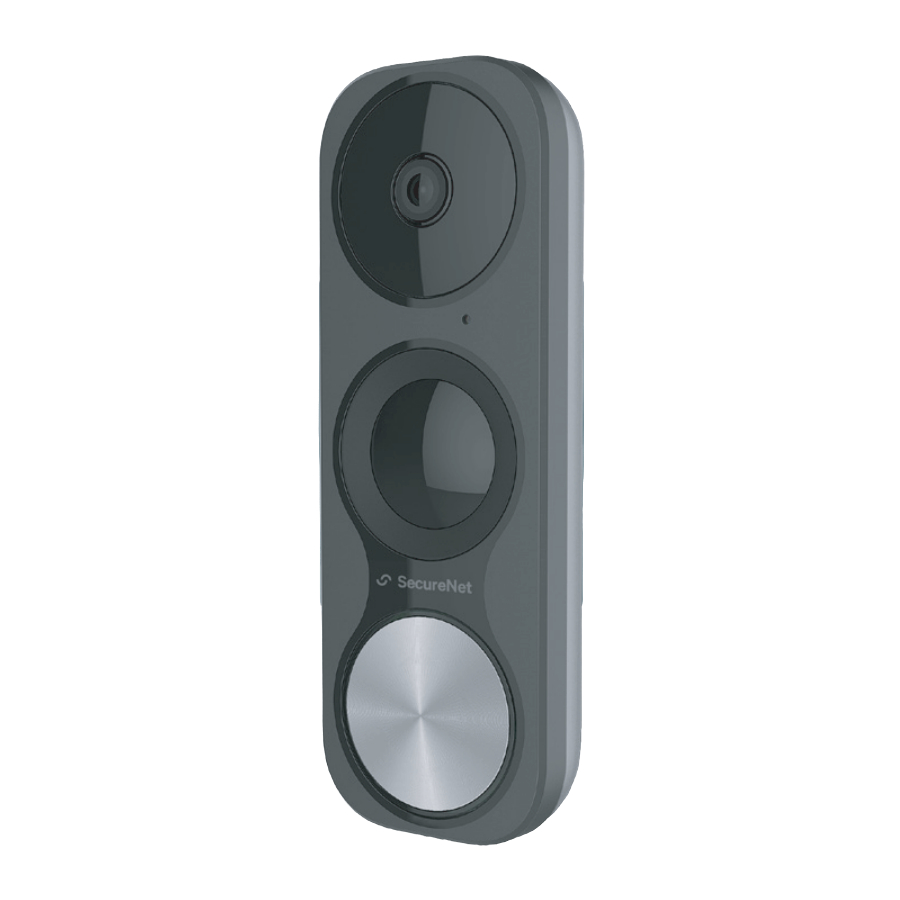
Page 3: Getting To Know The Camera
Getting to know the camera MicroSD MOUNTING TERMINALS CARD SLOT HOLES RESET BUTTON STATUS INDICATOR LENS + Flashing blue: the camera is on and ready for Wi-Fi connection PIR MOTION + Steady blue: the camera is DETECTOR running properly + Steady red: the camera is starting STATUS INDICATOR + Flashing red: there is a network... - Page 4 What’s in the box? MOUNTING PLATES & PLATE FOAM DOORBELL ADDITIONAL CAMERA FACEPLATE POWER KIT & WIRE HARNESS U-SHAPED WIRES DRILL BIT & FUSE WIRE SCREWDRIVER MINI-LEVEL WIRE CONNECTORS SECURITY SCREWS MOUNTING SCREWS FIXING SCREWS ANCHORS DOORBELL SCREWS...
- Page 5 Installing the chime power kit Requires an existing mechanical chime or a digital chime with TRANS and FRONT terminals Locate your AC mains power box and switch off the circuit breaker to your existing doorbell and chime. Test your existing doorbell to confirm the power is off.
-
Page 6: Wiring Overview
Wire the MID-POINT “V” part of the WHITE wire to the FRONT terminal and tighten the screw to secure it. Wire the MID-POINT “V” of the BLACK wire to the TRANS terminal and tighten the screw to secure. Connect the END of the WHITE wire to the original FRONT wire, twisting a wire connector cap onto the two wires to secure them together. - Page 7 Mounting the doorbell camera If replacing an existing doorbell, ensure the AC power is off, then unscrew the doorbell from the wall. Unscrew the two terminals to release both wires. Select the mounting plate that provides the best viewing angle for the doorbell. If mounting to an uneven surface use the The recommended installation height is 4ft included plate foam to remove any gaps...
- Page 8 Wiring the doorbell camera If you have a chime installed, follow option A; if not, follow option B. OPTION A In your doorbell accessories, locate the two “U” shaped extension wires. Attach the opposite ends of both “U” wires to each of the existing doorbell wires.
- Page 9 Remove the faceplate from the doorbell camera by pulling out from the bottom edge. (Optional) Insert a MicroSD card into the MicroSD card slot on the side of the camera. The card will be formatted during the add camera process. Tuck the wiring into the recessed gap in the center of the mounting plate and wall, then place the doorbell camera in...
-
Page 10: Connecting To The Camera
Turn the AC power back on at the mains power box. The doorbell camera will power up and is ready to add in the app. Connecting to the camera In the app, go to the Video or Settings > Video settings page and tap the circular “+”...
Need help?
Do you have a question about the OKO DB3A and is the answer not in the manual?
Questions and answers