
Summary of Contents for Dielectric Dual Switch
- Page 1 Dual Switch Controller Dielectric 22 Tower Road Raymond, ME 04071 Phone: 800.341.9678 22 January 2020 Rev.2.0...
-
Page 2: Table Of Contents
Contents INTRODUCTION ....................4 SETUP ........................4 INSTALLATION ....................7 OPERATION ..................... 11 RF Switch movement .................... 12 Switch Operation ....................15 Transmitter Interlock Control ................16 Load interlock Status Monitoring ................. 17 Modes of operation ....................17 Local / Remote operation status ................. 19 Mode Persistence .................... - Page 3 Figure 15: Switch interlock status ..................22 Figure 16: SNMP configuration using web interface ............22 Figure 17: Update firmware on the dual switch controller using the web interface ..23 Figure 18: Advanced configuration using web interface ..........24 Figure 19: Example of a saved configuration ..............25 Figure 20: Switch position display using web interface ..........26...
-
Page 4: Introduction
IP address is via the front panel touch screen. By selecting CONFIG -> Network the IP address of the Dual Switch Controller can be set as shown in Figure 1 and Figure 2 below. If front panel access is not possible, the Web interface can be accessed by typing the Hostname DUALRFSWITCH/ into the address field on a web browser. -
Page 5: Figure 1: Configuration Screen
Figure 1: Configuration screen Figure 2: IP Address Configuration The Control Voltage, either 12 or 24 VDC, can be selected via a touch screen adjustment as shown in Figure 3. The default choice is 12 VDC. Changing this choice only changes the voltage used for switch movement commands. -
Page 6: Figure 3: Voltage Configuration
Figure 4. When the Dual Switch Controller receives the command to move a switch under its control it will open the normally closed interlock and then wait the preset delay before giving the command to move. -
Page 7: Installation
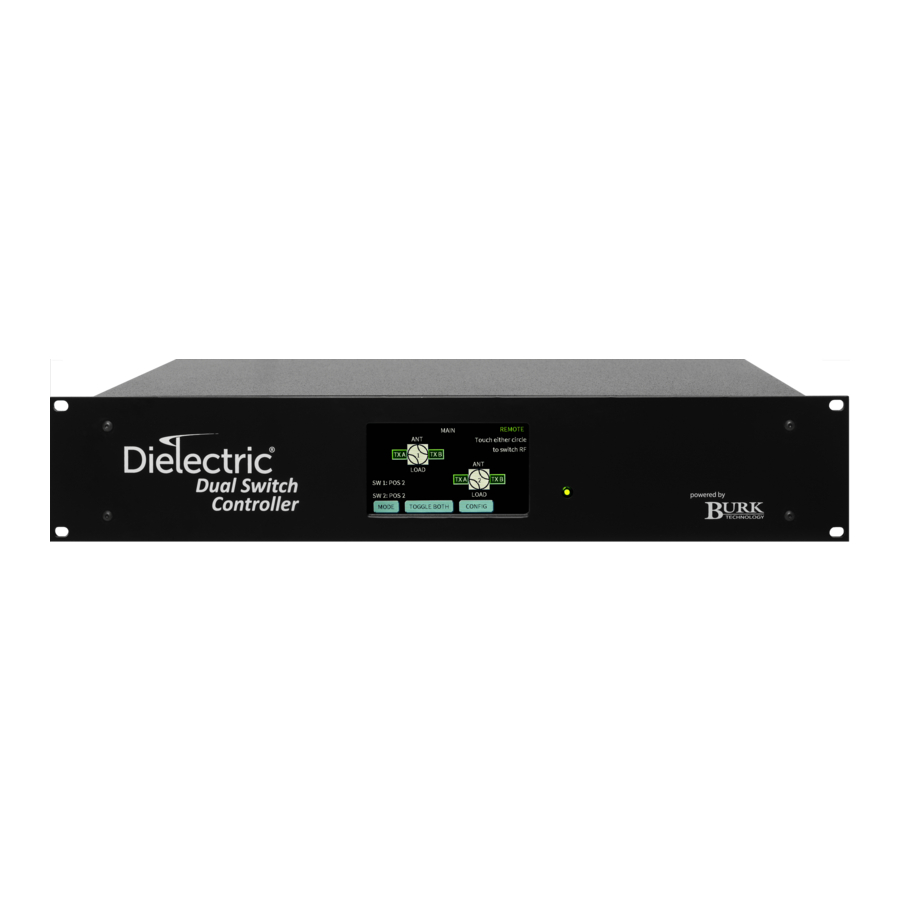
3. INSTALLATION The Dual Switch Controller is a rack mounted module built as a 3.5” (2U) enclosure to fit a standard 19” rack. This unit houses the control processor and all the interconnections. The front of the unit allows an operator interface via touchscreen while the rear panel allows access to the remote connection points. -
Page 8: Table 1. Rear Panel Connections On The Dual Switch Controller
110-240 VAC AC input power to the Dual Switch Controller The pinouts of the rear panel for the Dual Switch Controller are shown in Figure 7. The configuration uses external pushbuttons and LEDs with dropping resistors for remote control and indication respectively (TB2, TB5 and TB6). Figure 7 assumes normally... -
Page 9: Figure 7: Pinouts On Rear Panel Of The Dual Switch Controller
Note: connections labeled V+ on the rear panel terminal blocks shall always be held at +24VDC independent of user selected RF Switch Control Voltage. The Dual Switch Controller is designed for use with one or two 4-Port RF Switches of either waveguide or coaxial configuration. Factory default settings assign the following... -
Page 10: Table 2. Rf Switch Connector Wiring Table (Switch 1 And Switch 2)
Table 2. There are two versions of the waveguide switch before the 60000 series, one with a numerical pin-out and one with an alphabetic pin-out. Please contact the Dielectric factory for questions on these older units. Table 2... -
Page 11: Operation
POS#2 CONTACT S4B NO S4B NO 4. OPERATION The Dual Switch Controller is designed to control two RF switches. The Dual Switch Controller serves three functions for each of the two RF Switches controlled: 1. Control of the RF Switch position 2. -
Page 12: Rf Switch Movement
Limit switch status from RF Switch c. Load interlock status Commands to the Dual Switch Controller can be initiated by the user via one of five methods: 1. Local command initiated from the front touch panel display on the Dual Switch Controller. -
Page 13: Figure 8: Rf Switch Movement Illustration
Switch Controller via application of a control voltage across pins in the proper Amphenol type connector: Switch 1 or Switch 2 connector on the rear panel of the Dual Switch Controller Across pins 3 and 13 for POS #1 and pins 4 and 13 for POS #2 (see Table 2 ... -
Page 14: Figure 9: Limit Switch Configuration And Pinout In Rf Switch
Figure 9: Limit switch configuration and pinout in RF Switch 22 January 2020 Rev.2.0... -
Page 15: Switch Operation
Figure 10 is showing the position of the 3 redundant limit switches for each RF switch. b. Switch Operation In addition to initiating movement of the RF Switch, the Dual Switch Controller also: Monitors the RF Switch position (Reporting POS #1 or POS #2) ... -
Page 16: Transmitter Interlock Control
COM and NC (TB1 for RF Switch 1 and TB4 for RF Switch 2). The interlock loop is closed by the Dual Switch Controller enabling the transmitter to operate. The Dual Switch Controller also provides an open contact... -
Page 17: Load Interlock Status Monitoring
Dual Switch Controller is powered off. When the Dual Switch Controller receives the command to move a switch under its control it will open the normally closed transmitter interlock and then wait the preset Interlock Delay before commanding the switch to move. -
Page 18: Figure 12: Dual Switch Controller Modes Of Operation
Figure 12: Dual Switch Controller modes of operation 1. Local control mode – operation is controlled from the front panel menu display. Remote operation is not allowed in this mode. a. The front panel interface is fully operational, allowing switch control, status display, and configuration settings. -
Page 19: Local / Remote Operation Status
LOCAL / REMOTE status of the Dual Switch Controller. g. Mode Persistence The Dual Switch Controller mode of operation is persistent in case of a power loss. When power is restored after a power loss, the Dual Switch Controller returns to the operational mode that was present at the time of the power loss. -
Page 20: Using The Web Interface
5. USING THE WEB INTERFACE After setting the IP address of the Dual Switch Controller, when the web page is accessed for the first time, you will be asked to create a password for the web page administrator account and log in using the new password. Once the password is set, the webpage is launched to view and control the Dual Switch Controller. -
Page 21: Figure 14: Switch Configuration Using Web Interface
Figure 14: Switch configuration using web interface 22 January 2020 Rev.2.0... -
Page 22: Figure 15: Switch Interlock Status
Switch details provide the position of the switches and the status of the interlock as shown in Figure 15 below. Figure 15: Switch interlock status SNMP is configured using the web interface. The standard default settings for SNMP are shown in Figure 16. Figure 16: SNMP configuration using web interface 22 January 2020 Rev.2.0... -
Page 23: Figure 17: Update Firmware On The Dual Switch Controller Using The Web Interface
To update the firmware on the Dual Switch Controller, use the “Upload Firmware” setting in the Configuration section. The operator needs to first install the Burk Firmware Loader application and obtain a zip file containing the Firmware and Webpages files. A separate file will be required to update the Display Firmware. -
Page 24: Figure 18: Advanced Configuration Using Web Interface
Reboot – Reboot the Dual Switch Controller unit Download configuration – Save the Dual Switch Controller configuration to a local file. Figure 19 depicts an example of the settings that are saved for the Dual Switch Controller configuration. -
Page 25: Figure 19: Example Of A Saved Configuration
Figure 19: Example of a saved configuration 22 January 2020 Rev.2.0... -
Page 26: Using Snmp
Figure 20: Switch position display using web interface 6. USING SNMP The Dual Switch Controller supports SNMPv1 and SNMPv2c, and, acting as an SNMP Agent, accepts compatible SNMP communications over the LAN connection. As shown in Figure 16, the default read and write community strings are public and private, respectively. -
Page 27: Figure 21: Snmp Mib File Browser Showing List Of Snmp Functions
Figure 21: SNMP mib file browser showing list of SNMP functions Table 3 supplies a minimum list of GET and SET for the Dual Switch Controller SNMP Agent. Table 3 SNMP agent minimum message set MSG Name MSG Description Type... - Page 28 Table 3 SNMP agent minimum message set MSG Name MSG Description Type s1LoadStatus Report SW1 Load Interlock Status Responses: SW1 Load Open, SW 1 Load Closed s2LoadStatus Report SW2 Load Interlock Status Responses: SW2 Load Open, SW 1 Load Closed sw1AlarmStatus Report switch alarm status Responses: Switch Alarm, Load Alarm, No...
- Page 29 Table 3 SNMP agent minimum message set MSG Name MSG Description Type sw2AlarmStatus Report switch alarm status Responses: Switch Alarm, Load Alarm, No Alarm sw2DelayTime Report Delay Timer Setting for Switch 2 Responses: Delay = <XX> Sec sw2Input1Label Report user defined label for SW2 IP 1 Responses: Default (Ant) or User Defined Label sw2Input2Label Report user defined label for SW2 IP 2...
-
Page 30: Integration With An Arc Plus Remote Control System
Figure 22: SNMP TRAPS 7. INTEGRATION WITH AN ARC PLUS REMOTE-CONTROL SYSTEM The Dielectric Dual Switch Controller can be integrated with a Burk Technology ARC Plus remote-control unit to alert proper personnel with selective alarms via email, SMS or optional telephone Recordable Speech Interface (RSI) and to combine DUAL SWITCH CONTROLLER management with other critical site functions.
Need help?
Do you have a question about the Dual Switch and is the answer not in the manual?
Questions and answers