Advertisement
Quick Links
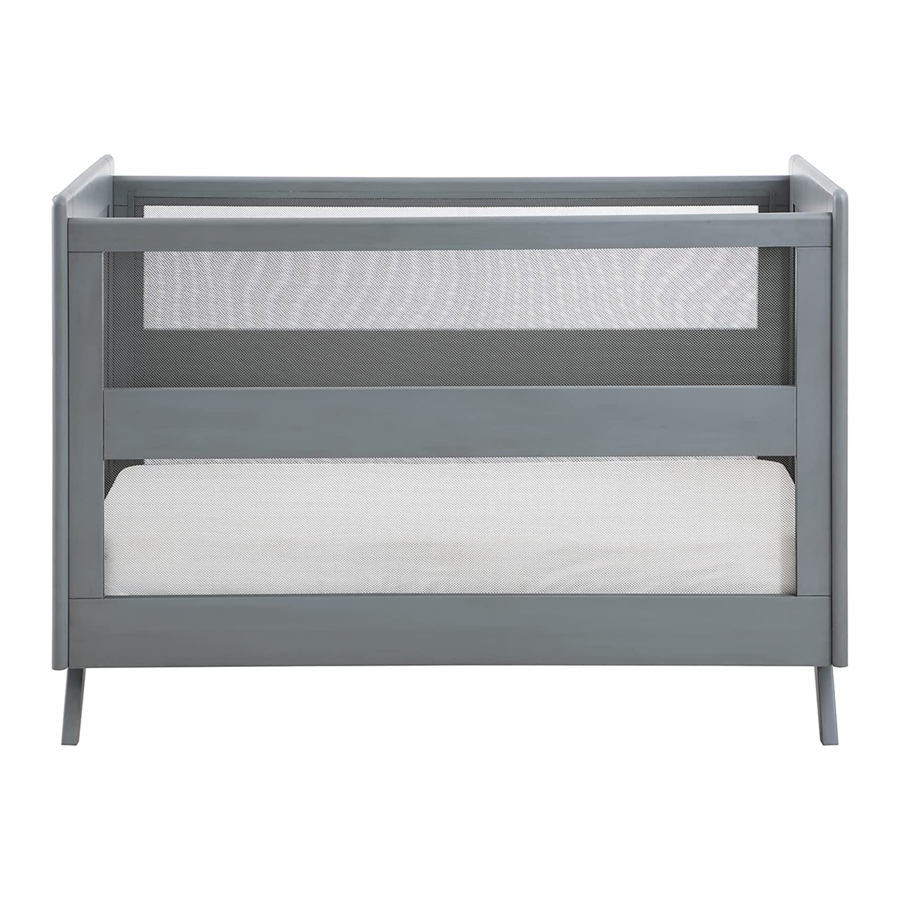
Breathable™ Mesh 3-in-1 Convertible Crib
Customer Care:
CustomerCare@breathablebaby.com
Email:
BreathableBaby, LLC.
600 Highway 169 South, Suite 800
St. Louis Park, MN 55426
877-827-4442
Phone:
This product is not intended for institutional or commercial use.
To register your product for important safety alerts and updates to your product please visit
breathablebaby.com/registration
Please do not return this item to the store before contacting us about missing parts or with any questions.
Care and Cleaning:
Do not scratch or chip the finish. Do not use abrasive chemicals for cleaning.
Clean wood or mesh with mild soap on a soft rag. Wipe again with clean water and let dry thoroughly.
If you ever refinish this furniture, be sure to use only a non-toxic finish specified for children's products.
As with all your fine furniture, blot up spills immediately.
If optional legs are not used, use pad underneath crib to prevent scratches to floor.
Read all instructions before assembly and use.
KEEP INSTRUCTIONS FOR FUTURE USE.
ADULT ASSEMBLY REQUIRED
Due to the presence of small parts during assembly,
keep out of reach of children until assembly is complete.
Ages 0–24 months
(or 35" tall) for crib
Can be converted to toddler bed with
additional purchase of toddler bed rail. Call
BreathableBaby for purchase information.
#####
Style #:
PO #
Lot:
___
________
MM/YYYY
Date:
___________
© 2020 BreathableBaby, LLC
Advertisement

Subscribe to Our Youtube Channel
Related Manuals for BreathableBaby Breathable Mesh 3-in-1 Convertible Crib


Summary of Contents for BreathableBaby Breathable Mesh 3-in-1 Convertible Crib
- Page 1 (or 35" tall) for crib Customer Care: Can be converted to toddler bed with additional purchase of toddler bed rail. Call CustomerCare@breathablebaby.com Email: BreathableBaby for purchase information. BreathableBaby, LLC. ##### Style #: 600 Highway 169 South, Suite 800 St. Louis Park, MN 55426...
- Page 2 Do not use this crib for a child who can climb out of it or who is taller than 90 cm. © 2020 BreathableBaby, LLC. 600 HIGHWAY 169 SOUTH, SUITE 800, ST. LOUIS PARK, MN 55426 USA 877-827-4442 CustomerCare@breathablebaby.com...
- Page 3 Assembly Instructions Upper Level: Mattress in top position. Move to bottom position when infant begins to push up on hands and knees, can roll over or has reached 20 lbs., whichever comes first. UPPER LEVEL MATTRESS Lower Level: Mattress in bottom position. Discontinue use of the product when child is able to climb out or reaches the height of 35 in.
- Page 4 Parts List 1 of 2 DO NOT USE IF ANY PART IS BROKEN, TORN, OR MISSING. CONTACT BREATHABLEBABY CUSTOMER CARE IN THAT EVENT. No drills necessary. Do not use power screwdriver. Required Tools: Allen Wrench supplied For every bolt, be sure to hand tighten snugly but DO NOT over-tighten.
- Page 5 Parts List 2 of 2 Page 3...
- Page 6 Attach (Part A) Back Mesh Rail and (Part B) Left Solid End with 4 (Part 1) Long Bolts and 4 (Part 4) Lock Washers. Attach (Part A) Front Mesh Side Rail also with 4 (Part 1) Long Bolts and 4 (Part 4) Lock Washers.
- Page 7 Option #1– For Upper Level Mattress Base Position The WARNINGS printed on the envelope attached to the mattress support must face up, the springs must face up. This crib has (2) adjustment positions, use the highest only for newborns. Upper Level For Upper Level Mattress Only: Attach the metal Mattress Base (Part C) to the top 4 holes aligned on the inside...
- Page 8 Option #2 – For Lower Level Mattress Base Position The WARNINGS printed on the envelope attached to the mattress support must face up, the springs must face up. This crib has (2) adjustment positions, use the highest only for newborns. Lower Level For Lower Level Mattress Only: Attach the metal...
- Page 9 Leg Attachment – Optional WARNING: Make sure legs are installed slanted to the outside of the crib. Place crib upside down. Attach 4x (Part D) Legs to holes on bottom of both (Part B) Solid Ends. Attach each leg with 2 (Part 3) Medium Bolts and 2 (Part 4) Lock Washers.
- Page 10 KEEP INSTRUCTIONS FOR FUTURE USE. RETURN TO STORAGE ENVELOPE ON MATTRESS PLATFORM WHEN NOT IN USE.
Need help?
Do you have a question about the Breathable Mesh 3-in-1 Convertible Crib and is the answer not in the manual?
Questions and answers