Advertisement
Quick Links
Advertisement

Related Manuals for Akai AKDVD7


Summary of Contents for Akai AKDVD7
- Page 1 7” Portable DVD Player MODEL: AKDVD7 User Manual...
-
Page 2: Welcome
Please take special note of any important safety and usage information presented with the symbol. All products brought to you by AKAI are manufactured to the highest standards of performance and safety and, as part of our philosophy of customer service and satisfaction, are backed by a comprehensive... -
Page 3: Table Of Contents
Contents Welcome Product Overview Controls and Connections Remote Control Operation Troubleshooting Specifications Compliance and Responsible Disposal... -
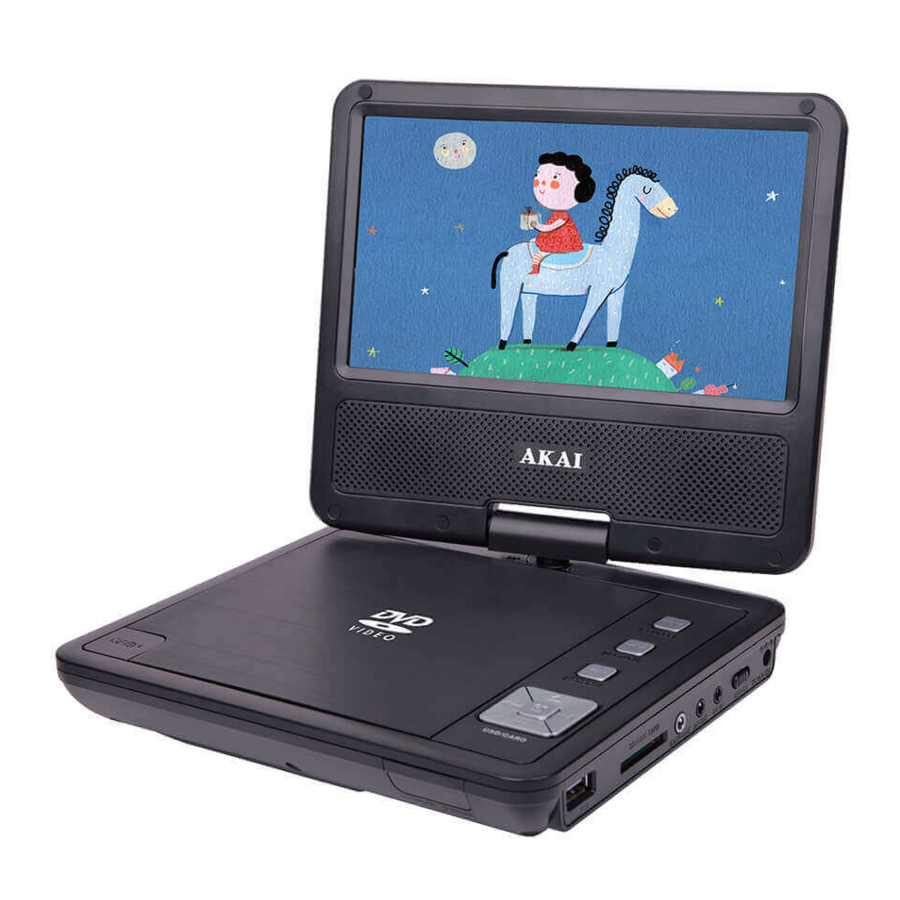
Page 4: Product Overview
Product Overview What’s in the box: A. 7” Portable DVD Player B. Remote Control C. AAA Batteries D. Car Adaptor E. AC Adaptor F . AV Cable G. User Manual H. Warranty Certificate I. General Safety Warnings 4 | PRODUCT OVERVIEW... -
Page 5: Controls And Connections
Controls and Connections Front view LCD TFT screen 2. Speakers 3. Infra-red signal receiver: Accepts remote control signal. Left LED Indicator: Red during charging, green when fully charged. Right LED indicator: Green when player is on, red when on standby. CONTROLS AND CONNECTIONS | 5... - Page 6 Top view 4. MENU/SOURCE: Return to the disc main menu; press and hold to switch to AV IN or DVD mode. 5. VOL +/SETUP: Increase volume; press and hold to enter system setup. 6. VOL -/STOP: Reduce volume; press and hold to stop playing. PREV / NEXT: Skip to the previous or next title, chapter, or track.
- Page 7 Side view compartment. 10. USB Slot: See below. 11. SD Card Slot: See below. SD/MMC CARD 12. Earphone Jack: See below. 13. AV OUT: See next page. 14. AV IN: See next page. 12 13 14 15. ON/OFF Switch: Turn the unit on/off. 16.
- Page 8 Send the image from the DVD player to a TV screen using AV OUT the supplied AV cable. The AV cable must be connected to an external TV device. Send the image from another device to the DVD player using AV IN the supplied AV cable.
-
Page 9: Remote Control
Remote Control Setup Insert two AAA size batteries according to the polarity markings (+ / -) inside the compartment. Make sure the batteries are correctly aligned and properly AAA size batteries pushed into place. included Precautions When Using Batteries • Do not use old and new batteries together. •... - Page 10 Remote Control LCD ON/OFF POWER VOLUME MUTE 0/10 SETUP SOURCE DVD/USB/SD SUBTITLE STEP STOP TITLE/MENU ANGLE ZOOM GOTO AUDIO LCD ON/OFF: Turns off the PROG SLOW REPEAT display while still playing audio POWER LCD ON/OFF to help save battery life. POWER: Put the DVD Player on NUMBER BUTTONS: Numerical Standby/On.
- Page 11 LCD ON/OFF POWER VOLUME MUTE 0/10 SETUP SOURCE DVD/USB/SD SUBTITLE STEP STOP TITLE/MENU ANGLE ZOOM GOTO AUDIO PROG SLOW REPEAT OSD: Display/hide detailed DVD/USB/SD information about the currently playing media. DVD/USB/SD: Switch between SUBTITLE STEP STOP TITLE/MENU DVD, USB and SD card mode. SUBTITLE: Turn the subtitle on/off.
-
Page 12: Operation
Operation Rotating the Screen Place the player on a level surface and open up the monitor vertically, while holding the lower side of the player. • To rotate the monitor for viewing from the right side, turn it to the right slowly. It can be turned up to 90°. •... - Page 13 • Once fully charged you can disconnect the device from the charger, or leave the charger connected and run the player on the mains electricity to save battery power. • You can also recharge and run the player in the car with the supplied car power adaptor, which attaches easily to the car’s cigarette lighter.
- Page 14 • Previous/Next track: Tap the buttons for previous/next track. • GOTO: Press the GOTO button and enter a title, chapter, track or time and press OK. • PROGRAM: Press the PROG button to access the playlist setup menu. For VCD, there are 16 settings from 1 to 16. Use the number keys to enter the track number for each item then select Play.
- Page 15 Using Headphones To listen to audio using Headphones, plug them into the EARPHONE socket on the right side of the player. The speakers will automatically disable the sounds output when headphones are connected. CAUTION: To prevent permanent hearing damage, keep the volume at a moderate level when using headphones.
- Page 16 Playing Content From a USB Drive or SD/MMC Card This unit supports playback of video, music, JPEG and e-book (txt) files. • Insert a USB drive into the USB port (and/or a SD/MMC memory card into the card slot) on the right side of the player.
- Page 17 Watch Videos From an External Video Source • Connect the 3.5mm end of the supplied AV adaptor cable to the AV IN jack of the Portable DVD Player. • Connect the Yellow RCA plug to the Video Out jack of the external video device. •...
- Page 18 System Setup Menu TV System You can select PAL, NTSC or Auto, depending on the disc type. Note: this function only works when an AV cable is plugged into the AV OUT port of the DVD player to a external TV screen. Power Resume This enables the player to remember the last playback point on the disc before it was turned OFF or stopped.
- Page 19 TV Type Set screen aspect ratios: • 4:3PS: When the unit is connected to a TV, a wide screen picture will display on the entire TV screen, but sections of the right and left of the picture are cut off. •...
- Page 20 Digital Setup Menu Downmix Use to combine 5.1 channel digital audio and 2.0 channel stereo audio. • LT/RT: downmixes from 5.1 channel to stereo. Available for 5.1 channel DVDs only. For CD play, please select “stereo” . • Stereo: available for CD play. The left speaker will play on the rear left channel and the right speaker will play on the rear right channel.
-
Page 21: Troubleshooting
Troubleshooting If you encounter any problems with your DVD Player, please check this list of possible issues for a solution. If you don’t find a solution here, contact After Sales Support on 1300 886 649. Problem Solution • Make sure the power cable from the AC/car adaptor is firmly inserted into the socket on the right side of the player. - Page 22 Problem Solution • Press the VOL + button to increase the volume level. • Unplug the headphones to enable sound from the speaker. No sound • Press the PLAY/PAUSE button to restore normal playback and sound. • Press the MUTE button to restore sound. •...
-
Page 23: Specifications
Specifications Input: AC 100-240V, 50/60Hz Power Adaptor Output: DC 12V, 1A Car Adaptor 12V 2A input, 12V 2A output Disc Compatibility DVD, Audio-CD, VCD, SVCD Supported Media File codecs MP3, JPEG in USB mode Supported Media File codecs AVI, MP3, JPEG in SD mode Battery 7.4V, 1200mAh... -
Page 24: Compliance And Responsible Disposal
Compliance and Responsible Disposal Packaging The packaging of your product has been selected from environmentally friendly materials and can usually be recycled. Please ensure these are disposed of correctly. Plastic wrapping can be a suffocation hazard for babies and young children, please ensure all packaging materials are out of reach and are safely disposed of. - Page 25 Notes...
- Page 26 Notes...
- Page 27 Notes...
- Page 28 For Technical and Warranty Support 1300 886 649 www.tempo.org info@tempo.org Distributed by Tempo (Aust) Pty Ltd, PO Box 6056, Frenchs Forest DC 2086...