Broan Allure QS2 Series Instruction Manual
Broan range hood manual qs2
Hide thumbs
Also See for Allure QS2 Series:
- Instruction manual (16 pages) ,
- Instructions manual (16 pages) ,
- Manual (18 pages)
Advertisement
Available languages
Available languages
®
ALLURE
QS2 SERIES
READ AND SAVE THESE INSTRUCTIONS
WARNING
TO REDUCE THE RISK OF FIRE, ELECTRIC SHOCK, OR INJURY TO
PERSONS, OBSERVE THE FOLLOWING:
1. Use this unit only in the manner intended by the manufacturer. If you
have questions, contact the manufacturer at the address or telephone
number listed in the warranty.
2. Before servicing or cleaning unit, switch power off at service panel and
lock the service disconnecting means to prevent power from being
switched on accidentally. When the service disconnecting means can-
not be locked, securely fasten a prominent warning device, such as a
tag, to the service panel.
3. Installation work and electrical wiring must be done by a qualified
person(s) in accordance with all applicable codes and standards, in-
cluding fire-rated construction codes and standards.
4. Sufficient air is needed for proper combustion and exhausting of gases
through the flue (chimney) of fuel burning equipment to prevent
backdrafting. Follow the heating equipment manufacturer's guideline
and safety standards such as those published by the National Fire
Protection Association (NFPA), and the American Society of Heating,
Refrigeration and Air Conditioning Engineers (ASHRAE), and the local
code authorities.
5. When cutting or drilling into wall or ceiling, do not damage electrical
wiring and other hidden utilities.
6. To reduce the risk of fire or electric shock, do not use this range hood
with an additional speed control device.
7. Ducted fans must always be vented to the outdoors.
8. To reduce the risk of fire, use only metal ductwork.
9. Use with approved cord-connection kit only.
10. This unit must be grounded.
TO REDUCE THE RISK OF A RANGE TOP GREASE FIRE:
1. Never leave surface units unattended at high settings. Boilovers cause
smoking and greasy spillovers that may ignite. Heat oils slowly on low
or medium settings.
2. Always turn hood ON when cooking at high heat or when cooking
flaming foods.
3. Clean ventilating fans frequently. Grease should not be allowed to
accumulate on fan or filter.
4. Use proper pan size. Always use cookware appropriate for the size of
the surface element.
TO REDUCE THE RISK OF INJURY TO PERSONS IN THE EVENT OF
A RANGE TOP GREASE FIRE, OBSERVE THE FOLLOWING:*
1. SMOTHER FLAMES with a close-fitting lid, cookie sheet, or metal
tray, then turn off the burner. BE CAREFUL TO PREVENT BURNS. If
the flames do not go out immediately, EVACUATE AND CALL THE
FIRE DEPARTMENT.
2. NEVER PICK UP A FLAMING PAN — You may be burned.
3. DO NOT USE WATER, including wet dishcloths or towels - violent
steam explosion will result.
4. Use an extinguisher ONLY if:
A. You know you have a Class ABC extinguisher and you already
know how to operate it.
B. The fire is small and contained in the area where it started.
C. The fire department is being called.
D. You can fight the fire with your back to an exit.
* Based on "Kitchen Fire Safety Tips" published by NFPA.
®
!
FOR DOMESTIC COOKING ONLY
!
CAUTION
1. For general ventilating use only. Do not use to exhaust hazardous or
explosive materials and vapors.
2. To avoid motor bearing damage and noisy and/or unbalanced impel-
lers, keep drywall spray, construction dust, etc. off power unit.
3. For best capture of cooking impurities, your range hood should be
mounted so that the top of the hood is 24-30" above the cooking
surface.
4. Please read specification label on product for further information and
requirements.
Installer: Leave this manual with
the homeowner.
Homeowner: Operating and
Cleaning information on page 6.
NOTE
If hood is to be installed Non-Ducted:
• Purchase a set of (2) non-ducted filters from your
local distributor or retailer and attach them to the
aluminum mesh filters.
TABLE OF CONTENTS
This manual is divided into sections as follows:
•
Run ductwork from roof or wall cap, and electrical wiring from
service panel - to installation location
•
Get your hood ready for installation
•
Make electrical wiring connections to hood
•
Secure hood to cabinet and ductwork - install bulbs and filters
•
How to use the hood controls
•
"CLEANING"
Keep your hood in top working condition
•
Part numbers and exploded view of hood components
•
"WARRANTY"
One-year limited warranty and how to contact us
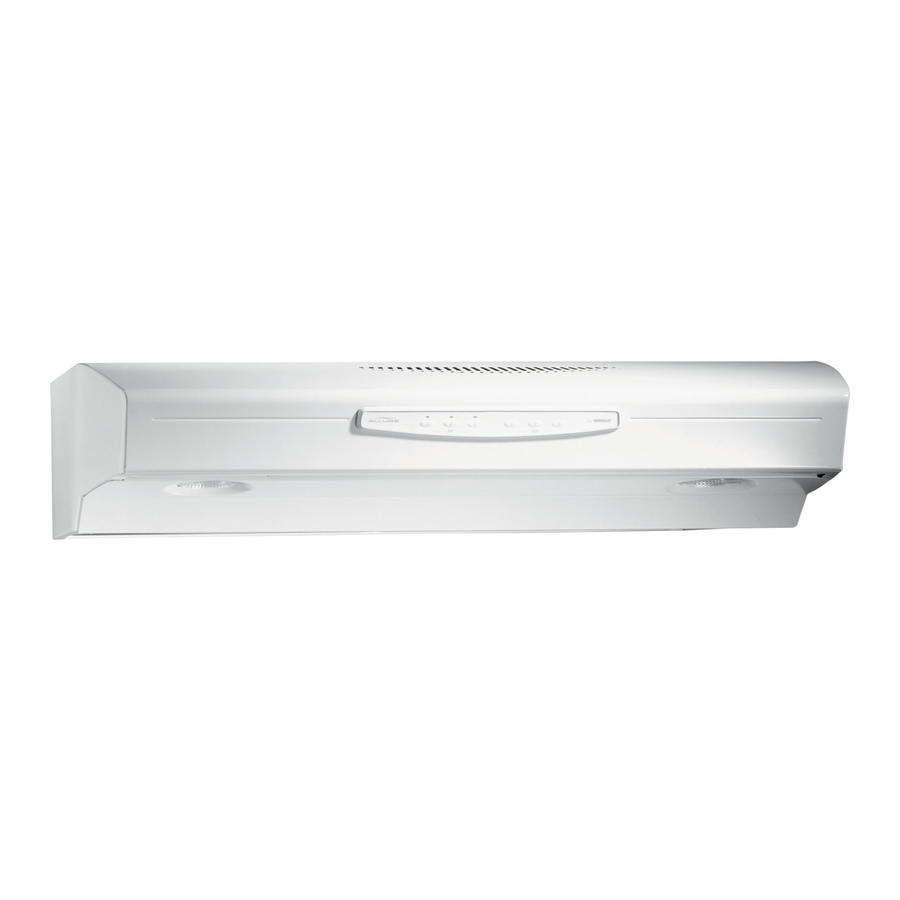
ALLURE
®
QS2 SERIES
RANGE HOOD
Page 1
Patent No.:
US D450, 829 S
!
Advertisement
Table of Contents

Related Manuals for Broan Allure QS2 Series


Summary of Contents for Broan Allure QS2 Series
- Page 1 ® ® ALLURE QS2 SERIES RANGE HOOD READ AND SAVE THESE INSTRUCTIONS FOR DOMESTIC COOKING ONLY WARNING TO REDUCE THE RISK OF FIRE, ELECTRIC SHOCK, OR INJURY TO PERSONS, OBSERVE THE FOLLOWING: 1. Use this unit only in the manner intended by the manufacturer. If you have questions, contact the manufacturer at the address or telephone number listed in the warranty.
-
Page 2: Prepare The Hood
Remove 7” Round Duct Plate from top of hood. Set duct plate aside - with mounting screws. FILTERS Remove tape holding Filters in place. Pull down on filter tabs or finger holes and lift filters out. Set filters aside. ® QS2 SERIES RANGE HOOD Page 2 7” ROUND... - Page 3 Re-install air chute, re-connect wire harness, and replace light panel. NOTE: Be careful not to trap wires between support fin and light panel. ® ALLURE QS2 SERIES RANGE HOOD Page 3 AIR CHUTE BAFFLE TABS SLOTS SUPPORT FIN...
-
Page 4: Range Hood
Motor Slots. 4. Push wheel down until it is locked in place. 5. Check that wheel is properly positioned as shown. Press Sections into place if necessary. Make sure wheel turns freely. ® QS2 SERIES RANGE HOOD Page 4 TOP/BACK EDGE... -
Page 5: Connect Wiring
40 W Maximum Incandescent Bulbs. Purchase bulbs separately. CAUTION: for further information. Replace filters, turn on power at service panel, and test for proper operation. ALLURE ® QS2 SERIES RANGE HOOD Page 5 MOUNTING SCREW (4) PAR20, 50W MAX. HALOGEN BULB (2) - Page 6 WATER TO ENTER MOTOR. Make sure all surfaces are completely dry before re-installing filters and restoring power. Motor is permanently lubricated. Do not oil or disassemble motor. ® Teflon is a registered trademark of DuPont. ® QS2 SERIES RANGE HOOD Page 6 ® -coated bottom...
-
Page 7: Service Parts
R111627 Wire Harness R564074 Control Fuse, 10-Amp Order replacement parts by PART NO. - not by KEY NO. * Standard hardware - may be purchased locally. ** Not illustrated - purchase separately. ALLURE ® QS2 SERIES RANGE HOOD Page 7... - Page 8 IMPLIED, INCLUDING, BUT NOT LIMITED TO, IMPLIED WARRANTIES OF MERCHANTABILITY OR FITNESS FOR A PARTICULAR PURPOSE. During this one-year period, Broan-NuTone will, at its option, repair or replace, without charge, any product or part which is found to be defective under normal use and service.
- Page 9 ® CAMPANA EXTRACTORA SERIE QS2 ALLURE LEA Y CONSERVE ESTAS INSTRUCCIONES PARA COCINAR DOMÉSTICO SOLAMENTE. ADVERTENCIA PARA REDUCIR EL RIESGO DE INCENDIO, CHOQUE ELECTRICO, O LESION A PERSONAS, PROCURE LO SIGUIENTE: 1. Utilice esta unidad sólo en la manera prescrita por el fabricante. Si tiene usted alguna pregunta, comuníquese con el fabricante a la dirección o el...
- Page 10 PARA LOS CABLES ELÉCTRICOS (en la pared) CAMPANA EXTRACTORA ALLURE SERIE QS2 ALLURE SISTEMA VERTICAL DE CONDUCTOS REDONDOS DE 17.8 CM (7”) Haga las conexiones del cableado doméstico entre el panel de servicio y el lugar donde va a instalar la campana.
- Page 11 NOTA: Tenga cuidado de que ninguno de los cables quede atrapado entre la aleta de apoyo y el panel de iluminación. CAMPANA EXTRACTORA ® ALLURE QS2 SERIES SERIE QS2 ALLURE RANGE HOOD Página 11 Page 11 CONDUCTO PARA AIRE DEFLECTOR...
- Page 12 Presione las secciones en su lagar, si es necesario. Asugúrese de que la rueda gire libremente. ® CAMPANA EXTRACTORA ALLURE QS2 SERIES RANGE HOOD SERIE QS2 ALLURE CINTA BORDE SUPERIOR/ REGULADOR DE TIRO/CONDUCTO (Se muestra la posición de descarga vertical.)
- Page 13 Vuelva a colocar los filtros, conecte la energía en el panel de servicio, y revise el funcionamiento adecuado de la campana. ® CAMPANA EXTRACTORA ALLURE QS2 SERIES SERIE QS2 ALLURE RANGE HOOD ® Page 13 Página 13 TORNILLO DE MONTAJE (4) CINTA...
- Page 14 CAMPANA EXTRACTORA ALLURE SERIE QS2 ALLURE OPERACIÓN Ventilador y luces: 3 conmutadores de pulsadores para cada uno. Pre- sione cualquier pulsador para seleccionar una de las tres velocidades del ventilador o una de las tres intensidades de luz.
- Page 15 Pida piezas de repuesto indicando el N.º de la PIEZA, no el N.º de la CLAVE *Herraje estándar, se puede comprar en la localidad. ** No se ilustra, se compra por separado CAMPANA EXTRACTORA ALLURE SERIE QS2 ALLURE ® QS2 SERIES ® RANGE HOOD...
- Page 16 Esta garantía reemplaza todas las garantías anteriores. Para calificar en la garantía de servicio, usted debe (a) notificar a Broan-NuTone al domicilio o al número de teléfono abajo, (b) dar el número del modelo y la identificación de la pieza, y (c) describir la naturaleza de cualquier defecto en el producto o pieza. En el momento de solicitar servicio cubierto por la garantía, usted debe de presentar evidencia de la fecha original de compra.
Need help?
Do you have a question about the Allure QS2 Series and is the answer not in the manual?
Questions and answers