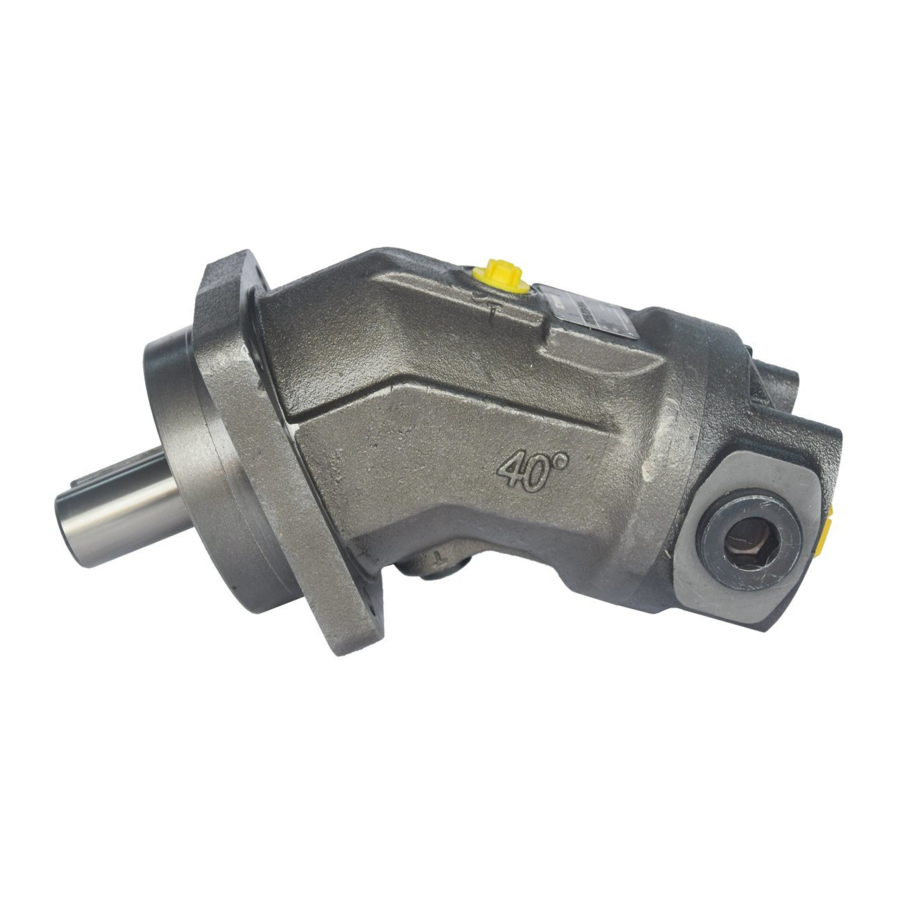
Summary of Contents for Mannesmann Rexroth Brueninghaus Hydromatik A2F/6.1 Series
- Page 1 MANNESMANN REXROTH Brueninghaus Hydromatik RETURN TO TABLE OF CONTENTS Reparaturanleitung Repair Instructions Baureihe/Series 6.1 RDE 91001-01-R 07.96...
- Page 2 RDE 91001-01-R/07.96 Inhalt / Hinweis Reparaturanleitung A2F/6.1 Contents / Notice Repair Instructions A2F/6.1 HINWEIS NOTICE Specifications, descriptions and illustrative material Bezeichnungen, Beschreibungen und Darstellungen entsprechen dem Informationsstand zum Zeitpunkt der shown herein were as accurate as known at the time Drucklegung dieser Unterlage.
- Page 3 RDE 91001-01-R/07.96 Schnittbild Reparaturanleitung A2F/6.1 Sectional view Repair Instructions A2F/6.1 Meßpunkte: Siehe Serviceinfo Measuring points: See service information Brueninghaus Hydromatik...
- Page 4 RDE 91001-01-R/07.96 Allgemeine Reparaturhinweise Reparaturanleitung A2F/6.1 General repair instructions Repair Instructions A2F/6.1 Achtung! Nachfolgende Hinweise bei allen Reparaturarbeiten an Hydraulikaggregaten beachten! Attention! Observe the following notices when carrying out repair work at hydraulic aggregates! Alle Öffnungen der Hydraulikaggregate verschließen. Close all ports of the hydraulic aggregates. Alle Dichtungen erneuern.
- Page 5 RDE 91001-01-R/07.96 Dichtsätze und Baugruppen Reparaturanleitung A2F/6.1 Seal kits and sub-assemblies Repair Instructions A2F/6.1 Äußerer Dichtsatz. External seal kit. Triebwerk, mechanischer Teil; mit Dichtsatz, muß abgestimmt werden auf Maß "A". Rotary group, mechanical part; with seal kit, has to be adjusted to dimension "A". Triebwerk, hydraulischer Teil;...
- Page 6 RDE 91001-01-R/07.96 Triebwelle abdichten Reparaturanleitung A2F/6.1 Sealing of the drive shaft Repair Instructions A2F/6.1 Bei nicht verzahnten Triebwellen: Paßfeder ab- nehmen. Triebwelle abkleben, Remove protective cover. If keyed shaft,remove key. Sicherungsring lösen, danach ausbauen. Free circlip and remove. Verschlußring abdrücken. Prise off front cover Sichtkontrolle Wellendichtring (1), Verschlußring (2), Trieb-...
- Page 7 RDE 91001-01-R/07.96 Triebwelle abdichten Reparaturanleitung A2F/6.1 Sealing of the drive shaft Repair Instructions A2F/6.1 Neuen Wellendichtring lagerichtig mit passender Büchse einpressen. Press in the shaft seal ring to the correCt position with a suitable sleeve. Bei tiefer Laufrille beiliegende Scheibe vor den Wellendichtring einlegen.
- Page 8 RDE 91001-01-R/07.96 Anschlußplatte abdichten Reparaturanleitung A2F/6.1 Sealing of the cover plate Repair Instructions A2F/6.1 Lage der Anschlußplatte zum Gehäuse kennzeichnen (Pfeil), Befestigungsschrauben lösen. Mark position of cover plate (arrowed). Remove screws. Anschlußplatte um Verdrillstift schwenken (1) und abheben (2). Swivel port plate on locating pin and lift off. Auf Montagestellung des Verdrillstiftes achten (Pfeile).
- Page 9 RDE 91001-01-R/07.96 Anschlußplatte abdichten Reparaturanleitung A2F/6.1 Sealing of the cover plate Repair Instructions A2F/6.1 Motor, beide Drehrichtungen. (Blick auf sphärische Fläche.) Motor, bi-directional. (Viewed on spherical surface.) Sichtkontrolle O-Ring (1), Einstich (2), Platte (3). Visual check O-ring (1), Groove (2), Plate (3). Neuen O-Ring einlegen, zuvor leicht einfetten.
- Page 10 RDE 91001-01-R/07.96 Triebwerk ausbauen Reparaturanleitung A2F/6.1 Removal the rotary group Repair Instructions A2F/6.1 Demontage der Anschlußplatte (Seite 8). Steuerplatte drehend abheben. Remove cover plate (page 8). Rotate control plate to remove. Demontage des Verschlußringes (Seite 6, 7). Remove front cover (page 6, 7). Paßscheibe(n) entnehmen.
- Page 11 RDE 91001-01-R/07.96 Überprüfungshinweise Reparaturanleitung A2F/6.1 Examination notes Repair Instructions A2F/6.1 Triebwelle 1. kein Passungsrost, nicht ausgeschlagen. 2. keine Einlaufspuren, riefenfrei (Bild 11). 3. Kalotten riefenfrei und keine Pittings. Drive shaft 1. Free of corrosion or erosion, no damage to splines or keyway. 2.
- Page 12 RDE 91001-01-R/07.96 Überprüfungshinweise Reparaturanleitung A2F/6.1 Examination notes Repair Instructions A2F/6.1 Zylinder/Steuerplatte 1. Bohrungen riefenfrei, nicht ausgelaufen. 2. Gleichmäßiges Tragbild, riß- und riefenfrei. 3. Mindesthärte 700 HV 10. Cylinder block / Control plate 1. Bores unscratched, and not worn. 2. Faces, smooth and even, no cracks or scratches.
- Page 13 RDE 91001-01-R/07.96 Triebwerk einbauen Reparaturanleitung A2F/6.1 Installing rotary group Repair Instructions A2F/6.1 Schrauben mit Precote-Beschichtung verwenden. Mit Kolben Rückzugplatte ausrichten. Use screws with Precote-coating. Fit retaining plate correctly with pistons. Federteller und Tellerfedern einlegen, Teile reichlich einfetten. Montagehilfe: Schraubendreher. Heavily grease and fit spring pad and Belleville washers (using screwdriver).
- Page 14 RDE 91001-01-R/07.96 Triebwerk einbauen Reparaturanleitung A2F/6.1 Installing rotary group Repair Instructions A2F/6.1 Triebwerk max. ausschwenken. Bei Hemmung: Bild 44. Swivel cylinder block to max. It fouling occurs fig. 44. Neuer Radialwellendichtring montiert? (Vergleiche Bild 11). Is new shaft seal fitted? (comparisons fig 11). Gehäuse auf ca.
- Page 15 RDE 91001-01-R/07.96 Triebwerk einbauen Reparaturanleitung A2F/6.1 Installing rotary group Repair Instructions A2F/6.1 Paßscheiben beilegen und weitere Montage ent- sprechend Bild 11 - 14. Insert shims and assemble to figs. 11 - 14. Triebwerk gegen Verschlußring ziehen. Kontrolle: Verschlußring spielfrei. Pull the rotary group against the cover plate. Check that the cover plate cannot move! Fertigmontage entsprechend Bild 22 - 24.
- Page 16 RDE 91001-01-R/07.96 Anziehdrehmomente Reparaturanleitung A2F/6.1 Tightening torques Repair Instructions A2F/6.1 Anziehdrehmomente für Schaftschrauben Tightening torques for shaft bolts (Metrisches ISO-Regelgewinde) (Metric ISO Standard Thread) Festigkeitsklassen Strength Classes Die nebenstehenden Werte für An The values for tightening torques Gewinde 10.9 12.9 Thread 10.9 12.9...
- Page 17 RDE 91001-01-R/07.96 Sicherheitsbestimmungen Reparaturanleitung A2F/6.1 Repair Instructions A2F/6.1 Safety regulations Allgemein General advice · Machen Sie sich mit der Ausstattung der Maschine · Make yourself familiar with the equipment of the vertraut. machine. · Fahren Sie die Maschine nur, wenn Sie sich völlig ·...
- Page 18 RDE 91001-01-R/07.96 Sicherheitsbestimmungen Reparaturanleitung A2F/6.1 Safety regulations Repair Instructions A2F/6.1 Starten Start · Beim Starten müssen alle Bedienhebel in “Neutral- · When starting all operating levers must be in “neutral position”. stellung” stehen. · Only start the machine from the driver’s seat ·...
- Page 19 RDE 91001-01-R/07.96 Reparaturanleitung A2F/6.1 Repair Instructions A2F/6.1 Brueninghaus Hydromatik...
- Page 20 RDE 91001-01-R/07.96 Reparaturanleitung A2F/6.1 Repair Instructions A2F/6.1 Brueninghaus Hydromatik GmbH, Werk Elchingen, Glockeraustraße 2, D-89275 Elchingen, Tel. (07308) 820, Telex 712538, Fax (07308) 7274 Brueninghaus Hydromatik...

Need help?
Do you have a question about the Rexroth Brueninghaus Hydromatik A2F/6.1 Series and is the answer not in the manual?
Questions and answers