Advertisement
Quick Links
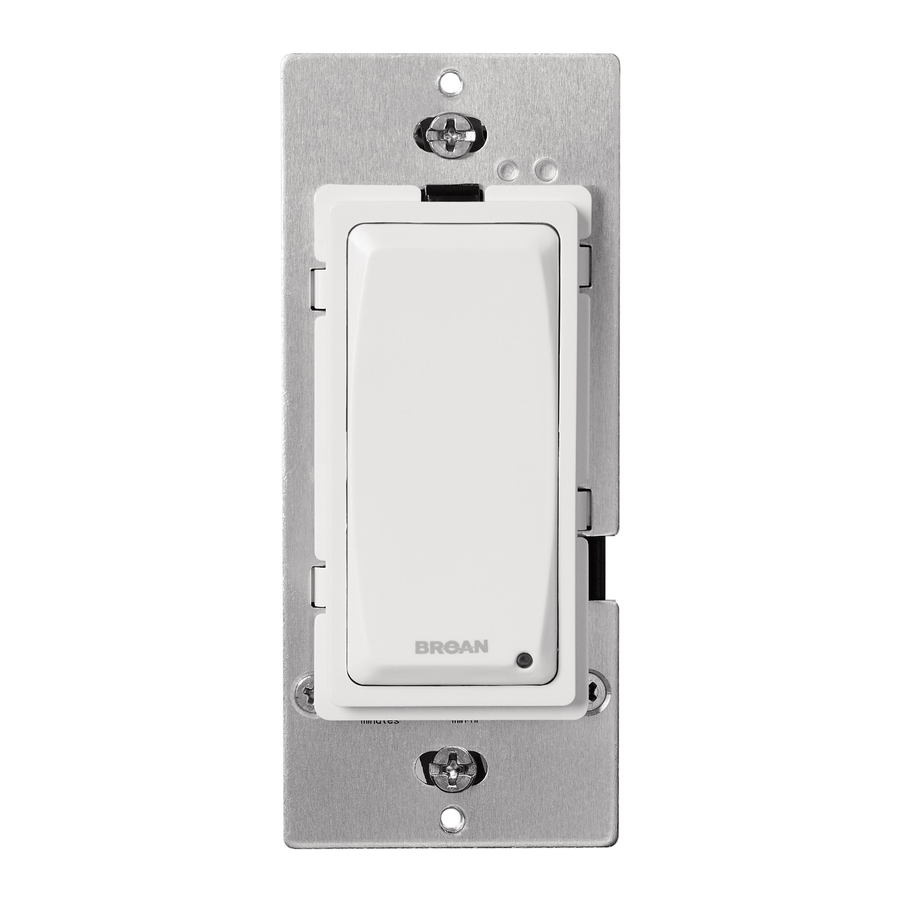
INCLUDED
Wall Control
Instruction Sheet
Note: Wall plate not included – Use Broan Part No. S97012925 (or equivalent)
CONTROL SPECIFICATIONS
•
cULus Listed
•
120 VAC 60 Hz Line Power
•
6 A Max. Total Load (3 A Fan + 3 A Lamp)
•
When used in combination with fan/light fixtures that are switched
together, the device is rated for the following lamps: 300 W Incandescent,
150 W LED, 150 W CFL, or 200 VA Inductive Ballasted Fluorescent Lamps
•
Typical Wire Sizes: 12AWG (MAX) or 14AWG solid or stranded copper
wire, suitable for at least 167°F (75°C)
•
Operating temperature: 32°F-122°F (0°C-50°C)
SAFETY
TO REDUCE THE RISK OF FIRE, ELECTRIC SHOCK, OR INJURY TO PERSONS,
OBSERVE THE FOLLOWING:
1. Before installing the wall control, switch power off at the service panel
and lock the service disconnecting means to prevent power from being
switched on accidentally. When the service disconnecting means cannot
be locked, securely fasten a prominent warning device, such as a tag,
to the service panel. CAUTION: Risk of Electric Shock - More than one
disconnect switch may be required to de-energize the equipment before
servicing.
2. All electrical work must be done in accordance with local codes,
ordinances, or National Electrical Code, as applicable, including fire-rated
construction codes and standards. FOR SAFETY, THIS PRODUCT MUST
BE GROUNDED. If you are unfamiliar with methods of installing electrical
wiring, secure the services of a qualified electrician.
3. Use copper wire only.
4. WARNING: This device shall not be used in combination with a wall switch
controlling a receptacle.
5. Install only in a UL Listed junction box with a minimum volume of 24.0 in
3
(393 cm
), unless otherwise specified in installation instructions.
6. This control requires a neutral wire for operation.
7. When cutting or drilling into wall or ceiling, do not damage electrical
wiring or other hidden utilities.
8. To prevent serious injury from electrical shock or damage to electrical
components - DO NOT WIRE HOT!
9. Note: When power is applied, the Model DT100W may require
approximately 30 seconds to boot up and be ready to function.
Warranty is void if miswired.
INSTALLATION
NOTE: This control requires a 120 VAC source (hot and neutral) in the switch
box to operate the wall control.
1. Turn off the power and lockout the service panel before wiring the
control.
2. Install the wall control in at least a 22 cubic inches switch box for #14
AWG wire or at least a 24 cubic inches switch box for #12 AWG wire.
The control can be installed in either a metal outlet box or a plastic outlet
box.
3. Attach the incoming power line and ventilator power line to switch box.
It may be necessary to use two side knockouts for some applications.
Use proper connectors. Provide 6" leads inside box and ventilation
product.
4. Make electrical connections following the diagrams provided. Use wire
nuts. Make sure both the control and the ventilator are properly grounded.
5. Tuck wires in and fasten control to switch box using attached screws.
Verify wall control orientation before installation. Note "TOP" direction
shown on the wall control label.
6. Attach switch plate (not included) following the manufacturer's
instructions.
NOTE: The control's off-delay is adjustable from 5 to 60 minutes but has
been pre-set to approximately 30 minutes. This is the recommended setting
for a properly-sized fan/ventilator to fully exhaust and restore the outdoor air
quality. See DELAY-OFF / VENTILATION ADJUSTMENT" to change settings
for a specific application.
COMPRIS
Commande murale
Feuillet d'instructions
N.B. : Plaque murale non comprise – Utiliser la pièce S97012925 de Broan
(ou une pièce équivalente)
CARACTÉRISTIQUES
•
Certification cULus
•
Alimentation électrique : 120 VCA, 60 Hz
•
Charge totale maximale : 6 A (3 A ventilateur et 3 A lampe)
•
Lorsqu'utilisé avec un ventilateur luminaire branché sur un même
interrupteur, le produit est compatible avec les lampes à incandescence
de 300 W, à DEL de 150 W, fluocompactes de 150 W ou fluorescentes
à ballast inductif de 200 VA
•
Calibre de fil habituel : Fil de cuivre massif ou toronné de 12 AWG
(maximum) ou 14 AWG, convenable pour une température d'au moins
75 °C (167 °F)
•
Température de fonctionnement : 0 °C à 50 °C (32 °F à 122 °F)
SÉCURITÉ
MESURE DE SÉCURITÉ POUR RÉDUIRE LE RISQUE D'INCENDIE,
D'ÉLECTROCUTION ET DE BLESSURE :
1. Avant d'installer la commande murale, couper le courant au panneau
d'alimentation et en verrouiller l'accès afin d'éviter une remise en marche
accidentelle. Si le panneau ne peut être verrouillé, y fixer solidement
un dispositif d'avertissement bien visible (p. ex. une étiquette).
ATTENTION : Risque d'électrocution – Il est parfois nécessaire de
déclencher plusieurs disjoncteurs pour mettre l'appareil hors tension
avant l'entretien.
2. Tous les travaux électriques doivent être faits conformément aux codes et
règlements locaux applicables, y compris ceux concernant la protection
contre les incendies. POUR DES RAISONS DE SÉCURITÉ, CE PRODUIT
DOIT ÊTRE MIS À LA TERRE. En cas de doute quant au branchement
des fils, recourir aux services d'un électricien.
3. Utiliser des fils de cuivre seulement.
4. ATTENTION : Ce produit ne doit pas être utilisé en combinaison avec un
interrupteur mural contrôlant une prise de courant.
DT100W
CONTROLLING
DELAY-OFF TIMER
CAP OFF
OR USE
CONTROLLING
EXISTING
LIGHT
FIXTURE
FAN/LIGHT
CONTROL
COVER PLATE REMOVAL AND
INSTALLATION
Removal: Grasp sides of the
cover and pull straight outward.
Installation: Align tabs on the
cover with holes in metal panel
and push straight inward.
3
OPERATING INSTRUCTIONS
The Delay-Off timer will control the connected ventilator and light. To
turn on the ventilator and light, press the top button. Press the bottom
button to turn off the light and to start the delay-off timer for the ventilator.
The ventilator stays on for the user-adjustable DELAY time. Pressing the
bottom button again will turn off the ventilator immediately, regardless of
the DELAY or VENTILATION setting. CAUTION: This setting is not a power
disconnection and should never be used as a disconnecting means for
service, maintenance, or cleaning.
NOTE: When fan is "ON", Indicator Light on Switch will be "ON".
•
The VENTILATION time ranges from 0 to 60 minutes. This setting is
how long, each hour, the ventilator will operate. When in VENTILATION
mode, the ventilator will run for the specified time every hour, including
manual usage. For more information, please see the examples below.
•
The DELAY time ranges from 5 to 60 minutes. This setting is how long,
after each occupation, the ventilator will operate. When in DELAY mode,
the ventilator will run for the specified time after the light is turned off.
For more information, please see the examples below.
DELAY-OFF / VENTILATION ADJUSTMENT
1. Remove the cover plate.
2. Locate DELAY and VENTILATION adjustment dials (recessed in the
lower portion of control). The settings are indicated by the flat edges of
the dials.
3. Use a screwdriver to rotate the dial clockwise (CW) to increase the
DELAY and VENTILATION time and counter-clockwise (CCW) to
decrease the DELAY and VENTILATION time.
4. When dials are set to the desired settings, replace the cover plate.
MODÈLE DT100W
5. Installer le produit uniquement dans une boîte de jonction certifiée par UL
MINUTERIE
ayant un volume d'au moins 393 cm³ (24,0 po³), à moins d'indications
contraires dans les instructions d'installation.
À ARRÊT DIFFÉRÉ
6. Il faut brancher un fil neutre sur la commande pour faire fonctionner ce
produit.
7. S'il faut couper ou percer dans un mur ou un plafond, prendre garde
de ne pas endommager les fils électriques et les autres installations qui
pourraient être dissimulées.
8. Pour éviter les dommages aux composants électriques et les blessures
graves causées par l'électrocution, NE PAS BRANCHER DES FILS SOUS
TENSION.
9. N.B. : Une fois le courant rétabli, il faut environ 30 secondes au produit
DT100W avant d'être prêt à l'emploi.
Garantie nulle en cas de mauvais branchement.
INSTALLATION
N.B. : Il faut acheminer un courant de 120 VCA (phase et neutre) à la boîte
de jonction pour faire fonctionner la commande murale.
1. Couper le courant et verrouiller l'accès au panneau d'alimentation avant
de commencer le branchement de la commande.
2. Installer la commande murale dans une boîte de jonction d'au moins
361cm
(24 po
métal ou en plastique.
3. Brancher le fil d'alimentation et le fil du ventilateur sur la boîte de
jonction. Dans certains cas, il faudra utiliser deux entrées défonçables.
Utiliser des serre-fils adaptés. Laisser une longueur de 15 cm (6 po) à
tous les fils dans la boîte de jonction.
4. Brancher les fils tel qu'indiqué sur les schémas fournis. Utiliser des
capuchons de connexion. Mettre correctement à la terre la commande
murale et le ventilateur.
5. Pousser les fils dans la boîte de jonction et y fixer la commande avec
les vis fournies. Vérifier que la commande est dans le bon sens avant de
l'installer (indication du haut de la commande sur son étiquette).
6. Fixer la plaque d'interrupteur (non comprise) selon les instructions du
fabricant.
N.B. : La minuterie se règle de 5 à 60 minutes, mais est préréglée par défaut
à environ 30 minutes, comme il s'agit de la durée recommandée pour
qu'un ventilateur de taille appropriée expulse complètement l'air d'une
pièce et en rétablisse la qualité. Consulter la section « RÉGLAGE DE LA
DURÉE DU DÉLAI ET DE LA VENTILATION » pour régler la durée selon
une application donnée.
CONTROLLING
A FAN
A FAN/LIGHT
FAN
M
FOR
BLU
GRD
RED
WHT
BLK
120 VAC
LINE IN
CONTROLLING LIGHT AND FAN
INDEPENDENTLY
FAN/LIGHT
M
BLU
L
BLU
GRD
RED
WHT
BLK
FAN/LIGHT
CONTROL
120 VAC
LINE IN
3
(22 po
3
) pour fils de calibre 14 AWG ou d'au moins 393 cm
3
) pour fils de calibre 12 AWG. La boîte électrique peut être en
DETERMINING VENTILATION TIME
This control provides a pre-set VENTILATION time for meeting continuous
ventilation codes. After the initial VENTILATION time is set by manually
turning the fan ON, the control will provide continuous activation cycles
every hour.
To calculate the applicable VENTILATION time setting, use the following
formula: VENTILATION time = (required CFM
1
from ASHRAE 62.2 formula/table (based on square footage and number of bedrooms)
HOUR OF OPERATION WITH NO OCCUPANCY
Homeowner wants the fan
to ventilate the bathroom
25 minutes out of every
hour with a 10-minute
delay-off after every time
the bathroom is used.
• VENTILATION dial
is set at 25 minutes,
meaning that the fan
will run for 25 minutes
per hour to fully
ventilate the room.
WHT
• DELAY dial is set at
10 minutes, meaning
that the fan will run for
WHT
10 minutes after every
occupancy.
WHT
• The control will determine when the fan needs to start by using the
following formula:
- 60 minutes – VENTILATION setting (25 minutes) = starting
ventilation time (35 minutes). Meaning that 35 minutes into
an hour with no occupancy, the fan will start and run for the
remaining 25 minutes.
- 35 minutes into the hour, the control will start the fan to satisfy
the VENTILATION requirement of 25 minutes.
HOUR OF OPERATION WITH 10-MIN. OF OCCUPANCY
GRD
Homeowner
5-min. run time
wants the fan
BLK
to ventilate
pre-determined
the bathroom
LIGHT
ventilation time
CONTROL
25 minutes out
of every hour
with a 10-minute
delay after
every time the
bathroom is
45
used.
• VENTILATION
dial is set at
25 minutes,
meaning that
the fan will
run for 25
minutes per
hour to fully
ventilate the room.
• DELAY dial is set at 10 minutes, meaning that the fan will run for
10 minutes after every occupancy.
• 10 minutes into the hour, the bathroom is occupied, and the fan is used
for 10 minutes. The control documents the 10 minutes of usage.
• The fan continues to run for 10 minutes after the control is switched off
to satisfy the pre-determined DELAY time of 10 minutes.
• 20 minutes of VENTILATION time is subtracted from the pre-determined
25 minutes, leaving 5 more minutes of VENTILATION time for the hour.
• With 5 minutes left in the hour, the control will start the fan to satisfy the
VENTILATION requirement of 25 minutes.
For Warranty Statement, Service Parts, Technical Support, or to
Register your product, please visit our website or call:
In the United States - Broan.com 800-637-1453 or NuTone.com
888-336-6151. In Canada - Broan.ca or NuTone.ca 877-896-1119
For more information on compatibility with Broan and NuTone fans,
refer to the wall control selection guide on Broan-NuTone.com,
Broan.ca or NuTone.ca.
BRANCHEMENT
AVEC VENTILATEUR
CAPUCHON
INSTALLÉ
OU NON
POUR
CONTRÔLE
DE LA
LAMPE
EXISTANTE
BLEU
TERRE
ROUGE
BLANC
NOIR
BRANCHEMENT POUR ÉCLAIRAGE
ET VENTILATEUR CONTRÔLÉS
3
VENTILATEUR/LAMPE
BLANC
M
BLANC
BLEU
L
BLANC
BLEU
TERRE
TERRE
ROUGE
BLANC
NOIR
NOIR
COMMANDE
VENTILATEUR/LAMPE
ALIMENTATION
120 VCA
1
÷ ventilator CFM) x 60
0
FAN
ON
25-min run
45
time to
FAN
satisfy
pre-determined
OFF
ventilation
time
30
to satisfy
0
FAN
FAN
ON
OFF
FAN
15
FAN
ON
10-min. run time
OFF
while bathroom
FAN
is in use
ON
10-min. run time
after bathroom usage
30
to satisfy pre-determined
delay time
BRANCHEMENT AVEC
VENTILATEUR/LAMPE
VENTILATEUR
VENTILATEUR/LAMPE
BLANC
M
BLEU
BLANC
BLANC
TERRE
ROUGE
BLEU
BLANC
NOIR
COMMANDE
VENTILATEUR/LAMPE
ALIMENTATION
120 VCA
ALIMENTATION
120 VCA
SÉPARÉMENT
RETRAIT ET INSTALLATION DE LA
PLAQUE-COUVERCLE
Retrait : Tenir les côtés de la plaque
et tirer vers le bas en ligne droite.
Installation : Aligner les languettes
de la plaque et les trous du panneau
de métal et pousser en ligne droite.
Pour plus de renseignements sur les
ventilateurs Broan et NuTone com-
COMMANDE
patibles, consulter le guide de sélection
ÉCLAIRAGE
des ventilateurs sur Broan-NuTone.com,
Broan.ca ou NuTone.ca.
15
Advertisement

Related Manuals for NuTone DT100W


Summary of Contents for NuTone DT100W
- Page 1 LINE IN OPERATING INSTRUCTIONS with a 10-minute 9. Note: When power is applied, the Model DT100W may require delay after The Delay-Off timer will control the connected ventilator and light. To approximately 30 seconds to boot up and be ready to function.
- Page 2 60 Web ou téléphoner. Aux États-Unis : Broan.com, 1 800 637-1453 ou NuTone.com, 1 888 336-6151. Au Canada : Broan.ca ou NuTone.ca, 1 877 896-1119. Valeur telle qu’indiquée dans le tableau de la norme 62.2 de l’ASHRAE (selon la superficie et le nombre de chambres).
Need help?
Do you have a question about the DT100W and is the answer not in the manual?
Questions and answers