Table of Contents
Advertisement
Quick Links
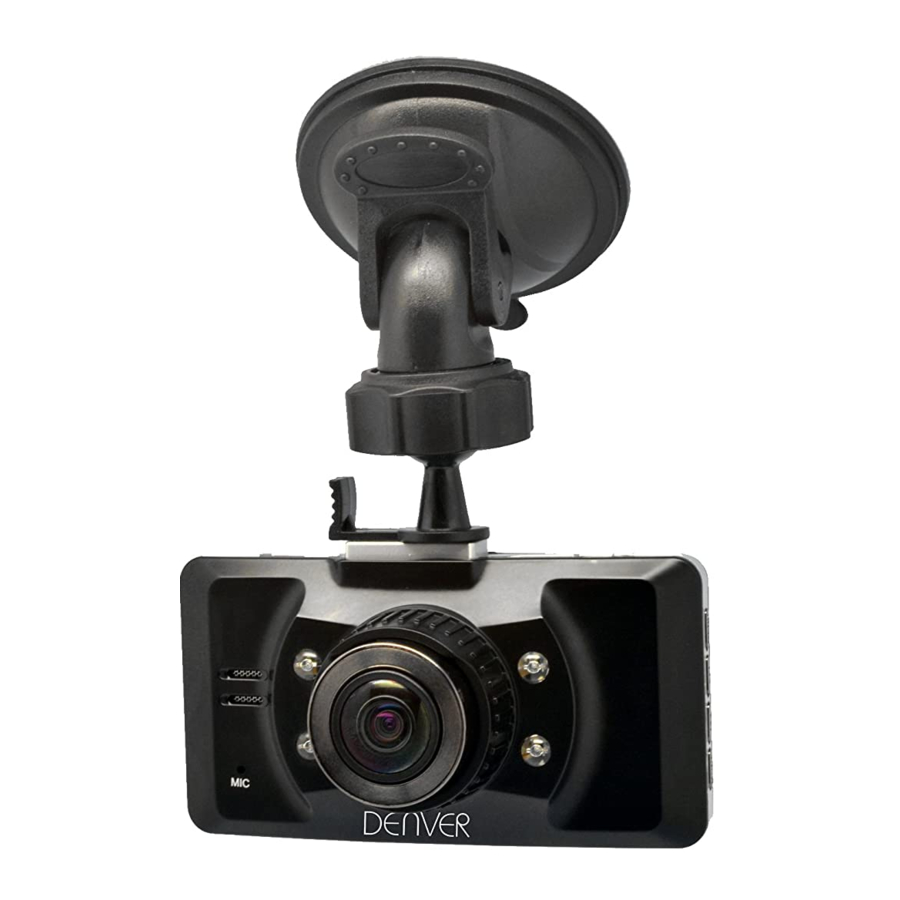
Appearance and Functional Description
1. Menu key
2. Up key
6. GPS port
7. HDMI port
11. Lens
12. Power key
16.
17. MIC
Speaker
Power capacity
Full
Middle
1. Directly connect the car charger to the USB port of the DVR, then the device will automatically turn on and charge the
battery. In charging, the charge indicator will be on; after charge is over, it will be off.
2. To charge the device with USB, be sure to connect one end of the USB data cable to PC and the other end to the DVR. In
charging, the charge indicator will be on; after charge is over, it will be off.
Installation and Removal of TF Card
1. In the direction as indicated, insert the TF card into the slot until it is held firmly.
2. To take the TF card out, slightly press the TF card to eject it out.
Note:
1. Observe the direction to insert the TF card; if the direction is reverse, the device and the TF card may be damaged.
2. When the TF card is inserted into the device, the machine will set the TF card as preset storage unit and the data in the
original TF card will be unreadable.
3. If the TF card is incompatible with the device, please insert the card again or replace it for retry.
4. Max. 32G supported.
5. Always use a high-speed TF card (CLASS4 above).
Use Guidelines
DVR On/Off
1. Press the On/Off key around 1s to switch on the device and 3s to switch it off.
2. Insert the device into the car charger to automatically switch on and turn off the card charger to automatically switch it off.
User Manual
3. Down key
8. Bracket base
13. TF card slot
Low
4. Mode key
5. Screen
9. Reset
10. USB port
14. OK key
15. Infrared light
Advertisement
Table of Contents

Subscribe to Our Youtube Channel
Related Manuals for Denver CCT-5000


Summary of Contents for Denver CCT-5000
- Page 1 User Manual Appearance and Functional Description 1. Menu key 2. Up key 3. Down key 4. Mode key 5. Screen 6. GPS port 7. HDMI port 8. Bracket base 9. Reset 10. USB port 11. Lens 12. Power key 13. TF card slot 14.
- Page 2 3. Press the On/Off key to open the night view fill light. Switch Working Modes 1. Press the Mode key to switch Video/Image/playback, as video mode while as image mode. These icons are screen on the left upper corner of the screen. How to Enter System Setup Option In video or image mode, press the Menu key once and again to enter the “System Setup”...
- Page 3 * Cont Shot: On/Off. * Image quality: Fine/ High/ Normal * Sharpness: Strong/Standard/Soft * White balance: Auto/Daylight/Cloud/Tungsten/Fluorescence * Color: Standard/Black & White/Brown * ISO: Auto/00/200/400 * Exposure Compensation: -2.0 -5/3 -4/3 -1.0 -2/3 -1/3 +0.0 +1/3 +2/3 +1.0 +4/3 +5/3 +2.0 * Face identification: Off/ Standard/Smile * Anti-hand shock: On/Off * Fast preview: Off/2s/5s.
- Page 4 Connect to TV 1. Use the HDMI connection line to connect the DVR to a TV for playback. 2. Use a TV cable to connect the DVR to a TV for videoing, shooting and browsing pictures and videos. Tip: Without driver installed, the mobile disc may be used when the DVR is switched on. Remarks: When this device crashes due to improper operation, press the Reset button to restart and restore it.
- Page 5 ALL RIGHTS RESERVED, COPYRIGHT DENVER ELECTRONICS A/S Electric and electronic equipment and included batteries contains materials, components and substances that can be hazardous to your health and the environment, if the waste material (discarded electric and electronic equipment and batteries) is not handled correctly.
Need help?
Do you have a question about the CCT-5000 and is the answer not in the manual?
Questions and answers