Advertisement
Advertisement

Subscribe to Our Youtube Channel
Summary of Contents for Altius DGDVD21CE
- Page 1 User MaNUaL ModeL No: dgdvd21ce...
-
Page 2: Welcome
WeLcoMe We hope you enjoy your purchase! ALTIUS products are carefully designed and produced to the highest standards of performance and safety, backed by our comprehensive 1 Year Warranty. This user manual will provide all the information required for you to setup and... -
Page 3: Table Of Contents
coNteNts Welcome Product Overview Installation Remote Control Operation Troubleshooting Specifications Compliance and Responsible Disposal... -
Page 4: Product Overview
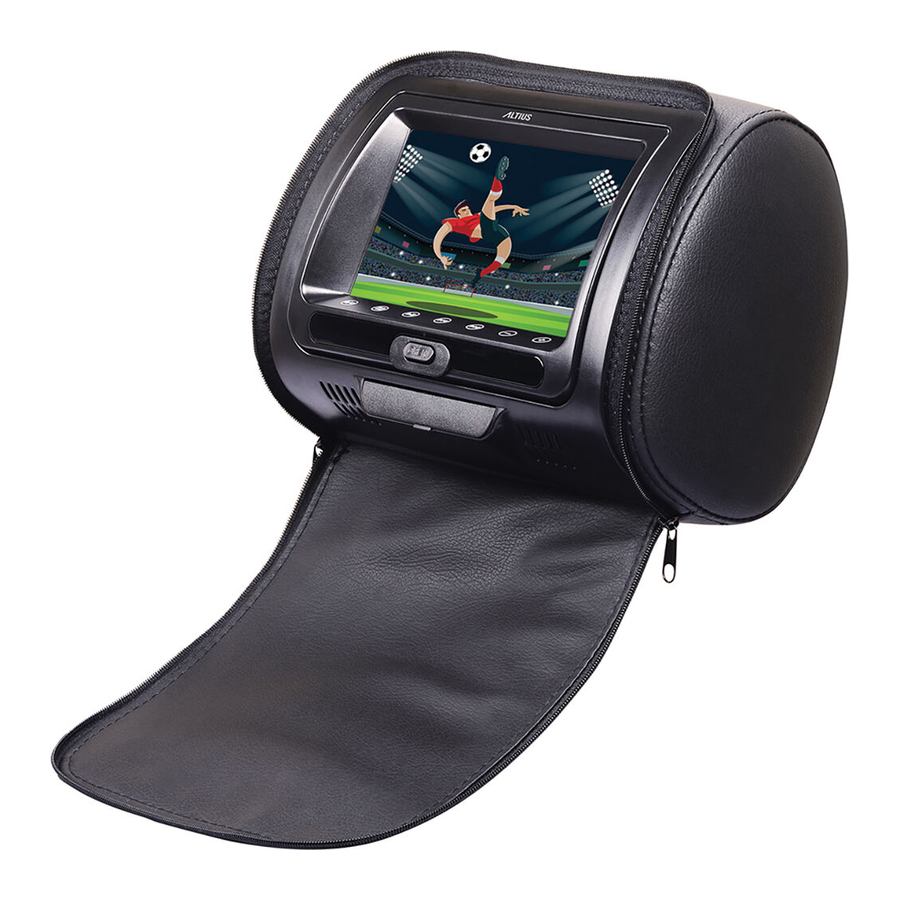
ProdUct overvieW What’s iN the box: A. DVD Headrest B. Wireless 2-in-1 Game Console Remote C. AAA batteries D. Installation Tubes E. AV Cable Bundle F. 12V Car Power Adaptor G. Set of Earphones H. User Manual I. Warranty Card J. - Page 5 : Move to the previous/next chapter or bUttoNs aNd FUNctioNs track. : Press to play or pause. Press and hold to return. : Press to go into the quick screen setting menu. Press and hold to enter the system settings menu. In menus, work as navigation keys.
-
Page 6: Installation
iNstaLLatioN There are two ways to install this headrest in your vehicle: you can do it yourself, or you have it professionally installed by an auto specialist. NOTE: The shape and the size of the headrest may not be suitable in all cars. - Page 7 Professional installation (auto specialist only) 1. Remove the original headrest. 2. From the 6 pairs of installation tubes (16/14/13.8/12.7/12.5/12 mm in diameter) included in the product, select the correct pair for the poles of your car’s headrest. 3. Adjust the space between the two poles of the headrest and install the headrest into position. Adjust its height as required.
- Page 8 PLaceMeNt aNd PositioN A head restraint is designed to limit the movement of the head and provide support in an accident. A properly adjusted head restraint will help to protect you against whiplash, and potentially save you from a long-term injury. How to adjust your head restraint Picture 1: This picture shows a well-adjusted head restraint, which will reduce the risk of suffering a whiplash injury.
- Page 9 Picture 3: This picture shows another example of a properly adjusted head restraint. As in Picture 1, the two main points to note are that the head restraint is as high as the top of the occupant’s head, and the restraint is close to the back of the head. Picture 4: This picture is an example of a poorly adjusted head restraint.
-
Page 10: Remote Control
reMote coNtroL setUP Insert two AAA size batteries (not included) according to the polarity markings (+ / -) inside the compartment. Make sure the batteries are correctly aligned and properly pushed into place. PrecaUtioNs WheN UsiNg batteries • Do not use old and new batteries together. •... - Page 11 UsiNg the reMote coNtroL reMote hiNts aNd tiPs To use the remote, point it towards the remote sensor at the front of the headrest. • Point the remote control directly towards the sensor. The remote has a range of up to about 3 metres from the •...
- Page 12 GAME PLAY BUTTONS TITLE : Go to the title menu : Turn the unit on/off MUTE : Mute sound PBC/MENU: Set PBC menu function on/ PROG : Program a playlist with track off/select panel setting numbers TITLE MENU MUTE DISP : Display the DVD playback : Navigate the system information menu...
-
Page 13: Operation
oPeratioN Power ON/OFF • Press the POWER button on the remote control or the unit to turn it on. • Press the POWER button on the remote (or press and hold the power button on the unit) again to turn the unit off. Loading a disc 1. - Page 14 PLayiNg coNteNt FroM a Usb/sd card 1) Insert a USB memory stick or SD card into the corresponding port on the unit. 2) The USB/SD memory is detected and the USB playback mode starts automatically. If it does not go to USB playback mode automatically, press the USB/SD button and select DVD/SD/USB using the navigation buttons and press ENTER to switch to USB/SD mode.
- Page 15 systeM MeNU Press the SETUP button to display the system menu. Use the navigation buttons and the ENTER button to select items in the menu and change the settings. System Setup TV system: Select the TV system. AUTO is recommended. Last memory: Turn ON or OFF the Power Resume function.
- Page 16 Audio Setup Key: Change sound pitch. FM: Send the sound to your car FM radio via FM transmitter settings. IR: Transmit the sound to IR earphones. Downmix: Set the 5.1 Channel DVD downmix to 2 channel sound output. You can select Stereo, LT/RT (left total/right total). Note: When set to FM or IR, all the sound will transmit through FM or IR;...
-
Page 17: Troubleshooting
troUbLeshootiNg ProbLeM soLUtioN • Ensure connection to power is correct and secure. No power • Position your car key in ‘ACC’ to supply power. • Make sure the audio is not muted. No sound • Check the the volume level is not set too low. •... -
Page 18: Specifications
sPeciFicatioNs Compatible DVD / SVCD / VCD / Game CD / Formats JPEG / CD-R / CD-RW Compatible with all DVD regions Display 7” (diagonal) colour LCD in PAL or NTSC format RCA Audio and Video Out (cable) Output Ports NTSC 3.5mm Headphone Out USB port, SD/card slot, AV In... -
Page 19: Compliance And Responsible Disposal
coMPLiaNce aNd resPoNsibLe disPosaL Compliance Packaging The packaging of your product has been This product complies with the Australian Safety Standard AS/NZS 62368.1 to ensure the safety of the selected from environmentally friendly product. materials and can usually be recycled. Please ensure these are disposed of correctly. - Page 20 cUstoMer heLPLiNe aU: 1300 886 649 distribUted by: teMPo (aUst) Pty Ltd, Po box 6056, FreNchs Forest dc 2086...
Need help?
Do you have a question about the DGDVD21CE and is the answer not in the manual?
Questions and answers