Table of Contents
Advertisement
Quick Links
Advertisement
Table of Contents

Related Manuals for PME miniDOT Clear

Summary of Contents for PME miniDOT Clear
- Page 1 1483 POINSETTIA AVE., STE. #101 VISTA, CA 92081 USA miniDOT Clear USER’S MANUAL WWW.PME.COM TECHNICAL SUPPORT: INFO@PME.COM | (760) 727-0300 PG. 1 THIS DOCUMENT IS PROPRIETARY AND CONFIDENTIAL. © 2021 PRECISION MEASUREMENT ENGINEERING, INC. ALL RIGHTS RESERVED.
-
Page 2: Table Of Contents
2.4 miniDOT Concatenate ........................19 CHAPTER 3: MINIDOT CLEAR LOGGER ..................21 3.1 Overview ............................21 3.2 Opening and Closing the miniDOT Clear Logger ................21 3.3 Electrical Connections and Controls ....................22 3.4 Battery Replacement ......................... 23 3.5 Installing Copper Mesh or Plate......................24 3.6 Final Mounting Instructions ........................ -
Page 3: Warranty
For valid warranty claims made and covered defects existing during the applicable warranty period, PME will, at PME’s option, repair, replace (with the same or then most similar product) or repurchase (at purchaser’s original purchase price), the defective product. This warranty extends solely to the original end-user purchaser of the product. - Page 4 (or its designated distributor) at PME’s expense. If the warranty claim is found to be not valid for any reason, as determined by PME in its sole discretion, PME will notify the purchaser at the contact information provided by the purchaser.
-
Page 5: Safety Information
This gas will likely exit via the same location where the water entered, but not necessarily. The miniDOT Clear Logger is designed to release internal pressure, as the black end cap is unscrewed, prior to the disengagement of the black end cap threads. -
Page 6: Chapter 1: Quick Start
CHAPTER 1: QUICK START 1.1 The Quickest Start Possible Your miniDOT Clear Logger has arrived completely ready to go. It is set to measure and record time, battery voltage, temperature, oxygen concentration, and measurement quality once every 10 minutes and write one file of measurements daily. Open the miniDOT Clear Logger and move the Logger Control Switch to the “Record”... - Page 7 10 minutes (or at some other interval you may have set using the miniDOT Control program). 3. Inspect the o-ring seal for debris. 4. Close the miniDOT Clear Logger by screwing the clear pressure housing back onto the black end cap. 5. Deploy the miniDOT Clear Logger.
-
Page 8: A Few Details
The default time interval is 10 minutes. However, it is also possible to instruct the miniDOT Clear Logger to record at different intervals. This is accomplished by running the miniDOTControl.jar program supplied with the miniDOT Clear Logger. -
Page 9: Overview & General Maintenance
The number of measurements in each file will depend upon the sample interval. Files are named by the time of the first measurement within the file based on the miniDOT Clear Logger’s internal clock and expressed in YYYY-MM-DD HHMMSSZ.txt format. For example, a file having the first measurement on September 9, 2014 at 17:39:00 UTC will be named: 2 0 1 4 - 0 9 - 0 9 1 7 3 9 0 0 Z . - Page 10 >12 >8,000 Keep a general record of the miniDOT Clear Logger’s number of samples. It is not possible to accurately tell the charge state of a lithium battery by measuring its terminal voltage. If you have a general idea of the number of samples already obtained on a battery, then you can make a guess as to how many more samples remain.
- Page 11 When replacing batteries use only fresh batteries. Do not mix battery types. If one battery differs in type or charge level from the other and the miniDOT Clear Logger runs them to full discharge, then one battery may leak. SEE SECTION 3.4 FOR CAUTION ON BATTERY PLACEMENT.
- Page 12 When the clear pressure housing is screwed back on to the black end cap, then these drops can become trapped inside the miniDOT Clear Logger. Be sure to carefully dry the o-ring and adjacent surfaces (especially underneath) prior to closing the miniDOT Clear Logger.
- Page 13 VERI FYI NG CALI B RAT I O N You may from time to time want to verify the calibration of your miniDOT Clear Logger. Do this by placing the miniDOT Clear Logger in a black 5-gallon bucket containing 4 gallons of fresh water.
- Page 14 Caution: DO NOT remove the stainless-steel screws in the black end cap. There are no user serviceable parts here. If the screws are removed, then you will damage the miniDOT Clear Logger and it will have to be returned for repair.
-
Page 15: Chapter 2: Software
These files are located on the root directory of the miniDOT Clear Logger. PME suggests you leave these programs where they are on the miniDOT Clear Logger, but you may copy them to any folder on your HOST computer’s hard drive. -
Page 16: Minidot Control
Clear Logger’s clock will be set and the check mark icon will appear. If the HOST computer is not connected to the Internet, then no time services will occur. If the miniDOT Clear is unable to automatically set time and there is a large time error at connect, please contact PME about correcting this. - Page 17 Clear Logger, then the program will suggest the folder that is located on the miniDOT Clear Logger’s SD card. You may accept this by clicking “Plot”, or you may click “Select DATA Folder” to browse to your HOST computer’s hard drive. If the number of measurements recorded is small, for example a few thousand, then these can conveniently be plotted directly from the miniDOT Clear Logger’s storage.
- Page 18 The program can be re-run at any time. If an already processed DATA Folder is selected, then the progrm simply reads the miniDOT Clear Logger’s measurement files again. End the miniDOT Plot program by closing the window.
-
Page 19: Minidot Concatenate
Enter elevation or barometric pressure. Enter water salinity. Select the folder that contains the files recorded by the miniDOT Clear Logger. If the miniDOT Plot program is run directly from the miniDOT Clear Logger, then the program will suggest the folder located on the miniDOT Clear Logger. - Page 20 The CAT.txt file will resemble the following: End the miniDOT Concatenate program by closing the window WWW.PME.COM TECHNICAL SUPPORT: INFO@PME.COM | (760) 727-0300 PG. 20 THIS DOCUMENT IS PROPRIETARY AND CONFIDENTIAL. © 2021 PRECISION MEASUREMENT ENGINEERING, INC. ALL RIGHTS RESERVED.
-
Page 21: Chapter 3: Minidot Clear Logger
This person should grip the black end cap while the other person turns the clear pressure housing. Caution: Do NOT remove the stainless screws in the black end cap. If this is done, then the miniDOT Clear Logger will be permanently damaged and must be returned for repair. -
Page 22: Electrical Connections And Controls
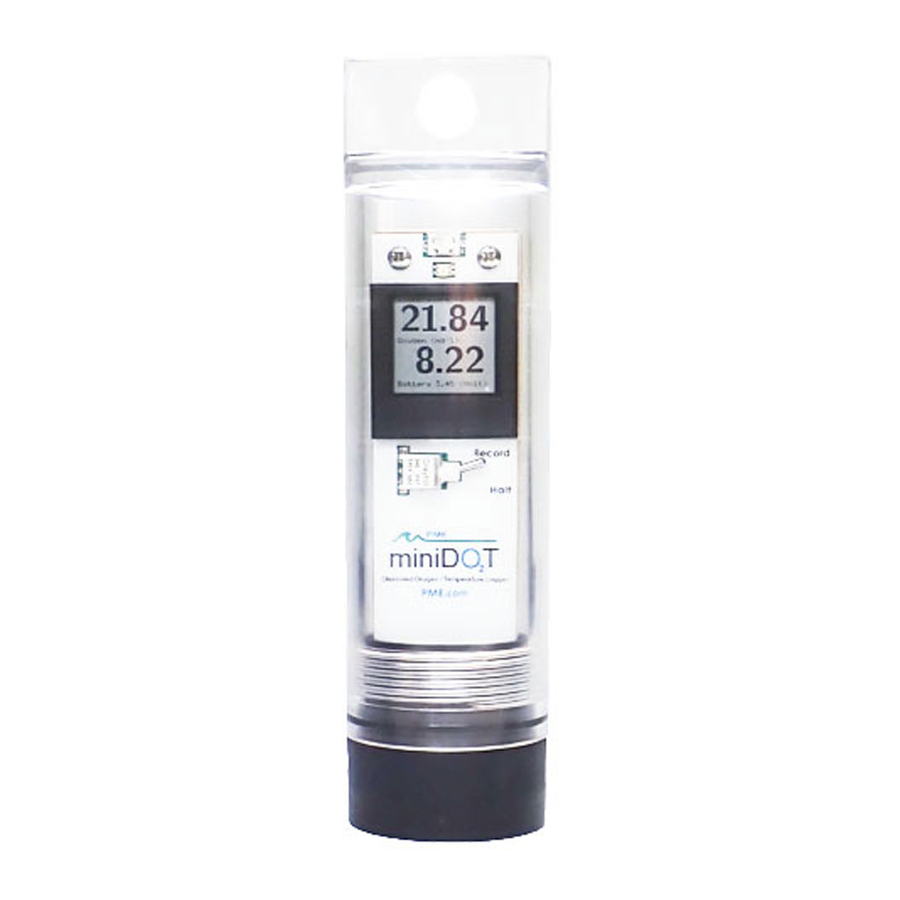
The Logger Control Switch controls the miniDOT Clear Logger’s mode: Record – When the switch is in this position the miniDOT Clear Logger is recording measurements. Halt – When the switch is in this position the miniDOT Clear Logger is not recording and is sleeping at low power. -
Page 23: Battery Replacement
These readings will remain static until the next sample interval when a new measurement is taken and displayed. NOTE: miniDOT Clear units equipped with a 16GB SD card will take longer to appear as a useable removable disk drive on your computer. -
Page 24: Installing Copper Mesh Or Plate
5. The miniDOT Clear Logger’s LED Light should flash to indicate that the software is beginning operation within a second or two after you complete the battery installation. At this time, the logger will enter the mode selected by the Logger Control Switch (which should initially be “Halt”... -
Page 25: Final Mounting Instructions
Save the ss316 screws. They will be needed if the Cu mesh is removed. 3.6 Final Mounting Instructions Appropriate mounting of miniDOT Clear at the deployment site is the customer's responsibility. PME provides the suggestions below. WWW.PME.COM TECHNICAL SUPPORT: INFO@PME.COM | (760) 727-0300 PG. - Page 26 Clear's oxygen sensing foil is constructed of silicone rubber and other materials. This material can be worn away with resulting loss of calibration. If miniDOT Clear is to be used in moving water transporting sand or other debris some protective housing must be constructed. The goal is to reduce water velocity near miniDOT Clear's sensing foil but at the same time allow water access, without accumulation of debris.
Need help?
Do you have a question about the miniDOT Clear and is the answer not in the manual?
Questions and answers