Advertisement
Quick Links
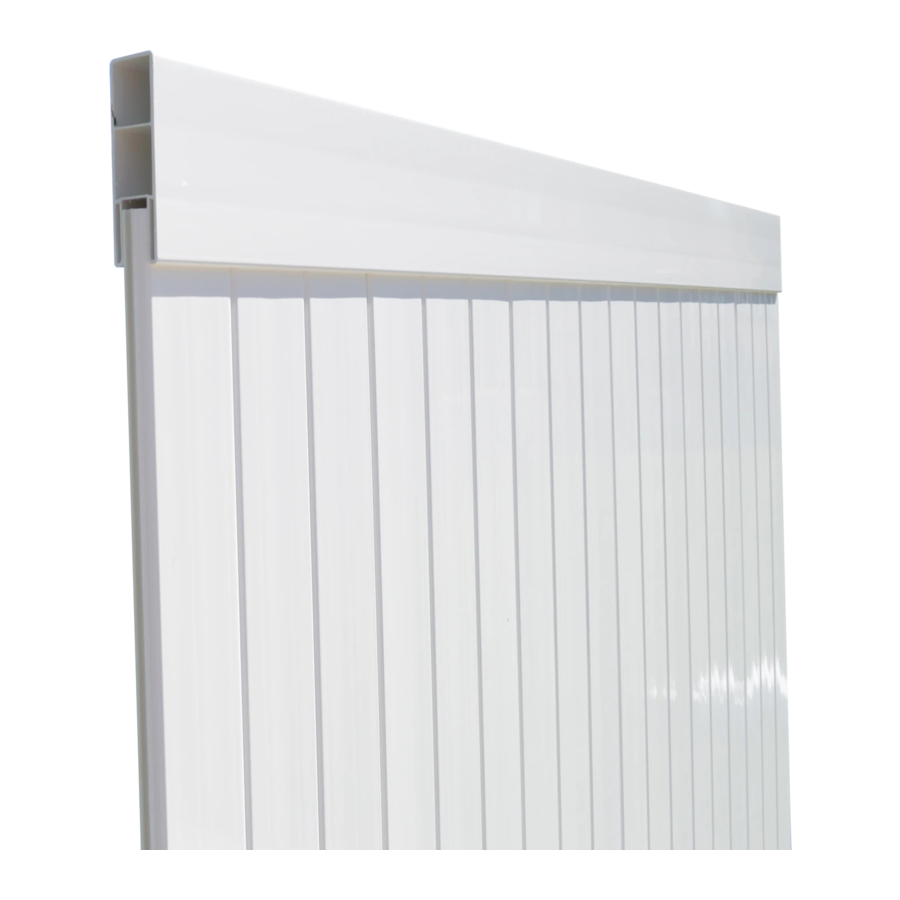
EZ Privacy Gate Kit Assembly Instructions
Step 7
Flat Caps Installation
Post
Flat Cap
Vinyl Glue
Put a small amount of Vinyl Glue on all sides of the Post Flat Cap and gently tap the Post Flat Cap into the top of
the two Uprights Post and wipe off any excess Vinyl Glue with damp cloth (Fig. 11).
Completed Privacy Gate Kit
Front Side
- all smooth
Need Help or Info.
Call us at 1.888.754.6507
Top Uprights Post
Vinyl Glue
Flat Cap
Fig. 11
Back Side
-with screw caps
EZ Privacy Gate Kit Assembly Instructions
Cut to Size Pocket Rail and T&G Pickets
PLEASE READ INSTRUCTIONS BEFORE ASSEMBLY
During assembly, vinyl components should be laid on a non-abrasive surface (i.e. cardboard or drop cloth) so as not to scratch.
• Use care when applying PVC cement, as it
dries quickly. Vinyl should be cleaned with
a mild detergent and non-abrasive cleaning
pad or sponge.
• Vinyl components should be assembled
without using excessive force, to avoid
breakage.
• Assemble gate after fence installation, to
accurately locate hinge and latch post and
proper width size.
USP © 2015
EZ Privacy Gate Kit
• 4 Upright Metal Support
• 4 Pocket Rail Metal
Support
• 1 PVC Glue
Cut to Size
• 2 Post Flat Caps
Pocket Rail & T&G Pickets
• 2 Upright Post
Sold Seperately
• 1½" & ¾" Pan Metal
Sheet Screws & Vinyl Caps
• Gate Lock & Hinges
Not Included
• Gates should not be made any wider than
48", to avoid sagging from hinge post.
• All hinge posts properly installed should have
steel insert and be filled at least 75% with
concrete.
• Cut Top and Bottom rail 2" shorter than
distance between hinge and latch post.
For Example: If the gate opening is 44" cut
Top and Bottom rail to 42".
Vinyl Fencing Made Easy
www.ezfencecenter.com
TOOLS NEEDED
• Measuring Tape / Ruler
• Pencil
• Screw Driver (Phillips #2)
• Drill with �⁄��" bits
• Drop Cloth
• Square Level
• Rubber Mallet
Made
in the
USA
Advertisement

Summary of Contents for EZ Privacy Gate Kit
- Page 1 EZ Privacy Gate Kit Assembly Instructions EZ Privacy Gate Kit Assembly Instructions Step 7 Flat Caps Installation Post EZ Privacy Gate Kit Top Uprights Post Vinyl Glue Flat Cap Flat Cap Vinyl Glue Fig. 11 Put a small amount of Vinyl Glue on all sides of the Post Flat Cap and gently tap the Post Flat Cap into the top of the two Uprights Post and wipe off any excess Vinyl Glue with damp cloth (Fig. 11).
- Page 2 EZ Privacy Gate Kit Assembly Instructions EZ Privacy Gate Kit Assembly Instructions Step 4 Cut to Size the last T&G Picket Step 1 Top/Bottom Pocket Rail Metal Support Installation The last T&G Picket MUST be cut accordingly to the proper gate size (Fig. 6) before inserting this last T&G Picket then insert the upright post. (Fig. 7) Last T&G Must be Cut to Size Pocket Rail Last T&G Picket...
Need help?
Do you have a question about the Privacy Gate Kit and is the answer not in the manual?
Questions and answers