Advertisement
Quick Links
Advertisement

Related Manuals for Storchenwiege Babysling

Summary of Contents for Storchenwiege Babysling
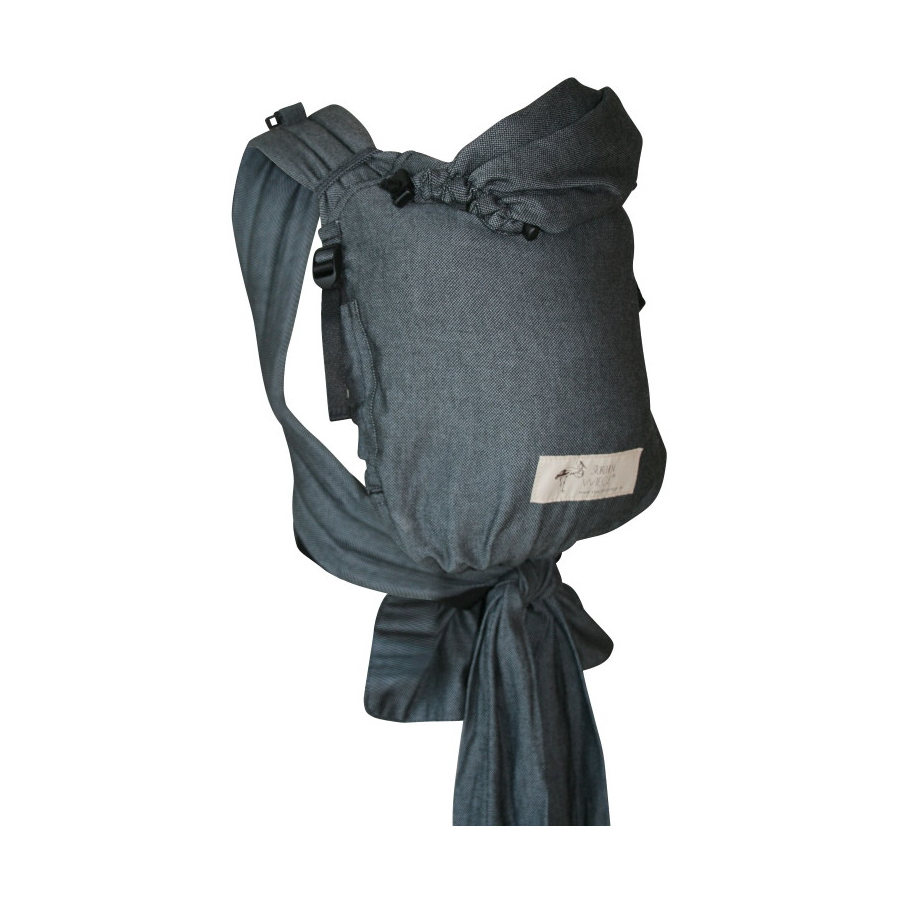
- Page 1 Storchenwiege ® Babysling info@storchenwiege.de www.storchenwiege.co.uk Wrapping instructions...
- Page 3 • Renate Köhler: Die Kunst des Bindens – Das Buch zum Tragetuch (The art of tying – the book to go with your sling), Verlag Renate Köhler, Münster, 1995 ® These tying instructions were developed in cooperation with Petra Wilhelm at the ClauWi sling school. ® Copyright by Storchenwiege , Birkenstraße 31b, 01328 Dresden, Germany, e-mail: info@storchenwiege.de, www.storchenwiege.de...
- Page 4 ® spine undergoes initial straightening, moving forwards and upwards. Lying on her We are pleased to see you have chosen a Storchenwiege sling and hope you and your child will have a lovely time using it together. These instructions are designed tummy, the child can lift her head, move it independently, hold it up and turn it.
- Page 5 When you are travelling, the sling is a useful, space-saving accessory. • Always be sure to tie the Storchenwiege sling firmly. The material’s diagonally • Before you first use the sling, wash it (without fabric softener), dry it then put it elastic weave means baby’s spine can easily take on a nicely rounded shape.
- Page 6 Every Storchenwiege ® sling has coloured edges methods. That is why the centre of every Storchenwiege ® sling is to help you tie it right. To marked with a stork. keep things simple these edges are described in the instructions as the “head edge”...
- Page 7 With any tying method it is important to pull tight each fold of the sling one by one. Grasp the sling below your chest when Grasp the sling from above in front of To keep the sling tight, transfer each pulling it tight.
- Page 8 Snuggle- hold carry . The remaining fabric is now pulled between baby’s legs towards her body tummy-to- (see picture below). tummy “frog” (suitable for babies from day 1 on; also appropriate for pree mies) 1. Sit down and place the ends of the 2.
- Page 9 8a. When the sling is tied on, move your child’s legs into the “spread 8b. To give you more freedom to move, squatting position”. Both her legs should fold the sling upwards onto your shoul- be at the same height, with her knees der, keeping the sling firmly tied around about level with her belly button.
- Page 10 Double cross carry (as soon as the child can hold her head up stabily) 1. Wrap the sling around your torso. The 2. Now pull both strips of the sling 3. Cross the ends in front of your stomach. The end coming from behind you on centre of the sling is in the middle of tight, fold by fold.
- Page 11 8. Now spread out the lower side of the 7. Now place your child on your right The child is now snuggled on the sling across your child’s back. Grasp the shoulder, reach your left hand through crossed sling tummy-to-tummy, still head edge of the lower side with your under the left side, and slip your child’s supported by your hand.
- Page 12 Wrap cross carry 3. Reach under the left side of the sling with your left hand and grasp the head 2. Now guide the head edge of the edge of the right-hand side. Lift the left-hand end over your right shoulder, and the sling round behind you, holding the two right-hand end over your left shoulder.
- Page 13 8. Transfer the tight end into your right hand, reach into the roll of fabric at your child’s knee and push the loose fabric toward your back. 9. Transfer the tight end back into your left hand and use your right hand to pull about 15 cm of fabric from your left hand, again pulling it tight strand by strand.
- Page 14 Snuggle- hold carry “frog” on the hip (suitable for babies from day 1) 3. Spread out the pouch of cloth now in 1. Take the centre of the sling in your 2. Wrap the end in your left hand around front of your tummy, place baby on your left hand, then use your right hand to your waist, beneath the end hanging...
- Page 15 7. Transfer the end you were already holding tight into your right hand. Reach behind you with your left hand and draw forward the end hanging over your shoulder. Pull the head edge tight. 6. Now use your right hand to grasp the Now, first pull the end in your right hand head edge of the end on your shoulder tight strand by strand, then do the same...
-
Page 16: Hip Carry
Hip carry (suitable when the child is able to sit up) 2. Shift the knot round to the back and 1. Drape the centre of the sling over one shoulder and tie the knot on your oppo- spread out the pouch in the sling in front site hip. - Page 17 Wrap cross rucksack carry “frog” on your back (suitable when baby can sit up; advanced tying 1. Lift up your leg, lay the centre of the 2. Lift baby up, using your left hand to 3. Your child is now on your left shoul- method) sling over your thigh and sit the child support her back and head.
- Page 18 6. Reach through the two sides with your free hand, letting the fabric slide down 7. Pull each end of the sling forward 8. Tie a single knot in front of your your shoulder. Keep up the tension on the two ends so that your child is safely fold by fold until it is firm.
- Page 19 13. Pull the two ends tight strand by 11. This strip of fabric is pulled for- 12. Do the same on the other side as strand, starting with the end you first ward under your child’s leg and pinned described in Steps 9 to 11. pulled over the child’s back (here the between your knees.
- Page 20 Rucksack carry “frog” on your back (suitable from the third month) 1. Place your baby in the centre of the sling, with the head edge of the fabric about two finger widths above her ears. 3. … transfer the left end into your right Now gather the fabric firmly beneath 2.
- Page 21 This keeps up the tension on the two ends so that your child is always safely supported. 7. Use your left hand to reach over your right hand and take both ends of the sling. Now use your right hand to reach over your left hand and grasp the right- hand strip of fabric, lift it over your head onto your shoulder, maintaining...
- Page 22 10. Pull the head edge tight and trans- 11. Spread the fabric to form nice wide fer it to your other hand. Now grasp the Important: now pull the head edge straps on your shoulders. Twist each end fabric strand by strand and carefully pull and a handful of fabric firmly forward again.
- Page 23 Tip: if you would like a chest strap for Tip: The pouch holding the child should To undo the child, loosen the knots, pressing your arms firmly against your body, this tying method, you can simply join be pulled down to her knees on either to keep your child firmly supported in the sling.
- Page 24 Storchenwiege ® www.storchenwiege.co.uk...
Need help?
Do you have a question about the Babysling and is the answer not in the manual?
Questions and answers