Advertisement
Quick Links
Quick Start Guide
Patient ID
Status Indicator
SEM Delta
Action Button
1
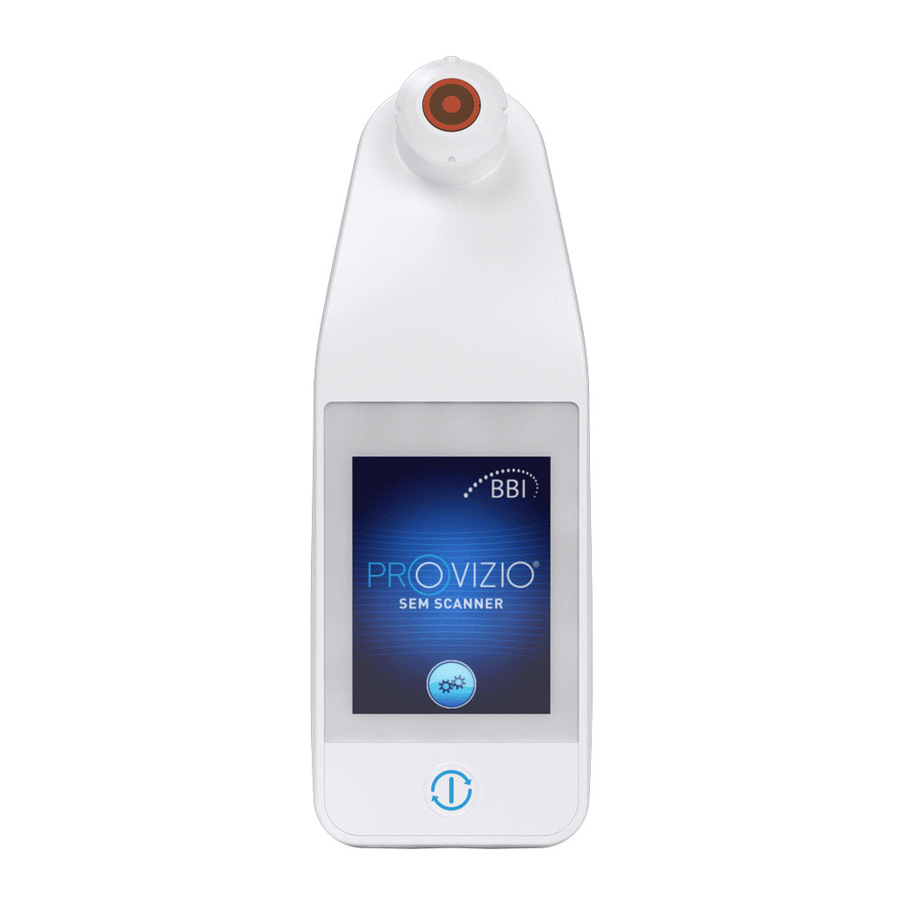
START-UP
Turn on Provizio
SEM Scanner by
either removing
from the Charging Hub
or by pressing the Action
Button until the screen
illuminates and the Splash
Screen displays (Figure 2).
The sensor head (Figure 1)
must remain untouched
during this time.
Figure 2 – Splash
Screen
a
Integrated Fixed Head
Sensor
If using the integrated
fixed head Provizio SEM
Scanner, after approximately
4 seconds the Mode of
Operation screen (Figure 6)
will then display.
Figure 3 - Integrated
Fixed Head Scanner
b
Single-use Sensor Scanner
If using the single-
use sensor Provizio
SEM Scanner, after
approximately 4 seconds
the Install Sensor Screen
(Figure 4) will display.
Figure 4 - Install
Sensor Screen
Remove the single-use
Provizio SEM Scanner
Sensor from its packaging
and place on the sensor
head (Figure 5). You will
hear a click when the
sensor is placed correctly.
Note - each patient
scanning session requires
a new sensor.
Figure 5 – Installing
Provizio SEM Scanner
Sensor
Press the Next Screen Button to
continue, the scanner will test
the installation of the sensor and
then display the Mode of Operation
Screen (Figure 6).
®
Figure 1 - Provizio
SEM Scanner & Charging Hub
2
MODE OF OPERATION
Select one of the four
®
options available
(Figure 6).
Figure 6 – Mode of
Operation Screen
a
Pressing the Barcode Button
will implement full data upload.
Use this mode if the patient has
a bar coded wrist band and the
Provizio SEM Scanner Gateway
Dashboard is installed on your
WiFi network.
Press the Barcode
Button on the Barcode
Scanning Screen
(Figure 7)
Position the scanner
and use the green light
Figure 7 – Barcode
Scanning Screen
to aim the barcode
reader at the patient
barcode. (Figure 8)
Once the scanner
has identified the
barcode, it will emit a
short audio tone and
the Body Location
Selector Screen will be
Figure 8 – Scanning a
displayed. (Figure 9)
Patient Barcode
If the barcode cannot
be scanned, pressing
the Manual Patient ID
button (Option c) in the
lower right corner will
allow you to manually
enter the Patient ID.
Sensor
Patient barcode scanner
Battery Gauge
SEM Value
Charging Hub
b
Pressing the Manual
Charting Button will
implement the manual
operation mode.
For when the patient
does not have a bar
coded wrist band, or
you do not have the
Gateway Dashboard
installed on your
WiFi network
c
Pressing the Manual
Patient ID Button in the
lower right corner will
allow you to manually
enter the Patient ID
via a keyboard on the
scanner display screen
d
Pressing the Training
Button in the lowerleft
corner will implement
a test mode for
training only
Once the selection
is made (a-d)
the scanner will
automatically move
to the Body Location
Selection Screen
(Figure 9).
Figure 9 – Body
Location Selection
Screen
OTH-SEM250-0357 Rev D
1
Advertisement

Summary of Contents for Provizio SEM Scanner
- Page 1 Battery Gauge Status Indicator SEM Value SEM Delta Action Button Charging Hub ® Figure 1 - Provizio SEM Scanner & Charging Hub START-UP MODE OF OPERATION Select one of the four Turn on Provizio ® SEM Scanner by options available...
- Page 2 DATA UPLOAD CHARGE & POWER DOWN To upload readings taken, place the Provizio SEM To charge, place the scanner in the Charging Scanner into the Charging Hub (Figure 12), the Hub (Figure 12). The Charging Hub light will scanner initiates wireless communications and start flashing green.
Need help?
Do you have a question about the SEM Scanner and is the answer not in the manual?
Questions and answers