Table of Contents
Advertisement
Quick Links
Warn Industries, Inc.
12900 S.E. Capps Road
Clackamas, OR USA 97015-8903
1-503-722-1200 FAX: 1-503-722-3000
www.warn.com
Customer Service / Service Clients: 1-800-543-9276
International Sales Support / Les Ventes internationales
Soutiennent: 1-503-722-3005
© 2012 Warn Industries, Inc.
WARN®, the WARN logo are registered trade-
marks of Warn Industries, Inc.
WARN® et le logo WARN sont des marques
déposées de Warn Industries, Inc.
(78") ZEON CONTROL PACK
RELOCATION KIT
INSTALLATION GUIDE
GUIDE D'INSTALLATION
89959A0
Advertisement
Table of Contents

Summary of Contents for Warn Industries 89960
- Page 1 Customer Service / Service Clients: 1-800-543-9276 International Sales Support / Les Ventes internationales Soutiennent: 1-503-722-3005 © 2012 Warn Industries, Inc. WARN®, the WARN logo are registered trade- marks of Warn Industries, Inc. WARN® et le logo WARN sont des marques déposées de Warn Industries, Inc.
- Page 2 English ................1...
-
Page 3: Table Of Contents
12900 SE Capps Road Clackamas, OR 97015 Customer Service: (800) 543-9276 International Fax: (503) 722-3005 Fax: (503) 722-3000 WARN® and the WARN logo are registered trademarks of Warn Industries, Inc. www.warn.com © 2012 Warn Industries, Inc. WARN INDUSTRIES WARN INDUSTRIES... -
Page 4: General Safety Precautions
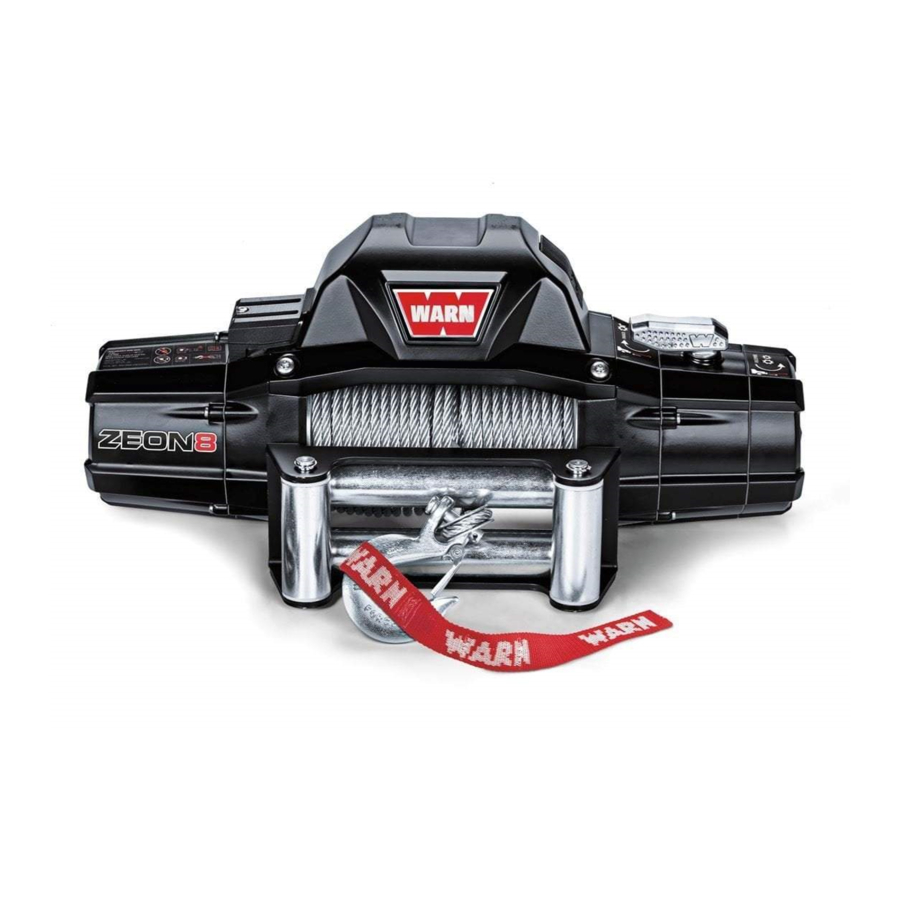
Part Number As you read these instructions, you will see WARNINGS, 78” Wire Assembly Kit 89960 CAUTIONS, NOTICES and NOTES. Each message has a specifi c purpose. WARNINGS are safety messages that indicate a potentially hazardous situation, which, if not avoided... -
Page 5: Tools Required
Control Pack Terminal Remove the three motor terminal nuts and Nuts lock washers that secure the buss bars to the motor. Retain the terminal nuts and lock washers for future step. Buss Bars Figure 2 WARN INDUSTRIES WARN INDUSTRIES 89959A0 89959A0... -
Page 6: Disassembling The Control Pack
Using a torx driver to remove the two Remote Socket machine screws holding the socket in place. Remove Figure 5 Remove the remote socket by gently pulling wire bundle out of the control pack cover . Figure 9 WARN INDUSTRIES WARN INDUSTRIES 89959A0 89959A0... -
Page 7: Determine Contactor Mounting Location And Cable Routing Path
2. Drill the holes to 6.5mm diameter. WARNING! Be sure to check the area before you drill to avoid hitting any electrical cables or gas lines. 3. Install the contactor using the supplied bolts, rectangular washers and lock nuts. Figure 10 WARN INDUSTRIES WARN INDUSTRIES 89959A0 89959A0... -
Page 8: Connecting The Contactor
7. Make sure to plug in the winch remote and ensure that drum is turning in the proper direction when spooling in/out before using in the field. Figure 16 8. Installation complete. WARN INDUSTRIES 89959A0...
Need help?
Do you have a question about the 89960 and is the answer not in the manual?
Questions and answers