Table of Contents
Advertisement
Advertisement
Table of Contents

Related Manuals for AquaMaster Pro AMP5000

Summary of Contents for AquaMaster Pro AMP5000
- Page 1 ’ ’...
- Page 2 4343 South Hamilton Road All defective parts must be returned, along with the equipment Groveport, Ohio 43125, USA serial number and date of original installation, to AquaMaster ® PREPAID, and replacement parts will be returned by When writing about the defects, please provide the original AquaMaster to the original owner FREIGHT COLLECT.
-
Page 3: Table Of Contents
Optional Plumbing Procedures ........................13 Four-Button Controller ..........................14 Setting the Controller ........................... 17 Advanced Customer Settings ........................18 Assembly and Parts ............................. 20 Troubleshooting ............................30 Water Conditioner Specifications ......................... 32 Efficiency Statements ........................... 33 AquaMaster Owner’s Manual 1/21/2021 ®... -
Page 4: Owner Information
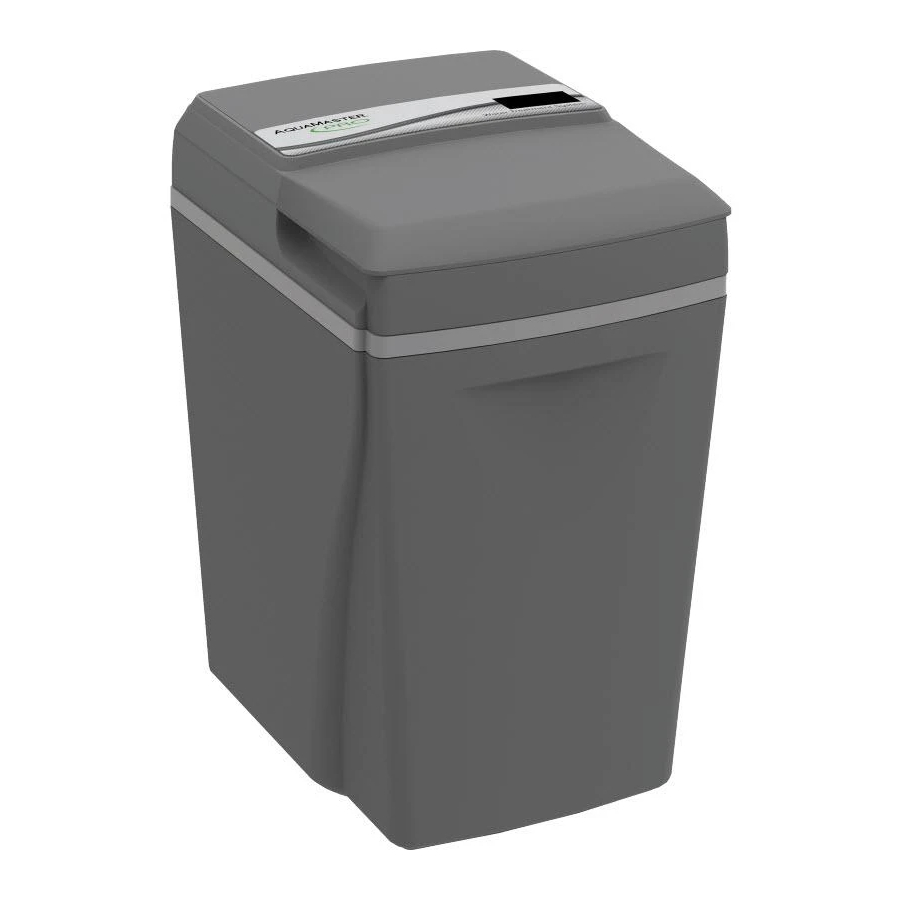
WNER NFORMATION General Information Congratulations on choosing a superior AquaMaster water treatment appliance! Soon you ® and your family will be enjoying clean, clear water. Use this guide to attain the maximum benefit from your appliance. As an owner, you may find the first few pages to be the most helpful in solving your needs. -
Page 5: Getting Maximum Efficiency From The Appliance
If there is Inspect and clean the brine cabinet and air more than one appliance, allow two hours check/draw tube assembly annually or when between each regeneration. sediment is present in the brine cabinet. AquaMaster Owner’s Manual 1/21/2021 ®... -
Page 6: Installation And Maintenance Information
The appropriate AquaMaster Water Filter can address these water shortcomings. Contact your water ®... -
Page 7: Precautions
Do not use to treat water that is microbiologically unsafe or of unknown quality without adequate disinfection before or after the appliance. Do not allow your appliance or drain line to freeze. *Applies to US plumbing codes. Check the plumbing codes of your country. AquaMaster Owner’s Manual 1/21/2021 ®... -
Page 8: Installation Steps And Start-Up Procedures
Ensure that the water heater has an adequately rated temperature and pressure safety relief valve. For outside installations, the appliance should be enclosed so it is protected from the weather. Figure 1: Appliance Placement AquaMaster Owner’s Manual 1/21/2021 ®... - Page 9 3 inches (76 mm) lower than the bottom of the overflow fitting. Maintain a minimum 2-inch (50-mm) air gap. The gravity line cannot be run overhead. AquaMaster Owner’s Manual 1/21/2021 ®...
- Page 10 Step 6 Place the appliance in the Bypass position. Turn on the main water supply. Open the nearest cold water faucet to flush the plumbing of any excess soldering flux, air, or any other foreign material. AquaMaster Owner’s Manual 1/21/2021 ®...
- Page 11 The controller will then step the valve to the Home position. Note: This initial startup is the only time you will add water to the brine cabinet. Do not add water at any other time. AquaMaster Owner’s Manual 1/21/2021...
- Page 12 NSF compliance. Verify the flow rate on the controller, which indicates water flow. See Figure 10. Test the water at the nearest tap to verify soft water. Place the cover on the cabinet. Close the salt port lid. AquaMaster Owner’s Manual 1/21/2021 ®...
-
Page 13: Bypass Valve
Turn the fitting counterclockwise until you feel the threads engage and then tighten to prevent cross threading. Do NOT overtighten the fittings. Caution: Do NOT allow heat from the torch to transfer to the plastic valve component, which could be damaged. AquaMaster Owner’s Manual 1/21/2021 ®... - Page 14 Allow adequate time for the joint to cure properly. Exact drying time is hard to predict because of environmental variables. Follow the recommended joint curing times on the primer and cement container labels. AquaMaster Owner’s Manual 1/21/2021...
-
Page 15: Four-Button Controller
Indicates that water is flowing through the appliance; the waterMizer indicator turns whenever water is being used; useful for checking for proper plumbing and leaks powerClean™ Displays when feature is activated. See Power Clean™ Button AquaMaster Owner’s Manual 1/21/2021 ®... - Page 16 Regenerate button until the cycle number changes (about 2 seconds). Each cycle can be advanced by pressing the Regenerate button. Always wait until the cycle position displays before advancing to the next cycle position. AquaMaster Owner’s Manual 1/21/2021...
-
Page 17: Setting The Controller
To recheck the hardness setting number, hold down the Set button for about 5 seconds. Note: Refer to Specifications for the maximum water hardness that your appliance can handle. Your controller is now set. AquaMaster Owner’s Manual 1/21/2021 ®... -
Page 18: Advanced Customer Settings
Note: If there is iron in your water, select this option. If you are using model 950, on most municipal water supplies, turn this option Off. When the desired setting is displayed, press Set. AquaMaster Owner’s Manual 1/21/2021 ®... - Page 19 Press Change. Default is 2 AM. When the desired regeneration time is displayed, press Set. Note: Whenever you experience an electrical outage, check your controller for the correct time. Make any necessary corrections. Programming is now complete. AquaMaster Owner’s Manual 1/21/2021 ®...
-
Page 20: Assembly And Parts
100238182 12V Transformer/Power Cord 100236604 Cabinet—Model 5000 100241622 Cabinet—Model 5100 and 5500 100240990 Support Panel 100241998 Media tank, empty—Model 5000 only 100242121 Media tank, empty—Model 5100 only 100242147 Media tank, empty, fill plug—Model 5500 only AquaMaster Owner’s Manual 1/21/2021 ®... - Page 21 100238199 Screw 100238192 Injector Assembly 100242049 Sleeve 100241824 Drain End Cap, Barbed—Models 5000 and 5100 only 100241825 Drain End Cap Assembly—Model 5500 only 100238198 Screw 100238185 Drain Fitting, 1/2" MNPT x Barb 100242053 Drain Line AquaMaster Owner’s Manual 1/21/2021 ®...
- Page 22 Throat. Flush screen with water to clean. The over-mold gasket seals between the Injector Nozzle and the Injector Cap. 100037729 Injector Holds the injector assembly together and seals the assembly to the Main Control Valve. AquaMaster Owner’s Manual 1/21/2021 ®...
- Page 23 Bypass Assembly Figure 14: Bypass Assembly Part # Description Quantity 100238184 Bypass Valve Assembly (also includes items 2-6) 100238200 Turbine Sensor/Cap Assembly 100241861 Sensor Cap Screw, self-tapping 100238202 Plastic Turbine Axle 100238201 Turbine Assembly 100242050 O-Ring AquaMaster Owner’s Manual 1/21/2021 ®...
- Page 24 Screw, self-tapping 100241120 Brine Valve Assembly 100241867 O-Ring 100241057 Magnet Disk Assembly 100241869 O-Ring 100241865 O-Ring 100238189 Drive Piston Assembly 100242051 Drain Gasket 100252693 Entire Assembly (all of the above parts except 1, 2, and 13) AquaMaster Owner’s Manual 1/21/2021 ®...
- Page 25 Piston, rotate 90° clockwise until you hear an audible “click.” See reference drawings below. Dimple Align Flats Rotate The Piston Assembly 90 Degrees Slide Piston Assembly Onto Piston Slide Position Piston Assembly (100238189) Clockwise Until You Hear An Audible Click Vertical As It Snaps Into Place AquaMaster Owner’s Manual 1/21/2021 ®...
- Page 26 The Flow Button has two distinct and different sides. One is “flat”; the other is “concave.” The button gpm Flow should be centered in the housing opening with the four locator “ribs” with the concave side facing the Control Housing End Cap (100241962). AquaMaster Owner’s Manual 1/21/2021 ®...
- Page 27 When assembling the retainer to the Drain End Cap (90268), the retainer should be screwed in until it stops. If the retainer is not fully engaged, the Flow Control may not function properly. AquaMaster Owner’s Manual 1/21/2021...
- Page 28 Safety Shutoff (See Figure 21) 100241668 Float 10003961 Air Check—Model 5000 100240937 Air Check—Model 5100 and 5500 100065565 Entire Assembly (all of the above parts)—Model 5000 100238183 Entire Assembly (all of the above parts)—Model 5100 and 5500 AquaMaster Owner’s Manual 1/21/2021 ®...
- Page 29 When connecting the 3/8-inch (10-mm) poly tube, first assemble the nut, gripper, and retainer sleeve on the tubing. Then insert the plastic insert. Screw the nut on the elbow body. With a wrench, tighten the nut securely to create a water-tight connection. AquaMaster Owner’s Manual 1/21/2021...
-
Page 30: Troubleshooting
With 12 VAC present at controller, replace the controller High ambient room temperature. If the No action necessary temperature exceeds 120°F, the display will blank out. This does not affect the operation of the controller AquaMaster Owner’s Manual 1/21/2021 ®... - Page 31 Intermittent pressure drop from feed source Install check valve on the inlet water line to the appliance (Check local plumbing codes first) Brine valve drips water back to brine cabinet Clean brine valve housing, replace piston assembly AquaMaster Owner’s Manual 1/21/2021 ®...
-
Page 32: Water Conditioner Specifications
In HE mode, this is the maximum salt dosage. HE mode meets the requirement some states have regarding salt efficiency. System conforms to NSF/ANSI 44 for the specific performance claims as verified and substantiated by test data. AquaMaster Owner’s Manual 1/21/2021 ®... -
Page 33: Efficiency Statements
7.5 ± 0.5 8.0 gpm (30 L/min) 35 ± 5 psig (2.4 ± 0.3 bar) AMP5500 Radium 226/228 5 pCi/L 7.5 ± 0.5 8.0 gpm (30 L/min) 35 ± 5 psig (2.4 ± 0.3 bar) AquaMaster Owner’s Manual 1/21/2021 ®... - Page 34 Notes AquaMaster Owner’s Manual 1/21/2021 ®...
- Page 35 Notes AquaMaster Owner’s Manual 1/21/2021 ®...
- Page 36 AquaMaster ® has these third-party listings: System Tested and Certified by NSF International against NSF/ANSI Standard 44 for the reduction of Barium, Radium 226/228, CSA B483.1 and Hardness Reduction. AquaMaster ® 4343 S. Hamilton Rd. Groveport, OH 43125 Phone: 1-800-437-8993 LITHO USA ©2015...
Need help?
Do you have a question about the Pro AMP5000 and is the answer not in the manual?
Questions and answers