
Related Manuals for BK Precision Anaheim Scientific H240

Summary of Contents for BK Precision Anaheim Scientific H240
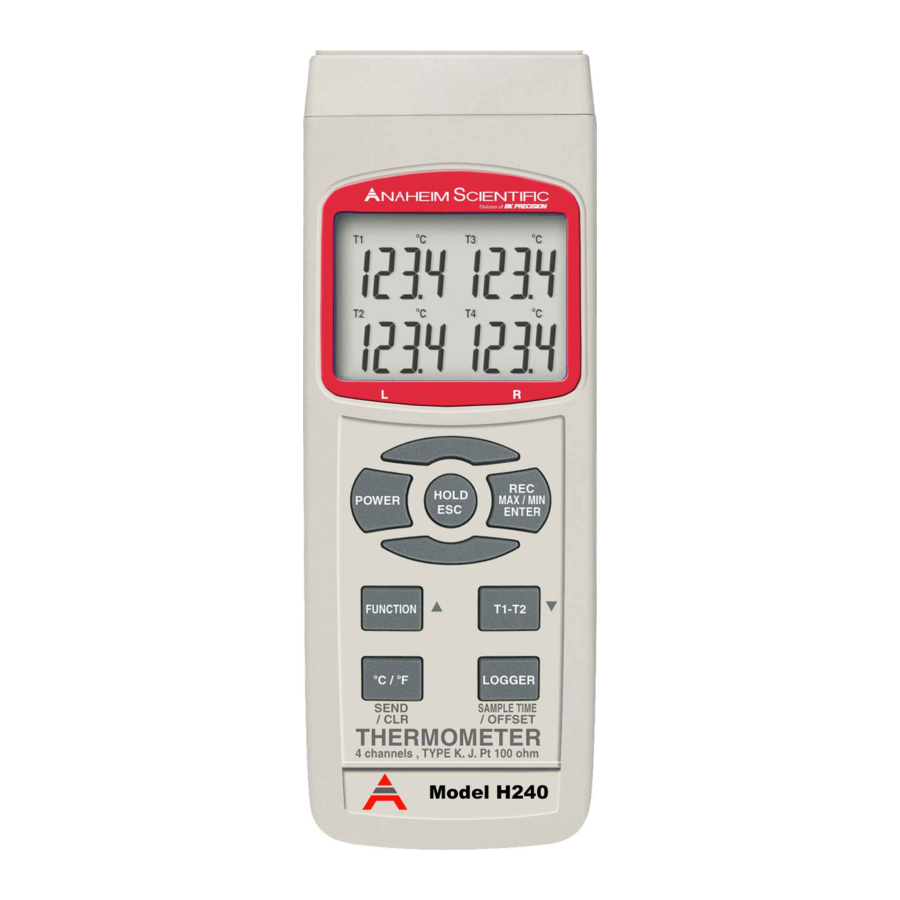
- Page 1 INSTRUCTION MANUAL Models: H240 Type K & J Four Channel Thermometer with Pt 100 ohm inputs...
-
Page 3: Table Of Contents
Table of Content 1. Product Introduction ………………………………………… 3 1-1 Features ………………….………………………… 3 1-2 Applications ……………………………………...… 3 2. Safety Information …………………………………………… 4 2-1 Cautions ………………………………..………..… 4 2-2 Safety Symbol s ………………………..…..……… 4 3. Specifications……………………………………...…………. 5 4. Operation Instructions……………………………………… 6 4-1 Unit Diagram ……………………………………… 6 4-2 Measuring Procedure ……………………….…... -
Page 4: Product Introduction
1. Product Introduction 1-1 Features Measures temperature fro m up to four probes 0.1 Resolution Fast response ti me High level of accuracy Large LCD display Two year warranty 1-2 Applications Science Experiments ... -
Page 5: Safety Information
2. Safety Information Read the follow ing safety information carefull y before attempting to operate or serv ice the meter. Onl y qualified personnel should perform repairs or serv i c ing not cov ered in this manual. 2-1 Cautions! DO NOT submerge the products mentioned in this manual in w ater or any other ty pes of liquids. -
Page 6: Specifications
3. Specifications Unit of Measurement °C or °F Temperature Compensation Automatic for cold junction on K & J type Types K, J & Pt 100ohm (inline with a 0. 0 0385 alpha coefficient, DIN IEC751) Thermocouple Type Resolution Range Accuracy* 1°C 1000 to 1370°C +( 0.5 % + 1°C ) -
Page 7: Operation Instructions
4. Operating Instructions 4-1 Unit Diagram Fig. 1 4-1 Displ a y 4-10 Pt1 Input Socket (Pt 100ohm) 4-2 Power Button 4-11 Pt2 Input Socket (Pt 100ohm) 4-3 Hold Button 4-12 RS232 Socket 4-4 REC (MAX/MIN ) Button 4-13 DC 9V Adapte r Socket (cen ter + ) 4-5 Function (L &... -
Page 8: Measuring Procedure
4-2 Measuring Procedure 4-3 Type K Measurements 1. Power on the meter by pressi n g the “ Power Button” (4-3, Fig.1). Note: to turn the power off, press and hold the “ Power Button” (4-3, Fig.1) for about 2 seconds. 2. -
Page 9: Auto Data Logger
2. To delete the recorded valuespress and hold the “ Hold Button” (4-3, Fig. 1) for about 3 seconds. 3. To stop using the REC function, press and hold the “ REC Button” (4-4, Fig. 1) for at least 3 seconds. -
Page 10: Clear The Existing Saved Data From Memory
1. Press and hold the “ Sample Time Button” (4-8, Fig. 1) for about 3 seconds. The bottom of the LCD will display “oFS” and “ SP-t” . To leave the setting menu press the “ ESC Button” (4-3, Fig.1). 2. -
Page 11: Pt 100 Ohm Adjustment
2. Press the “ Offset Button” (4-8, Fig. 1) for about 2 seconds. The LCD will display“ oFS” on the bottom left and “ SP-t” on the bottom right. 3. Press the “L Button” (4-5, Fig. 1) and the LCD will display on the bottom left the measured value, and the adjust value on the bottom right (if probe was not inserted i n to T1 the LCD will display “... - Page 12 The 16 digit data stream will be displayed in the following format: D15 D14 D13 D12 D11 D10 D9 D8 D7 D6 D5 D4 D3 D2 D1D0 Each digit indicates the following status: Start Word Function: T1, T2, T3, T4 When sending T1 value, D13 = 1 When sending T2 value, D13 = 2 When sending T3 value, D13 = 3...
-
Page 13: Battery Replacement
10. Battery Replacement 1. When the LCD di s play shows the “ ” low battery symbol , It is necessary to replace the battery. The specifications listed for this instrument do not appl y when the low battery symbol is displayed. 2. -
Page 14: Warranty Information
12. Lim ited Tw o-Year Warranty Anaheim Scientific w arrants to the original purchaser that its products and the component parts thereof, w ill be free from defects in workmanship and materials for a period of tw o years from date of purchase from an authorized Anaheim Scientific distributor. - Page 16 Anaheim Scientific 22820 Savi Ranch Par kw ay Yorba Linda, CA 92887 U.S.A. www.anaheimscientific.com Printed in Tai w an / Ver. 1.0/0606 © 2006 Anahei m Scientific Corporation...
Need help?
Do you have a question about the Anaheim Scientific H240 and is the answer not in the manual?
Questions and answers