Advertisement
Quick Links
LIFE SMART
is a registered trademark of
®
Supply Chain Sources LLC., All Rights Reserved.
ATTACH YOUR RECEIPT HERE
Purchase Date ____________Serial Number (
Questions, problems, missing parts? Contact technical support department at
657-341-0362, 9:00 a.m. - 5 p.m., PST, Monday - Friday or visit us Online at
www.lifesmartcomfort.com
Please have your model and serial number ready
REV1-092220
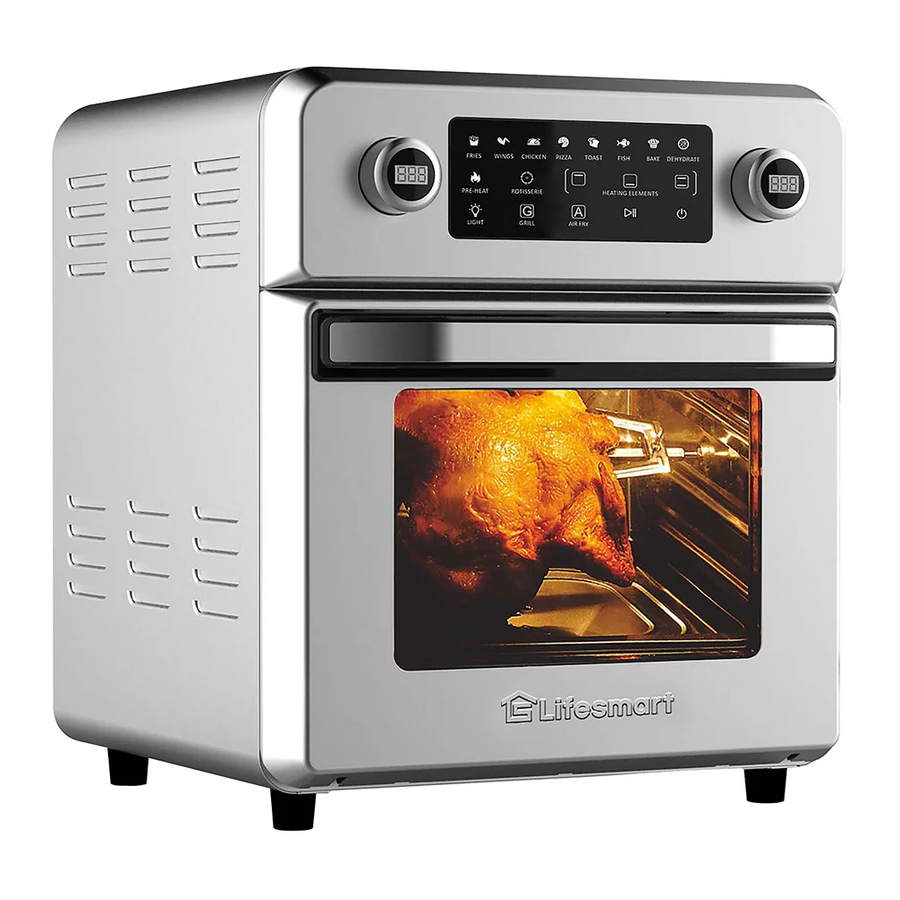
AIR FRYER GRILL
) __________________
located on back of unit
1
Model #LSAF520T3
Advertisement

Summary of Contents for lifeSMART LSAF520T3
- Page 1 AIR FRYER GRILL LIFE SMART is a registered trademark of ® Model #LSAF520T3 Supply Chain Sources LLC., All Rights Reserved. ATTACH YOUR RECEIPT HERE Purchase Date ____________Serial Number ( ) __________________ located on back of unit Questions, problems, missing parts? Contact technical support department at 657-341-0362, 9:00 a.m.
-
Page 2: Table Of Contents
TABLE OF CONTENTS Package Contents . . . . . . . . . . . . . . . . . . . . . . . . . . . . . . . . . . . . . . . . . . . . . . . . . . . . . . . . . . . . . . . 3 Safety Information . - Page 3 PACKAGE CONTENTS PART DESCRIPTION QUANTITY Air Fryer Control Knob Control Panel Power Cord Heating Chamber Door Door Handle Cage Tong Rotisserie Prongs Wire Rack Fryer Mesh Basket Grease Drip Tray Fryer Basket Bamboo Grill...
-
Page 4: Safety Information
SAFETY INFORMATION Please read and understand this entire manual before attempting to assemble, operate, or install the product . IMPORTANT SAFETY INSTRUCTIONS WARNING: POTENTIAL ELECTRICAL HAZARD IF NOT ADHERED TO . When using electrical appliances, basic precautions should always be followed to reduce the risk of fire, electric shock, and injury to persons, including the following: •... - Page 5 SAFETY INFORMATION • During the appliance operation, hot steam is released through the air outlet openings . Keep your hands and face at a safe distance from the steam and the air outlet openings . Be careful and be aware of hot steam released when opening the door or taking out the accessories from the appliance .
-
Page 6: Preparation
PREPARATION BEFORE FIRST USE 1 . Remove all packaging materials, stickers and labels . 2 . Clean all other accessories with hot water, dish washing liquid, and a non-abrasive sponge . 3 . Wipe the inside and outside of the appliance with a cloth . 4 . - Page 7 PREPARATION MESH BASKET Put the food into the mesh basket, put it into the inner chamber, close the door . As below photos . ROTISSERIE The rotisserie attachment allows for poultry to cook more evenly by rotating 360º while cooking . Below figures show the right way to cook a whole chicken with spindle and rotisserie forks: CAGE TONGS Use the tong to take the rotisserie fork into or out of the appliance .
- Page 8 PREPARATION AIR FRY BASKET WITH HANDLE Assemble the handle by clipping it into the corresponding slot of the basket . Place food into the basket, and insert basket into the chamber . Remove the handle, then close the door . Remember to slide the wire rack into the lowest slot and then place basket onto the wire rack .
-
Page 9: Control Panel
CONTROL PANEL PART NAME DESCRIPTION Temperature Dial Adjusts temperature up and down and indicates set temp . Preset Cook Modes Preset cooking time and temperature for various food . Time Dial Adjusts off-time up and down and indicates remaining time . Cooking guide for common items below, can be adjusted to meet variables of quantity and size . -
Page 10: Operating Instructions
OPERATING INSTRUCTIONS 1 . Once the unit is plugged it will indicate receiving power with, the buzzer ring once, and digital display will illuminate once, then turn off . 2 . Press “ “, button to turn the appliance into standby mode . 3 . - Page 11 OPERATING INSTRUCTIONS MANUAL MODES Press ” ” for standby power mode, then press” ” key to enter manual mode . Default temperature and time is 300ºF, 20 minutes . You can increase or decrease the desired temperature between 120ºF~ 480ºF and off timer between 1 min-120 min using the corresponding knobs on the control panel . Along with selecting the desired heating element or rotisserie function .
-
Page 12: Care And Maintenance
CARE AND MAINTENANCE WARNING: Before performing any maintenance task, turn off the unit, unplug the unit, and allow it to cool completely . 1 . To keep the unit clean, clean the outer shell and inner shell with a soft, damp cloth . After cleaning, dry the unit with a soft cloth . -
Page 13: One-Year Limited Warranty
ONE-YEAR LIMITED WARRANTY The manufacturer warrants this unit against defects in materials and workmanship on functional parts, for a period of 1 year from the original date of purchase . Your sales receipt showing the date of purchase of the product is your proof of purchase . Keep it in a safe place for future reference . This warranty is subject to personal use only, commercial or rental applications will not be covered . -
Page 14: Technical Support
For customer service or technical support department please call 657-341-0362, 9 a .m . - 5 p .m ., PST, Monday - Friday or email your questions to cs@scsources .com PLEASE REMEMBER TO REGISTER YOUR WARRANTY: web: www.lifesmartcomfort.com email: cs@scsources.com Printed in China lifesmart is a registered trademark ® of Supply Chain Sources., All Rights Reserved.
Need help?
Do you have a question about the LSAF520T3 and is the answer not in the manual?
Questions and answers
How can I talk with a representative over the phone