Table of Contents
Advertisement
Quick Links
USER's MANUAL
CommRadio
CTX-10 Amateur Radio Transceiver
AeroStream Communications –
CommRadio
Division
New Castle, Colorado USA
www.commradio.com
303-279-3671
Email:
support@commradio.com
Copyright © 2018
Commradio div. AeroStream Communicatons All Rights Reserved
No portion of this manual bay be reproduced without permission
of CommRadio / AeroStream Communications
CommRadio CTX-10 User Manual – Rev PRELIMINARY 05 APR 2018
1
Advertisement
Table of Contents

Related Manuals for CommRadio CTX-10

Summary of Contents for CommRadio CTX-10
-
Page 1: Commradio
New Castle, Colorado USA www.commradio.com 303-279-3671 Email: support@commradio.com Copyright © 2018 Commradio div. AeroStream Communicatons All Rights Reserved No portion of this manual bay be reproduced without permission of CommRadio / AeroStream Communications CommRadio CTX-10 User Manual – Rev PRELIMINARY 05 APR 2018... -
Page 2: Revision Status
Revision Status REVISION DATE COMMENTS PRELIM 05/05/2018 Pre-Release Copy CommRadio CTX-10 User Manual – Rev PRELIMINARY 05 APR 2018... -
Page 3: Table Of Contents
Key Pad - STEP ....................... 19 Key Pad - MEM ....................... 19 Key Pad - <LEFT ARROW> ................... 20 Key Pad - <RIGHT ARROW> ..................20 Tuning Knob [T] ........................20 CommRadio CTX-10 User Manual – Rev PRELIMINARY 05 APR 2018... - Page 4 Internal Li-ION Battery Charger ..................24 Monitoring Voltage Input at power jack and Battery Charging ........25 CTX-10 Specifications......................25 CTX-10 Control Knob [M] Functional Logic Tables (maybe) ..........26 CommRadio CTX-10 User Manual – Rev PRELIMINARY 05 APR 2018...
-
Page 5: Important Warnings
IMPORTANT WARNINGS READ THIS MANUAL CAREFULLY to learn all of the features of the CTX-10. Understanding that you’ll want to use the radio immediately, we’ve included several Quick Start Guides right up front. SAVE THIS MANUAL as it contains important safety and operating instructions. - Page 6 DO NOT use or place the transceiver in areas with temperatures below –10°C (+14°F) or above +60°C (+140°F). Be aware that temperatures on a vehicle’s dashboard can exceed +80°C (+176°F), resulting in permanent damage to the transceiver if left there for extended periods. CommRadio CTX-10 User Manual – Rev PRELIMINARY 05 APR 2018...
-
Page 7: Introduction
CommRadio CR-1 and CR-1a receivers, the CTX-10 is the latest product from the mind of Don Moore, N0HDX. The CTX-10 was designed to be rugged and user-friendly with a minimum number of user interface interactions to produce the desired system functional change. -
Page 8: Firmware And Manual Updates
The most recent version of this manual, system firmware, additional support information and related topics of interest can always be found on our website: www.commradio.com CommRadio CTX-10 User Manual – Rev PRELIMINARY 05 APR 2018... -
Page 9: Actions, Abbreviations & Symbols Used In This Manual
Quickly push in and release (holding for less than ½ second) <RIGHT ARROW> The lower right button on the key pad [STEP] The [STEP] key on the keypad Tuning Knob, the right knob on the front panel CommRadio CTX-10 User Manual – Rev PRELIMINARY 05 APR 2018... -
Page 10: Quick Start Guides
BAND repeatedly. Turn Tuning Knob [T] to select the desired frequency. In this PRELIMINARY User’s Guide, Text in RED ITALIC are works in process Adjust step size of tuning. Turn off when done. CommRadio CTX-10 User Manual – Rev PRELIMINARY 05 APR 2018... -
Page 11: Quick Start Guide - Cw Transceiver Setup
Selection Mode, then rotate [M] four clicks {CW} to enter PTT AUDIO mode. Push [M] to select current PTT AUDIO mode. Rotate [M] to cycle to ON. PTT ON enables use of a compatible Push-To-Talk microphone. TURN OFF CommRadio CTX-10 User Manual – Rev PRELIMINARY 05 APR 2018... -
Page 12: Quick Start Guide - Ssb Transceiver Setup
Push [M] momentarily to enter Menu Selection Mode, then rotate [M] four clicks {CW} to enter PTT AUDIO mode. Push [M] to select current PTT AUDIO mode. Rotate [M] to cycle to ON. PTT ON enables use of a compatible Push-To-Talk microphone. TURN OFF CommRadio CTX-10 User Manual – Rev PRELIMINARY 05 APR 2018... -
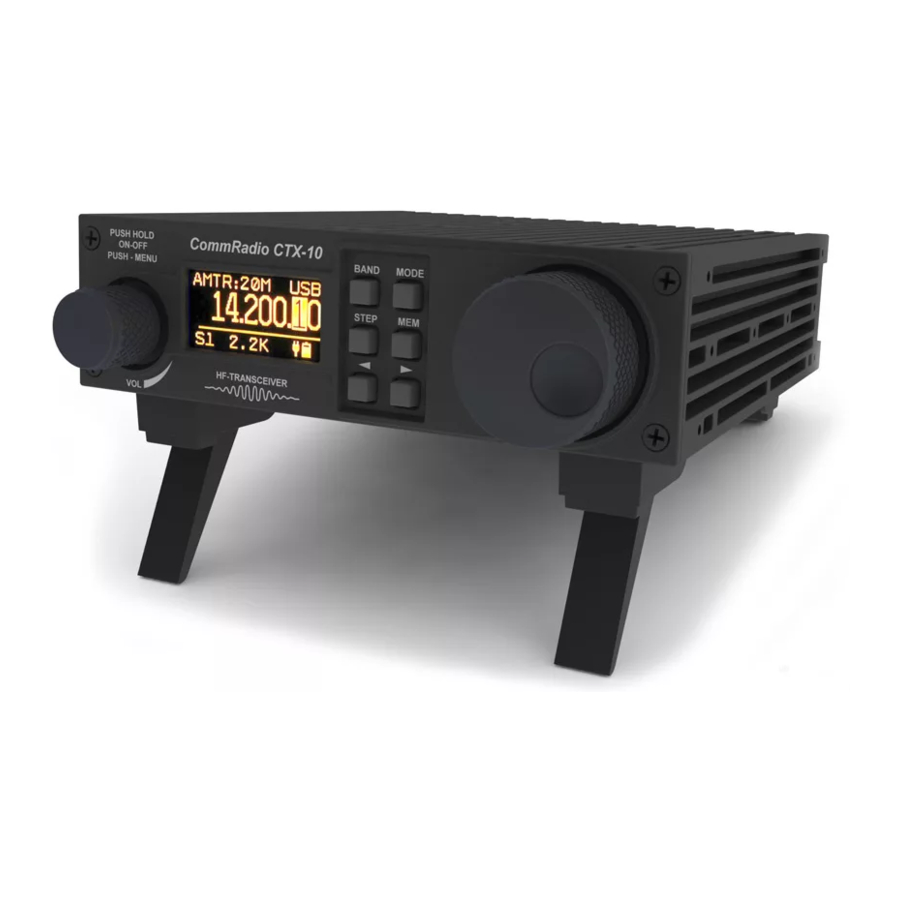
Page 13: Display
S1. The battery status is fully charged. The display you see will probably be different based on your selection of operational parameters but the locations of the data will remain the same. CommRadio CTX-10 User Manual – Rev PRELIMINARY 05 APR 2018... -
Page 14: Control Knob [M]
[M] is pushed again, ending the tuning process. Other Menu selections are grouped by the selected rotation of [M]. {CW} rotation of [M] shows Transmit Menus {CCW} rotation of [M] shows Receive Menus CommRadio CTX-10 User Manual – Rev PRELIMINARY 05 APR 2018... -
Page 15: Transmitter
Rotate [M] one click {CW} to enter TX ON_OFF mode. Push [M] to select current Transmitter status (ON or OFF). Rotate [M] one click {CW} or {CCW} to reverse ON / OFF status. Push [M] to select the displayed status. If you want to use CTX-10 as receiver only, leave Transmitter OFF. TX POWER Rotate [M] two clicks {CW} to enter TX POWER mode. -
Page 16: Keyer
Rotate [M] to cycle through ON OFF. PTT ON enables use of a compatible Push-To-Talk microphone. TUNING MODE Rotate [M] five clicks {CW} to enter TUNING MODE mode. Push [M] to select current TUNING MODE. Rotate [M] to cycle through AUTOMATIC or MANUAL. CommRadio CTX-10 User Manual – Rev PRELIMINARY 05 APR 2018... -
Page 17: Receiver
Rotate [M] two clicks {CCW} to enter AGC Speed mode. Push [M] to select current receive AGC Speed. Rotate [M] one click {CW} or {CCW} to cycle through AGC Speeds available. Push [M] to select the currently displayed level. AGC Speeds: SLOW MEDIUM FAST CommRadio CTX-10 User Manual – Rev PRELIMINARY 05 APR 2018... -
Page 18: Squelch
Rotate [M] seven clicks {CCW} to enter RAPID TUNE mode. Push [M] to select current RAPID TUNE selection. Rotate [M] {CW} or {CCW} to change RAPID TUNE. Push [M] to select the currently displayed RAPID TUNE. Rapid Tune Options: OFF/2/4/6 Revolutions before beginning to RAPID TUNE CommRadio CTX-10 User Manual – Rev PRELIMINARY 05 APR 2018... -
Page 19: Key Pad
With the Memory screen active, use the <LEFT ARROW> and <RIGHT ARROW> to select the desired page of memory. The currently tuned frequency is displayed in the upper right corner of the display.– wait for revised s/w CommRadio CTX-10 User Manual – Rev PRELIMINARY 05 APR 2018... -
Page 20: Key Pad -
Pressing [T] inward activates the highlighted digit, causing it to flash. {CW} or {CCW} of [T] will cause the flashing digit to move left or right, changing the tuning resolution of the CTX-10. This is an alternative to using <LEFT ARROW> and <RIGHT ARROW> for same the function. -
Page 21: Headphone
DIAGRAM The ACC or accessory jack is a standard 6 pin (female) mini-DIN receptacle, sometimes referred to as a PS/2 connection. Wiring diagram for the ACC receptacle: DIAGRAM CommRadio CTX-10 User Manual – Rev PRELIMINARY 05 APR 2018... - Page 22 CommRadio CTX-10 User Manual – Rev PRELIMINARY 05 APR 2018...
-
Page 23: Mic
(SO-239 (UHF) to BNC male adapter) is required. Ground A Ground (chassis) connection is provided on the CTX-10. The topic of whether or not, and how to ground your radio is well beyond what can be written in a few sentences or a few pages. -
Page 24: Ctx-10 Technical Notes
This condition is avoided by the internal PIC24 microcontroller monitoring battery voltage. However, if any of the batteries trip, the batteries will reset when external power is applied. The CTX-10 will then power-up normally. Internal Li-ION Battery Charger... -
Page 25: Monitoring Voltage Input At Power Jack And Battery Charging
The presence of a voltage greater than (>) 0.3 VDC indicates the presence of the power source (power supply, battery, etc). Any voltage in the range of 5.0 – 20V is permissible. When a power source is present, the batteries will be charged with the CTX-10 either ON or OFF. -
Page 26: Ctx-10 Control Knob [M] Functional Logic Tables (Maybe)
No power input or output from mini-USB jack. ESD Protection: ESD diodes at antenna, power jacks, USB port, keys and knobs. Physical: 5.61”W x 1.55”H x 6"D 2 lbs. CTX-10 Control Knob [M] Functional Logic Tables (maybe) CommRadio CTX-10 User Manual – Rev PRELIMINARY 05 APR 2018... - Page 27 Copyright 2018 CommRadio div. AeroStream Communica ons REV. PRELIMINARY 5 APR 2018 All rights Reserved CTX-10 Amateur Radio Transceiver No por on of this manual may be reproduced without Func onal Block Diagram permission of CommRadio / AeroStream Communica ons...
Need help?
Do you have a question about the CTX-10 and is the answer not in the manual?
Questions and answers