Advertisement
INSTRUCTION MANUAL
Orion
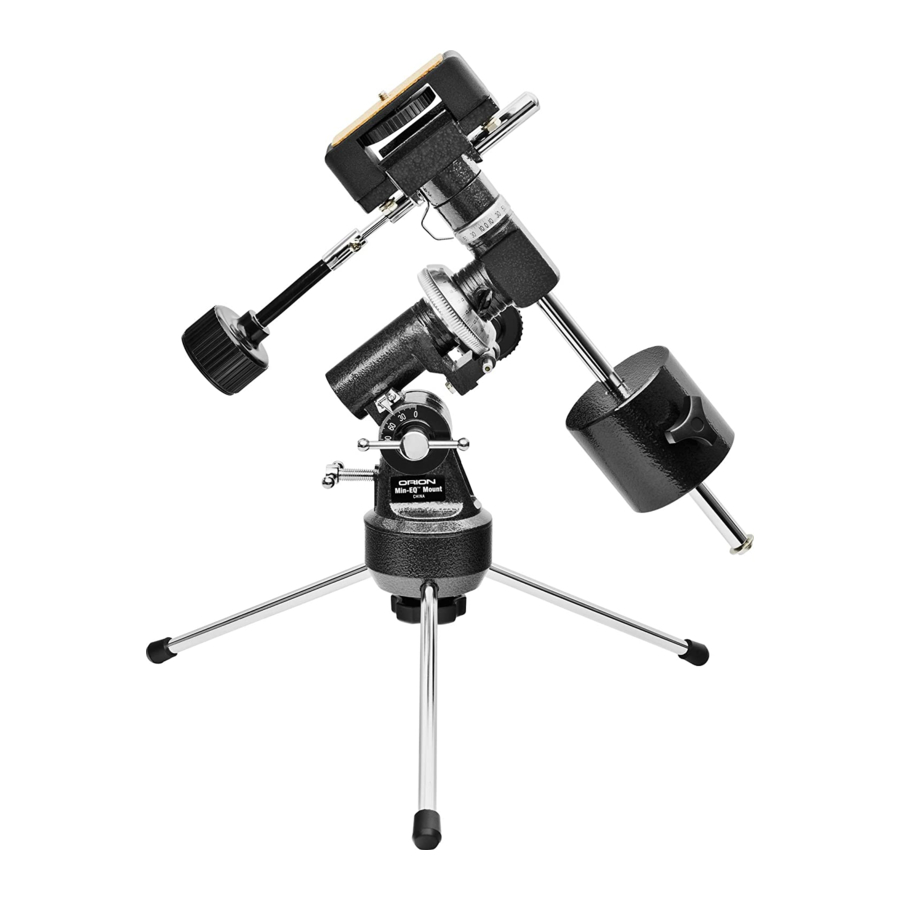
Tabletop Equatorial Mount
#9055
Corporate Offices: 89 Hangar Way, Watsonville CA 95076 - USA
Toll Free USA & Canada: (800) 447-1001
International: +1(831) 763-7000
Customer Support: support@telescope.com
A N E M P L O Y E E - O W N E D C O M P A N Y
Copyright © 2021 Orion Telescopes & Binoculars. All Rights Reserved. No part of this product instruction or any of its contents
may be reproduced, copied, modified or adapted, without the prior written consent of Orion Telescopes & Binoculars.
IN 180 Rev. B 02/09
Advertisement
Table of Contents

Subscribe to Our Youtube Channel
Related Manuals for ORION TELESCOPES & BINOCULARS 9055


Summary of Contents for ORION TELESCOPES & BINOCULARS 9055
- Page 1 INSTRUCTION MANUAL Orion Tabletop Equatorial Mount #9055 Corporate Offices: 89 Hangar Way, Watsonville CA 95076 - USA Toll Free USA & Canada: (800) 447-1001 International: +1(831) 763-7000 Customer Support: support@telescope.com A N E M P L O Y E E - O W N E D C O M P A N Y Copyright ©...
-
Page 2: Table Of Contents
Congratulations on your purchase of a quality Orion product. Your new Tabletop Equatorial Mount is extreme- ly portable and can be taken with you conveniently wherever you go to observe. The tabletop mounting sys- tem allows easy attachment of a wide variety of different telescope optical tubes. With its precision equatorial head, you’ll be able to easily track astronomical objects over time so that they remain within your eyepiece’s field of view. -
Page 3: Assembly
2. Assembly Carefully remove all of the items from the shipping box. Make sure all the parts listed in Section 1 are present. Save all boxes and packaging material. In the unlikely event that you need to return the mount, you must use the original packaging. Assembling the mount for the first time should take about 5 minutes. -
Page 4: Balancing The Telescope
Figure 4a Figure 4b Figure 4a, 4b : Proper operation of the equatorial mount requires that the telescope be balanced in the R.A. axis. a) With the R.A. lock knob released, slide the counterweight along the counterweight shaft until it just counterbalances the telescope tube. b) When you let go with both hands, the tube should not drift up or down. - Page 5 Dec. Setting Circle R.A. Setting Circle R.A. Lock Knob Latitude Scale Latitude Adjustment T-Bolt Latitude Lock T-bolt Figure 5 : The equatorial mount retighten the latitude lock t-bolt. The latitude setting should not The equatorial mount is now polar aligned. have to be adjusted again unless you move to a different view- From this point on in your observing session, you should not ing location some distance away.
- Page 6 lock knobs and moving the telescope about the mount’s R.A. range from +90° to -90°. The 0° mark indicates the celestial and Dec. axes. Once the telescope is pointed somewhere equator. When the telescope is pointed north of the celestial close to the object to be viewed, retighten the mount’s R.A.
- Page 7 Figure 7a Figure 7b Figure 7c Figure 7d Figure 7a, 7b, 7c, 7d: The Tabletop Equatorial Mount with telescope pointing a) north, b)south, c) east d) west. Confused About Pointing the Telescope? and rotate the telescope on the R.A. axis until the counter- weight shaft is horizontal (parallel to the ground).
-
Page 8: Specifications
shaft is positioned horizontally. Then rotate the scope in Dec. so it points to where you want it near the horizon. To point the telescope to the east or west, or in other direc- tions, you rotate the telescope on its R.A. and Dec. axes. Depending on the altitude of the object you want to observe, the counterweight shaft will be oriented somewhere between vertical and horizontal.
Need help?
Do you have a question about the 9055 and is the answer not in the manual?
Questions and answers