Advertisement
Document
Maintenance instruction
Document id
mi-WB14E -EN
Issue
1
Date
2021-04-14
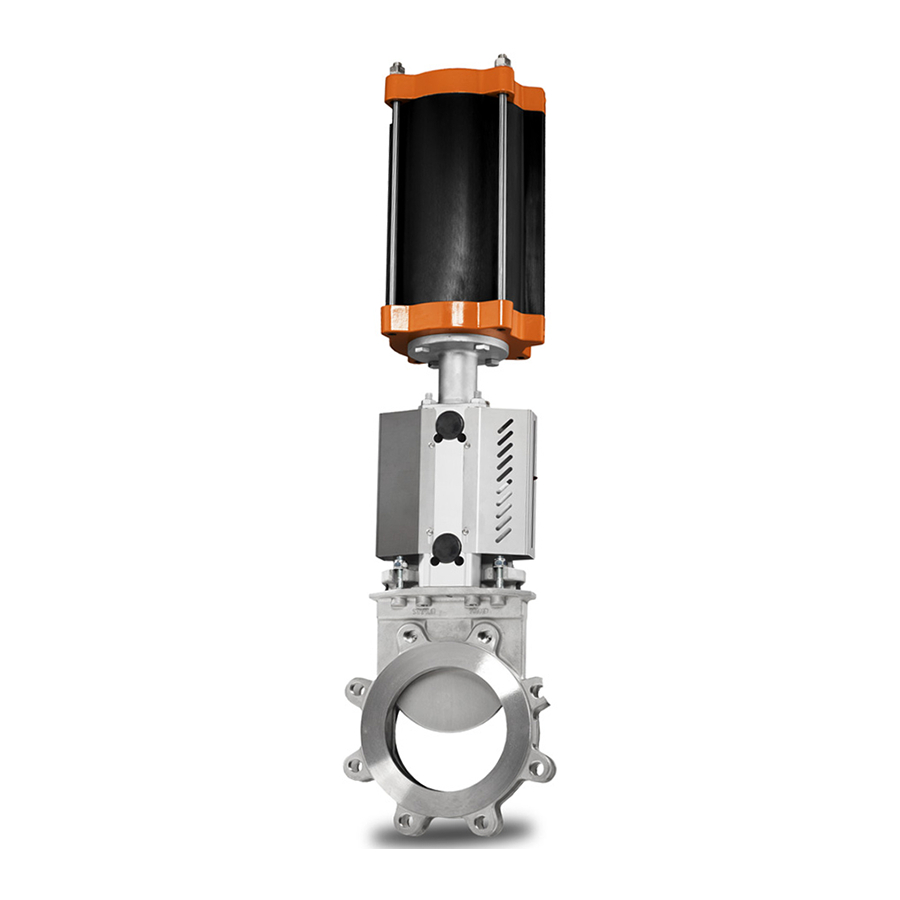
WB14E maintenance and field conversion instruction
• Disassembling of valve parts
• Changing box packing, guiding pads, seat and gate
• Installation of hand wheel kit
• Changing from hand wheel to SC double-acting pneumatic cylinder when the
valve is installed between flanges
Stafsjö Valves AB
SE-618 95 Stavsjö, Sweden
+46 11 39 31 00 I info@stafsjo.se I www.stafsjo.com
Advertisement
Table of Contents

Summary of Contents for Stafsjö WB14E
- Page 1 -EN Issue Date 2021-04-14 WB14E maintenance and field conversion instruction • Disassembling of valve parts • Changing box packing, guiding pads, seat and gate • Installation of hand wheel kit • Changing from hand wheel to SC double-acting pneumatic cylinder when the valve is installed between flanges Stafsjö...
-
Page 2: Spare Parts
1. Introduction This maintenance instruction is a step-by-step instruction for maintenance or field converting a hand wheel operated WB14E knife gate valve to SC double-acting pneumatic operated. In this instruction notes and warnings are marked with symbols: Danger / Warning Points out a dangerous situation which may cause personal injuries or death. -
Page 3: Part List
Document Document id Issue Date Maintenance instruction mi-WB14E-HW-SC-EN 2021-04-14 Part list Pos. Part Pos. Part Hand wheel Washer Yoke Bearing Box packing Slide washer Box scraper Bearing Box top scraper Stem Valve body Stem nut Valve body boltings Washer Seat... - Page 4 To simplify the disassembling of the knife gate valve: WB14E up to DN 300/12”: Place the valve upright in a screw vice. WB14E up to DN 350/12” – DN 600/24”: Placed on a horizontal work bench. 1. Open the valve completely.
- Page 5 Document Document id Issue Date Maintenance instruction mi-WB14E-HW-SC-EN 2021-04-14 Before assembling make sure you have: 1. Seat (13) 2. Two short pins if the valve is DN 350/14” or larger (13b). 3. TwinPack box packing braids in correct dimension and length (9).
- Page 6 Document id Issue Date Maintenance instruction mi-WB14E-HW-SC-EN 2021-04-14 If the gland nuts are tightened to hard, it shortens the lifetime of the box packing and the force needed to operate the valve will increase. The box packing may start to leak when the system is pressurized and the temperature increases.
- Page 7 Issue Date Maintenance instruction mi-WB14E-HW-SC-EN 2021-04-14 14. Optional top scraper (9b) can be added on top of the final third layers of braids. 15. Install the gland (8) and tighten it with washers (8b) and locking nuts (8c) gradually and crosswise according torques submitted in table below.
-
Page 8: Safety Warnings
This instruction includes safety instructions for foreseeable risks during assembly of the cylinder onto a Stafsjö WB14E knife gate valve. It is the users responsibility to minimize or eliminate the potential for harm or injury that could be present in the overall system, or surrounding environment. -
Page 9: Compressed Air Connections
If the feed line is undersized, this can result in a malfunction. 6.3 Converting an installed hand wheel operated WB14E to SC double-acting pneumatically operated No work is allowed on the knife gate valve when the system is pressurized. - Page 10 Document id Issue Date Maintenance instruction mi-WB14E-HW-SC-EN 2021-04-14 Assemble the locking nut (28) onto the threaded piston rod (25). Do not tighten the locking nut fully if stroke length has to be adjusted. Assemble the gate clevis (17) on the threaded piston rod (25).
Need help?
Do you have a question about the WB14E and is the answer not in the manual?
Questions and answers