Advertisement
Quick Links
Advertisement

Summary of Contents for Hawk Ridge Markforged Desktop Series
- Page 1 DESKTOP PRINTER QUICK START GUIDE DESKTOP PRINTER QUICK START GUIDE...
- Page 2 Markforged 480 Pleasant St Watertown MA 02472 https://support.markforged.com support@markforged.com For the latest PDF version of this document, visit our support website. Copyright © 2019 Markforged, Inc. All rights reserved. Changes are periodically made to the information herein which will be incorporated in revised editions of this publication.
- Page 3 DESKTOP PRINTER QUICK START GUIDE TABLE OF CONTENTS USER NOTES QUICK START GUIDE NETWORK REQUIREMENTS...
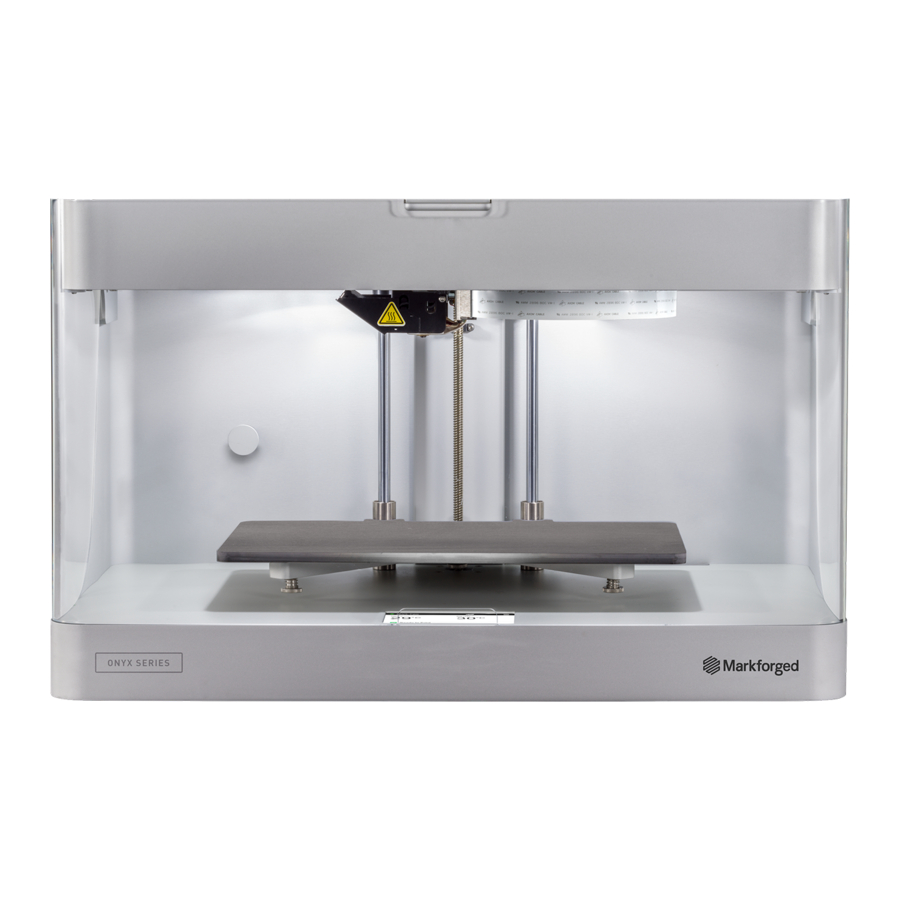
- Page 4 In this guide, “Onyx” refers to Onyx and Onyx FR; “Nylon” refers to Tough Nylon and Nylon White. TABLETOP USE ONLY Markforged Desktop Series printers are approved for tabletop use only. Set up your printer on a sturdy level POWER DISCONNECT ACCESS Take care to set up your Desktop Series printer so that the disconnecting device (power switch on the rear face of the printer) is accessible at all times.
- Page 5 DESKTOP PRINTER QUICK START GUIDE WHAT’S IN THE BOX Your Desktop Series printer ships with a number of accessories, listed below. With the exception of the last four items, everything on the list below can be found in the accessory kit shipped inside your printer. Note: To make full use of your Desktop Series printer, you will need these additional items: wire cutters;...
- Page 6 DESKTOP PRINTER QUICK START GUIDE UNBOX AND ASSEMBLE YOUR PRINTER Supplies 3mm hex key Wire cutters or similar tool Please take care when unboxing and assembling your Desktop Series printer. The printer is heavy and may require two people to move or set up. Never lift the printer by its plastic visor. printer, retain the box and protective foam for future shipping.
- Page 7 DESKTOP PRINTER QUICK START GUIDE QUICK START GUIDE GUIDE INTRODUCTION Before diving into the printing process, please ensure that you have completed the following steps as described in this Quick Start Guide: Unbox or unpack your printer, drybox, and all other components that were shipped with your printer. Review the safety instructions that came with your printer Note: Please consult the Safety Sheet...
- Page 8 DESKTOP PRINTER QUICK START GUIDE never always drybox. apart. Place the provided desiccant packs in the corners of the drybox. the magnets connect. of the spool. Note: The plastic spool is wound under tension. Always hold the plastic against the spool to prevent unwinding during the loading routine.
- Page 9 DESKTOP PRINTER QUICK START GUIDE Close the drybox cover and press the latches closed until they click twice each. Note: Ensure that the drybox remains closed and fully latched at all times, except when quickly loading or replacing filament. Feed the plastic feed tube through the opening in the back of your printer and let it hang freely. printer’s touchscreen.
- Page 10 DESKTOP PRINTER QUICK START GUIDE the material from unspooling. Note: To avoid bending the material, tape it to the inside of the spool wall. 50cc Full 150cc Full,...
- Page 11 DESKTOP PRINTER QUICK START GUIDE later use. We recommend taping it to the front face of the spool. Before printing a part, you will need to level your print bed and apply glue to the region of the bed where the parts will print.
- Page 12 DESKTOP PRINTER QUICK START GUIDE Install the print bed on the printer. on the printer’s touchscreen and following the onscreen instructions. Note: The print head will move autonomously during this utility. When you see the screen in the below left image, pause momentarily. Apply a thin layer of glue from the provided glue stick to the print bed, as shown in purple in the below right image.
- Page 13 DESKTOP PRINTER QUICK START GUIDE the example disks below. Uniform and solid: Stringy material or the lines don’t connect completely to the outer circle: Bed low Inconsistently or not entirely laid down: Bed Flattened or overly pressed down: Bed high very high...
- Page 14 DESKTOP PRINTER QUICK START GUIDE Remove the print bed from the printer and use the provided scraper to remove the disks. Reapply glue to the print bed before running the Bed Level Test Print utility again. After removing the disks, apply glue to the print bed as shown below. Reinstall the print bed on the printer.
- Page 15 DESKTOP PRINTER QUICK START GUIDE In Eiger, select Devices Printers from the sidebar, then click the Register Device button in the top be found on the sticker on your Getting Started card, as well as by selecting the menu icon from the dashboard and navigating to Settings >...
- Page 16 DESKTOP PRINTER QUICK START GUIDE Select the material types that you will use for this print from the Material Reinforcement Material Note: This part can be printed with any combination of fiber and plastic. If you have loaded materials other than the defaults for this part, update the material fields in Eiger. If you print this part in nylon, rename the part in the top left corner of the page to reflect the material change.
- Page 17 DESKTOP PRINTER QUICK START GUIDE NETWORK REQUIREMENTS WIRED CONNECTIONS Ethernet connections must utilize cables less than 30 meters in length. FIREWALL SETTINGS Advanced Networking Features article on the support site. For proper operation, printers must be able to make outbound connections to services at the following hostnames on the given ports (no inbound connections are needed): HOSTNAME PORT PROTOCOL REQUIRED REASON...
- Page 18 DESKTOP PRINTER QUICK START GUIDE based applications you already use and trust. PRINTER TIME SYNCHRONIZATION Markforged products require accurate system time for securing HTTPS connections to Eiger and other the printer’s time must fall within this window. Currently, NTP — Network Time Protocol, on UDP port 123 — is the only supported mechanism for time NTP server pool, determined by querying hostnames ending in “.pool.ntp.org”.
Need help?
Do you have a question about the Markforged Desktop Series and is the answer not in the manual?
Questions and answers