
Summary of Contents for Fujioh FV-MW51
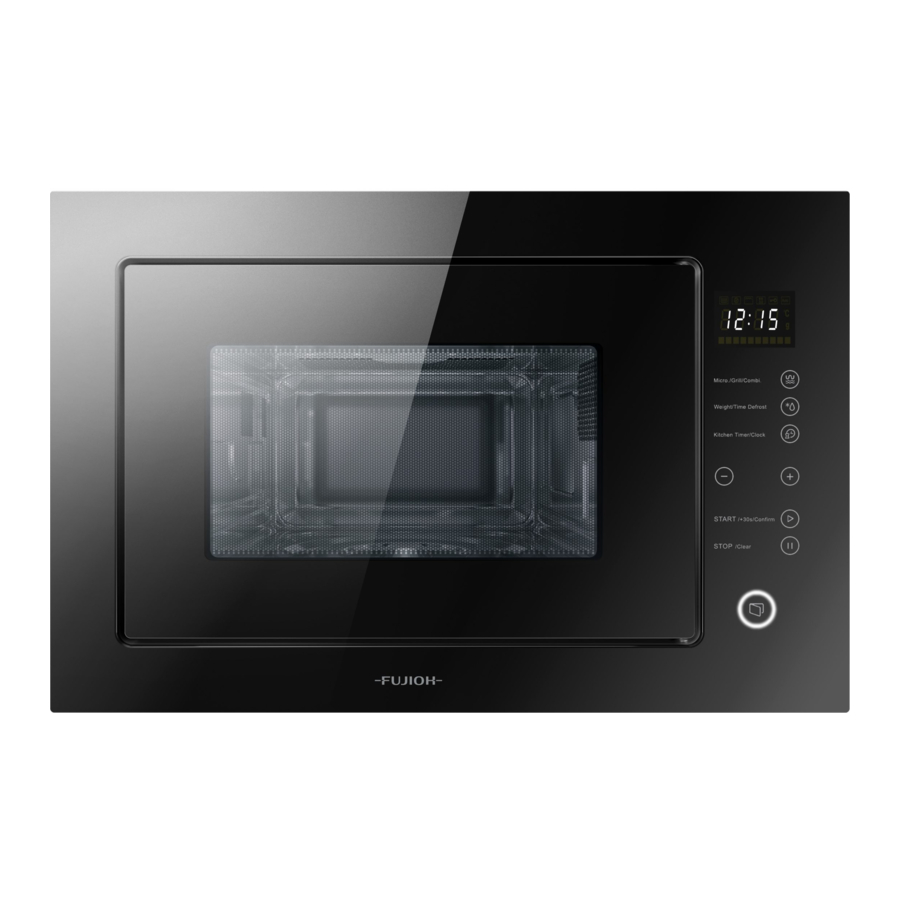
- Page 1 Built-in Microwave oven Operating / Installation Manual FV-MW51 Please read this manual carefully before using this appliance.
-
Page 3: Table Of Contents
CONTENTS PRECAUTIONS TO AVOID POSSIBLE EXPOSURE TO EXCESSIVE MICROWAVE ENERGY SPECIFICATIONS .......................... IMPORTANT SAFETY INSTRUCTIONS WARNING ..............TO REDUCE THE RISK OF INJURY TO PERSONS GROUNDING INSTALLATION ................................. CLEANING UTENSILS ............................. MATERIALS YOU CAN USE IN MICROWAVE OVEN ............................. -
Page 4: Precautions To Avoid Possible Exposure To Excessive Microwave Energy
ADDENDUM If the apparatus is not maintained in a good state of cleanliness, its surface could be degraded and affect the lifespan of the apparatus and lead to a dangerous situation. SPECIFICATIONS FV-MW51 230-240V 50Hz 18.5kg... -
Page 5: Important Safety Instructions Warning
IMPORTANT SAFETY INSTRUCTIONS WARNING To reduce the risk of fire, electric shock, injury to persons or exposure to excessive microwave oven energy when using your appliance, follow basic precautions, including the following: 1. Read and follow the specific:"PRECAUTIONS TO AVOID POSSIBLE EXPOSURE TO EXCESSIVE MICROWAVE ENERGY". - Page 6 6. WARNING: It is hazardous for anyone other than a competent person to carry out any service or repair operation that involves the removal of a cover which gives protection against exposure to microwave energy. 7. WARNING: Liquids and other foods must not be heated in sealed containers since they are liable to explode.
- Page 7 16. The microwave oven must be operated with the decor- ative door open. (for ovens with a decorative door.) 17. This appliance is intended to be used in household. 18. The microwave oven is intended for heating food and beverages. Drying of food or clothing and heating of warming pads, slippers, sponges, damp cloth and similar may lead to risk of injury, ignition or fire.
- Page 8 25. During use the appliance becomes hot. Care should be taken to avoid touching heating elements inside the oven. 26. The appliance must not be installed behind a decorative door in order to avoid overheating. (This is not applicable for appliances with decorative door.) 7.
-
Page 9: To Reduce The Risk Of Injury To Persons Grounding Installation
TO REDUCE THE RISK OF INJURY TO PERSONS GROUNDING INSTALLATION DANGER Electric Shock Hazard Touching some of the internal components can cause serious personal injury or death. Do not disassemble this appliance. WARNING Electric Shock Hazard Improper use of the grounding can result in electric shock. This appliance must be grounded. -
Page 10: Cleaning
CLEANING Always urn off breaker before cleaning. 1. Clean the cavity of the oven after using with a slightly damp cloth. 2. Clean the accessories in the usual way in soapy water. 3. The door frame and seal and neighboring parts must be cleaned carefully with a damp cloth when they are dirty. -
Page 11: Materials You Can Use In Microwave Oven
MATERIALS YOU CAN USE IN MICROWAVE OVEN Utensils Remarks Browning dish Follow manufacturer’s instructions. The bottom of browning dish must be at least 3/16 inch (5mm) above the turntable. Incorrect usage may cause the turntable to break. Dinnerware Microwave-safe only. Follow manufacturer's instructions. Do not use cracked or chipped dishes. -
Page 12: Setting Up Your Oven
SETTING UP YOUR OVEN Names of Oven Parts and Accessories Remove the oven and all materials from the carton and oven cavity. Your oven comes with the following accessories: Mounting Plate ・ ・ ・ ・ ・ ・ ・ ・ ・ ・ ・ ・ ・ ・ ・ 1 Glass tray・... -
Page 13: Installation And Connection
INSTALLATION AND CONNECTION 1. This appliance is only intended for domestic use. 2. This oven is intended for built-in use only. It is not intended for counter-top use or for use inside a cupboard. 3. Please observe the special installation instructions. 4. -
Page 14: Installation Instructions
INSTALLATION INSTRUCTIONS Please Read the Manual Carefully Before Installation Please note Electricalconnection The fitted cabinet must not have a back wall behind the appliance. A gap must be maintained between the wall and the base of the unit above. Specific gap size could be referenced by the diagrams. Minimum installation height: 85 cm. - Page 16 1. Read the instruction on the BOTTOM CABINET TEMPLATE , put the template on the bottom plane of cabinet. " a " " PN:261800316968 2. Make the marks on the bottom plane of cabinet according to marks"a" of the template. 3.
- Page 17 C .Install the oven 4. Install the oven to the cabinet - Make sure the back of the oven is locked by mounting plate . - Do not trap or kink the power cord. Mounting Plate 5. Use the sucket to open the door,fix the oven to the cabinet with Screw, at the installation hole.
-
Page 19: Operation Instruction
OPERATION INSTRUCTION... - Page 20 3. Grill or Combi. Cooking Press " " once the L ED w ill display "P100", and press " " for times or to choose the power you want, and "G" press " " "C-1" or "C-2" will display. Then press " "...
- Page 21 5. Defrost By Time 1) Press " " twice, the screen will display "dEF2". Press " " to select the cooking time.The maximum time is 95 minutes. 3) Press " " key to start defrosting. 6.Multi-Stage Cooking Two stages can be maximally set. If one stage is defrosting, it should be put in the first stage.
- Page 22 8. Auto Menu 1) In waiting state, to choose the menu from "A1" to "A8" . press " " 2) Press " " to confirm the menu you choose. Press " " to choose the food weight. 4) Press " "...
- Page 23 9. Speedy Cooking 1) In waiting state, press " " key to cook with 100% power level for 30 seconds. Each press on the same key can increase 30 seconds. The maximum cooking time is 95 minutes. 2) During the microwave ,grill,combination cooking and the defrost by time process, press "...
-
Page 25: Trouble Shooting
TROUBLE SHOOTING Disconnect. Then connect again (1) Power cord not after 10 seconds. connected in tightly. ( 1) Disconnect.Then connect Power cord not again after 10 seconds. Door can not open. ( 2) Use the sucker. connected in tightly. ( 3 ) Contact the after-sale service. According to Waste of Electrical and Electronic Equipment (WEEE) directive, WEEE should be separately collected and treated. - Page 28 PN:16170000A80882...
Need help?
Do you have a question about the FV-MW51 and is the answer not in the manual?
Questions and answers