
Subscribe to Our Youtube Channel
Summary of Contents for Storyteller Overland MYVOLTA
- Page 1 M Y V O L T A B L U E T O O T H H A R D W A R E I N S T A L L A T I O N I N S T R U C T I O N S REV 02.01.2021...
- Page 2 Thank you for supporting the overlanding community. We are jealous that we can't join you out on the open road and beyond, but sincerely hope this product will enrich your travels. — Your pals at Storyteller Overland...
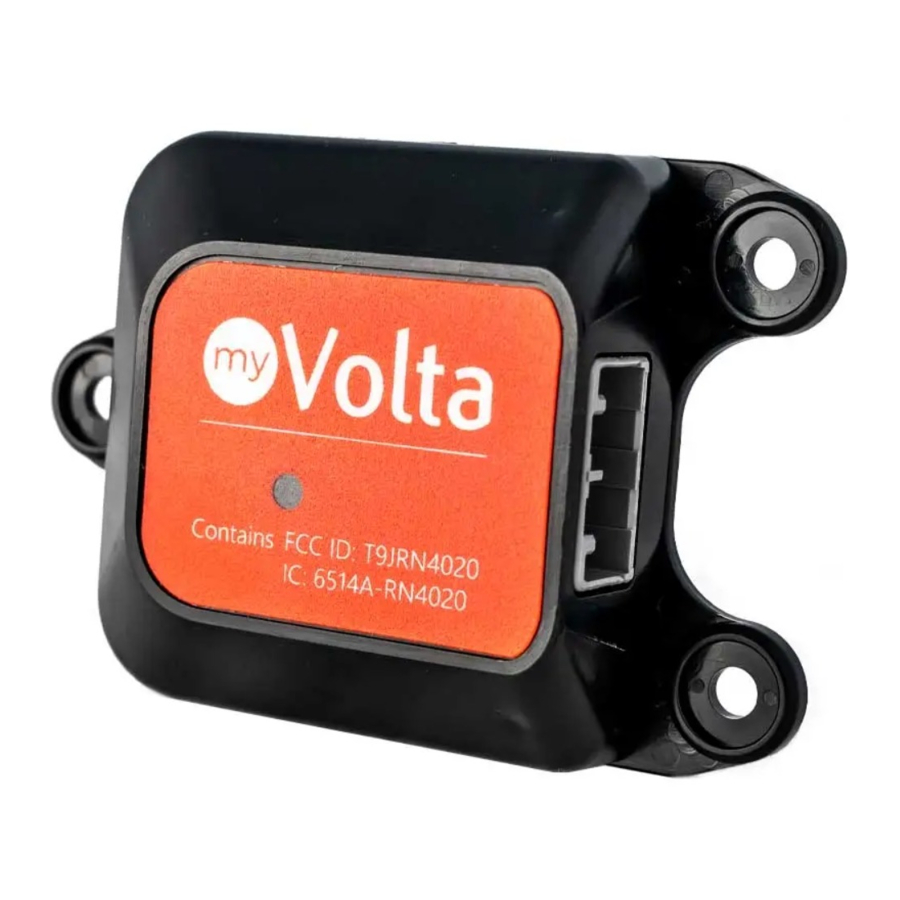
- Page 3 P A R T S I N C L U D E D : 1. (1) myVolta Bluetooth module 2. (1) myVolta Y cable T O O L S N E E D E D : 1. T 20 Torx screwdriver...
- Page 4 S T E P 1 : Remove the product from the package and insert the single end into the myVolta Unit. S T E P 2 : With your Volta system powered remove the (4) 1/2" Torx T 20 Hex screws that hold the M-Power...
- Page 5 S T E P 4 : Remove the adhesive and stick the myVolta box on the inside of the REMOVE panel (steps 1-4). S T E P 5 : Connect the female end of the Y cable to the back of the SOC gauge.
- Page 6 Replace the (4) T 20 Torx screws in the M-Power Control Center face plate (do NOT over tighten) and you’re all finished. S T E P 7 : Download the myVolta app and connect. Refer to: voltapowersystems.com for more information.
-
Page 7: Warranty
W A R R A N T Y VOLTA MANUFACTURES AND OFFERS A WARRANTY ON THIS SYSTEM. IF, BY CHANCE THIS PRODUCT FAILS, PLEASE CONTACT VOLTA DIRECTLY. V O L T A P O W E R S Y S T E M S . C O M / C O N T A C T... - Page 8 MYVOLTA APP REV 2.1,2021...
Need help?
Do you have a question about the MYVOLTA and is the answer not in the manual?
Questions and answers