Table of Contents
Advertisement
Quick Links
Advertisement
Table of Contents

Subscribe to Our Youtube Channel
Related Manuals for MJM E-SO20


Summary of Contents for MJM E-SO20
- Page 1 USER’S MANUAL...
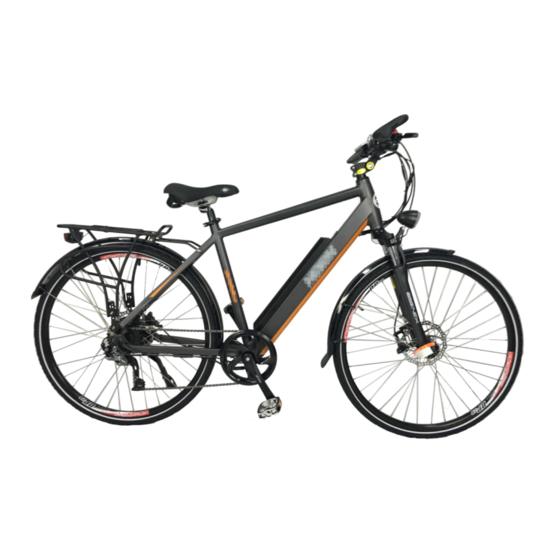
- Page 2 Thanks for purchasing an MJM WHEELS™ SO-20 – step over , or the ST -20 – step through electric bike. MJM WHEELS™ is based in CANADA, producing high-quality and unique style electric bike with high-profile components. Open the box and take out your SO-20 or ST-20 carefully. The package has following items:...
- Page 3 Install Front Wheel Make sure the brake disc is placed in the center of caliper gap and front wheel can rotate freely without any noise. When the brake disc is not in the gap, DO NOT pull brake lever.
- Page 4 Install Pedals Use the pedal marked with an “L” on the left side and the right pedal marked with an “R” on the right side (side with drivetrain gears). The right-side pedal has a right-hand thread (removes counterclockwise, installs clockwise); the left side pedal has a left-hand thread (removes clockwise, installs counterclockwise).
- Page 5 Insert, Remove or Adjust Saddle Height...
-
Page 6: Quick Start
Quick Start: 1, Charging: You can charge your battery installed on or off the bike. If you want to uninstall the battery, push the key and twist anticlockwise until hear “Click”. Before taking out the battery, you may need to take out the seat post first. Charging: Charging Finished: Install the battery:... - Page 7 Battery /Display USB port USB port can be used to charge your Cellphone or laptop USB port...
-
Page 8: Lcd Display
LCD Display: isplay Interface Press SET to switch on the display. The order is: Odometer →Riding Distance → Riding Time →Max Speed. -
Page 9: Button Definition
BUTTON DEFINITION 300S controller has three buttons, including MODE、UP and DOWN. “MODE” names to “M”, “UP” names to “ +” and “DOWN” names to “-”. NORMAL OPERATION 1、MODE old the MODE button to start the display. The display will provide power for the controller. -
Page 10: Backlight Indicator
3, SPEED DISPLAY below. It displays the current riding speed of e-bike. The speed display is as 4 、 KM/H & MPH Select KM/H or MPH for the speed and mileage, display will be the currently selected units display. 5 、 BACKLIGHT INDICATOR With the power on, hold UP for 1.5 seconds and turn on the backlight. -
Page 11: Battery Storage
Some Battery Tips Lithium battery capacity is reduced every time they have been used. MJM WHEELS™ genuine battery provides 600~800 charging cycles. Stay away from extreme environment. The suggested temperature operating limits for the battery is -10C to 45C. Do not store need excessive heat. - Page 12 8. Once the battery reaches full charger, the orange light will turn solid green. 9. When charging is complete, unplug the charger from the wall before removing it from the charger port. Use only MJM WHEELS Authorized chargers and batteries. Using any other charger will damage the batteries and void your warranty.
- Page 13 Braking Adjustment Depress the brake lever about 10 times as far as the handlebar grip to check that everything is operating correctly and that the shoe clearance is corrected before riding the bike.
- Page 14 As a final check, please go through this checklist to make sure your bike is properly assembled and safe to ride: ■Handlebars Ensure handlebars are straight and secure and all relevant bolts are tight. Test that they are securely attached to the forks by gripping the front wheel between your legs and attempting to turn the handlebars.
-
Page 15: Before Riding
Before riding: Adjust the height of the handlebars and saddle to suit the rider, whose toes should be able to just touch the ground. ■Check that all lights and displays are working. ■Check regularly to ensure that the electrical connectors between the bike and battery are clean. - Page 16 (15) Use of other components not approved by the manufacturer (16) Damages resulted from improper transportation MJM WHEELS™ LIMITED WARRANTY (Continued) Due to the nature of the product some components must be purchased exclusively from the manufacturer. These would include, but are not limited to limited to the battery, motor, main gauge cluster, controllers, Led headlights,...
- Page 17 brake drums or disc rotors and pads etc. Other components such as tires, tubes, saddle, racks, and baskets may be used from market-ready or compatible products previous approval from the retailer or manufacturer. Get more information of about promotions or new product launches at: www.mjmwheels.com...
Need help?
Do you have a question about the E-SO20 and is the answer not in the manual?
Questions and answers