Table of Contents
Advertisement
Quick Links
ITALO 2_IM_ENG - Rev.03 of 27/10/14
M8 screws + split washer and plain washer
Set screw wrench: 6mm
Twisting moment: 10Nm
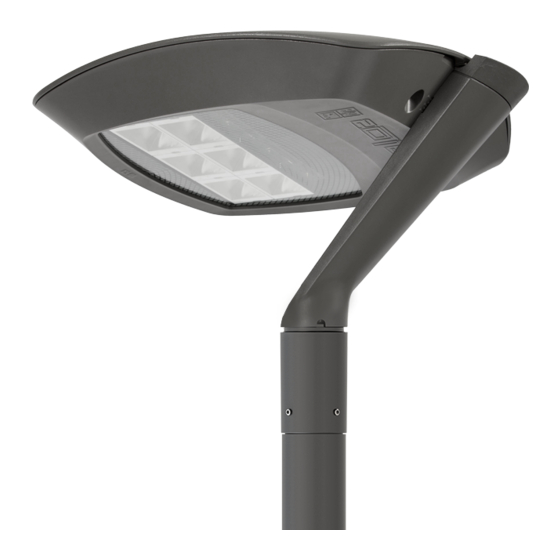
Pic. 3A – Post-top mounting
0°
10°
15°
20°
M8 / 5/16" Set screws
Set screw wrench: 4mm
Twisting moment: 8Nm
--------------------------------
M8 / 5/16" nuts
Adjustable wrench: 13mm
Twisting moment: 8Nm
MOUNTING AND MAINTENANCE
Post-top or bracket mounting
ITALO 2 is equipped with an universal attachment (post-top or bracket mounting)
according to the ordered version:
Place correctly the attachment as indicated in Pic. 5A (Post-top) or in Pic. 5B
Pic. 1
(Bracket).
Fix the attachment to the luminaire with the two M8 screws as indicated in Pic. 2.
Possible to tilt:
Use the proper sign as indicated in Pic. 3A and 3B.
The regulation of the luminaire can be done loosing the two screws (Pic. 2).
Fix the attachment to the post-top or to the bracket as indicated in Pic. 4.
To avoid any possible unscrewing of set screws, two M8 (5/16") nuts have
to be tightened on the set screws as indicate in Pic. 4.
Pic. 2
Sign reference
5°
Pic. 5A – Post-top mounting
Pic. 4
Pic. 5B – Arm mounting
INSTRUCTION
MOUNTING AND MAINTENANCE INSTRUCTION
Attachment Ø33-60mm. Ø1-3/8" - 2-3/8"
-
Attachment Ø60-76mm. Ø2-3/8" - 3"
-
-
Post-top mounting:
-
Bracket mounting:
Sign reference
0°, +5°, +10°, +15°, +20°
0°, -5°, -10°, -15°, -20°
Pic. 3B – Bracket mounting
-15°
-5°
ATTACHMENT
Page 1 of 4
-20°
-10°
0°
Advertisement
Table of Contents

Summary of Contents for AEC ITALO2
- Page 1 MOUNTING AND MAINTENANCE INSTRUCTION ITALO 2_IM_ENG - Rev.03 of 27/10/14 Page 1 of 4 MOUNTING AND MAINTENANCE INSTRUCTION Post-top or bracket mounting ITALO 2 is equipped with an universal attachment (post-top or bracket mounting) according to the ordered version: Attachment Ø33-60mm. Ø1-3/8" - 2-3/8" Attachment Ø60-76mm.
- Page 2 MOUNTING AND MAINTENANCE INSTRUCTION ITALO 2_IM_ENG - Rev.03 of 27/10/14 Page 2 of 4 Electrical line connection To gain access to the electrical line, unlock the closing hook (A – Pic. 6) and lift the upper frame untill the hinge locks (Pic. 7) follow the directions in Pic.
- Page 3 MOUNTING AND MAINTENANCE INSTRUCTION ITALO 2_IM_ENG - Rev.03 of 27/10/14 Page 3 of 4 Luminaire closure To close the luminaire, follow the directive from Pic. 10 to Pic. 12. Fig. 10 Fig. 11 Fig. 12 Initial position Lift the upper frame Unlock the hinge and move down the upper frame LED module extraction...
- Page 4 The device has dedesigned in compliance with the current standards; it is necessary that the installation is done properly, according with the instructions supplied. The present instruction paper has to be kept for any future maintenance operation on the luminaire. Non compliance with the above will automatically release AEC Illumination from any responsibility.
Need help?
Do you have a question about the ITALO2 and is the answer not in the manual?
Questions and answers