Advertisement
Z9-PE-DEVKIT Quick Start Guide
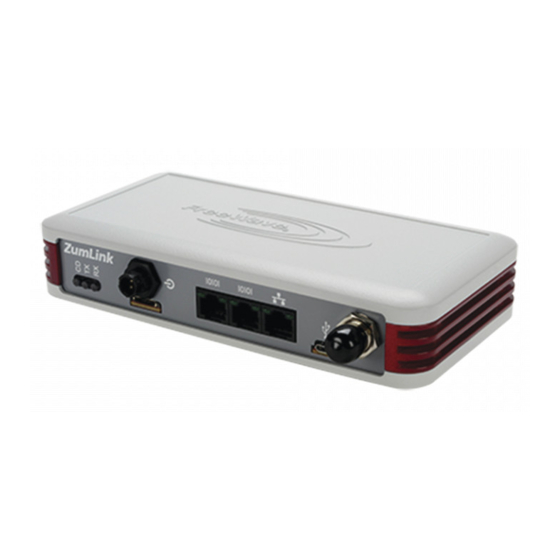
Thank you for purchasing the FreeWave ZumLink™ Z9-PE-DEVKIT.
This Quick Start Guide provides procedures for the hardware connection and
configuration of the Z9-PE-DEVKIT.
For detailed information about the Z9-PE-DEVKIT, download the ZumLink
Z9-PE User Manual (FreeWave Part Number: LUM0076AA) from
http://support.freewave.com/.
Warning! The ZumLink Z9-PE-DEVKIT is sold as a fully enclosed
device, assembled at the FreeWave factory. Opening the ZumLink Z9-
PE-DEVKIT device voids the FreeWave warranty.
Included Equipment
This is the equipment included with the ZumLink device:
Qty
Description
2
Z9-PE-DEVKIT wireless device
Included with the Z9-PE-DEVKIT
2
½ Wave 900 MHz Stub Antenna, 2 dBi, SMA Male RF connector
(FreeWave Part Number: EAN0900SR)
2
Power Supply: 12VDC @ 800 mA
(FreeWave Part Number: EMD1280UW)
2
6.5 foot long shielded Ethernet cable
(FreeWave Part Number: ECD0658EB)
2
TNC Male to SMA Female Adapter
(FreeWave Part Number: ECN0313TS)
2
Power Adapter
(FreeWave Part Number: ASC0002ZL)
User-supplied Equipment
USB to micro-USB cable
l
Power Setup of the Z9-PE-DEVKIT
The Z9-PE-DEVKIT is approved to operate with an input voltage range of +6 to
+30VDC.
FREEWAVE Recommends: All input power supply wires should be at least
20AWG wires. A dedicated power supply line is preferred. The power supply
used MUST provide more current than the amount of current drain listed in
the specifications for the product and voltage. (at least mA at 12V)
Warning! Use electrostatic discharge (ESD) protectors to protect the
radio from electric shock and provide filtered conditioned power with
over-voltage protection.
QSG0052AA Rev Oct-2017
CLI Configuration
This procedure provides a Tera Term terminal connection to the ZumLink CLI.
The basic steps are:
A.
Connect the ZumLink to the Computer (on page 1)
B.
Tera Term Activation And Zumlink Setup (on page 2)
Note: The images in this procedure are for Windows® 7 and/or Firefox®.
The dialog boxes and windows appear differently on each computer.
Connect the ZumLink to the Computer
1. Connect the Z9-PE-DEVKIT to all four connections as shown in Figure 1.
The AutoPlay ZumLink, AutoPlay FreeWave Drivers, and ZumLink
windows open.
Figure 2: AutoPlay FreeWave Drivers window
Important!: The ZumLink driver installs automatically.
2. Continue with
Tera Term Activation and ZumLink Setup (on page
Page 1 of 2
Figure 1: AutoPlay ZumLink window
Figure 3: ZumLink window
Figure 4: Installing Driver message
Figure 5: Driver ready to use message
Copyright © 2017 FreeWave
2).
Advertisement
Table of Contents

Subscribe to Our Youtube Channel
Related Manuals for FreeWave ZumLink Z9-PE-DEVKIT


Summary of Contents for FreeWave ZumLink Z9-PE-DEVKIT
- Page 1 Connect the ZumLink to the Computer 1. Connect the Z9-PE-DEVKIT to all four connections as shown in Figure 1. Warning! The ZumLink Z9-PE-DEVKIT is sold as a fully enclosed The AutoPlay ZumLink, AutoPlay FreeWave Drivers, and ZumLink device, assembled at the FreeWave factory. Opening the ZumLink Z9- windows open.
- Page 2 FreeWave Technologies, Inc. reserves the right to make changes to this document or the product described within it without notice. FreeWave assumes no responsibility or liability for the use of this document or the infringement of any copyright or other proprietary right.
Need help?
Do you have a question about the ZumLink Z9-PE-DEVKIT and is the answer not in the manual?
Questions and answers