Table of Contents
Advertisement
Quick Links
Operator's Manual
Please have your SERIAL NUMBER ready when
contacting your authorized dealer for replacement
parts or service information.
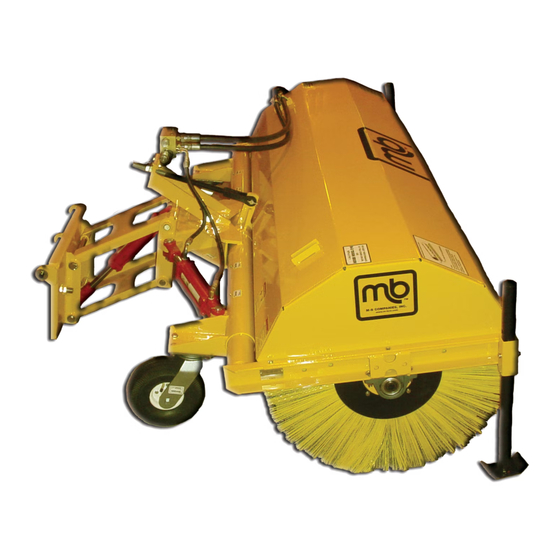
Model HLP/HTP
Hydraulic Power Broom
MB Companies, Inc. – Attachment Sales
1615 Wisconsin Avenue, P.O. Box 200
New Holstein, WI 53061
Telephone: 800-558-5800
FAX: (920) 898-4588
Advertisement
Table of Contents

Summary of Contents for MB Companies HLP
- Page 1 Operator’s Manual Model HLP/HTP Hydraulic Power Broom MB Companies, Inc. – Attachment Sales 1615 Wisconsin Avenue, P.O. Box 200 New Holstein, WI 53061 Telephone: 800-558-5800 FAX: (920) 898-4588 Please have your SERIAL NUMBER ready when contacting your authorized dealer for replacement...
- Page 2 SERIAL NUMBER: Copyright 2004 M-B Companies, Inc. All Rights Reserved...
- Page 3 Copyright 2004 M-B Companies, Inc. All Rights Reserved...
-
Page 4: Table Of Contents
Table of Contents CONTENTS: Safety Rules & Information General Operation...……....4 Service and Maintenance..... 4 Safety Decals……..…………..….. 5 Identification Numbers……………..… 6 Setup and Adjustments…..….……..7 General Operation Pre-Startup Checks……...… 8 Operation……………….….…...… 8 Operating Tips……...………..…... 8 Maintenance Maintenance Schedule...……..9 Lubrication………………………… 9 Filler Replacement…….…………. -
Page 5: General Operation
Safety Read these safety rules and follow them closely. Failure to obey these rules could result in loss of control of the unit, sever personal injury or death to you, or bystanders, or damage to property or equipment. The triangle in the text signifies important cautions or warnings which must be followed. -
Page 6: Safety Decals
Safety Decals DECALS This unit has been designed and manufactured to The safety decals below are on your unit. protect you with the safety and reliability you would expect from an industry leader in pavement If any of these labels are lost or damaged, replace them maintenance equipment. -
Page 7: Identification Numbers
Identification Numbers IDENTIFICATION NUMBERS When contacting your authorized dealer for replacement parts, service or information you MUST have these numbers. Record your model name/number, manufacturer’s identification numbers in the space provided for easy access. These numbers can be found in the location shown. -
Page 8: Setup And Adjustments
Setup and Adjustments SETUP Proper setup and leveling of your power broom will Once the broom has been properly adjusted, a short increase the life of the brush and produces more operation period is recommended for break-in; efficient movement of material. Visually inspect the approximately 15 minutes. -
Page 9: General Operation
General Operation PRE-STARTUP CHECKS 3) Inspect the broom adjustments to ensure that the 1) Visually inspect equipment and hardware to ensure broom is level and that there is proper brush that all parts are secure and all hardware is pattern. tightened and secure. -
Page 10: Maintenance
Maintenance MAINTENANCE SCHEDULE • Check adjustments – every 10 hours • Replace hydraulic oil – annually • Grease bearings – every 10 hours • Replace brush filler – as needed • Grease pivot points – every 50 hours • *Note* – Maintenance pertaining to oil and oil filter only refers to the independent hydraulic systems •... -
Page 11: Filler Replacement
Maintenance FILLER REPLACEMENT CORE REMOVAL • Lower broom until brush contacts the ground via hydraulic lift cylinder or mechanical head anchor. • Remove bolts attaching motor guard to the brush frame. Remove guard and set aside. • Remove (2) ½” bolts attaching motor mount plate to the brush frame. -
Page 12: Troubleshooting
Troubleshooting Trouble Possible Cause Remedy 1) No hydraulic pressure/flow a) Check tractor operation Broom does not rotate 2) Hoses disconnected b) Connect hoses and fittings 3) Hoses bent or kinked c) Remove sharp bends and kinks 4) Pressure relieving to low d) Adjust relief valve 5) Electric valve not functioning e) Check electrical connections... -
Page 13: Parts List
Parts List Copyright 2004 M-B Companies, Inc. All Rights Reserved... - Page 14 Parts List STANDARD MOTOR PARTS (201-75209) Item Description Part Number Quantity Dust Seal Split Wire Ring Metal Backup Shim High Pressure Seal Metal Backup Shim Polyamide Seal Items 1-12 are available as a kit Shaft Seal Part# 201-92039 Rear Housing Seal Body Seals Endcover Seal Seal Carrier...
Need help?
Do you have a question about the HLP and is the answer not in the manual?
Questions and answers