Advertisement
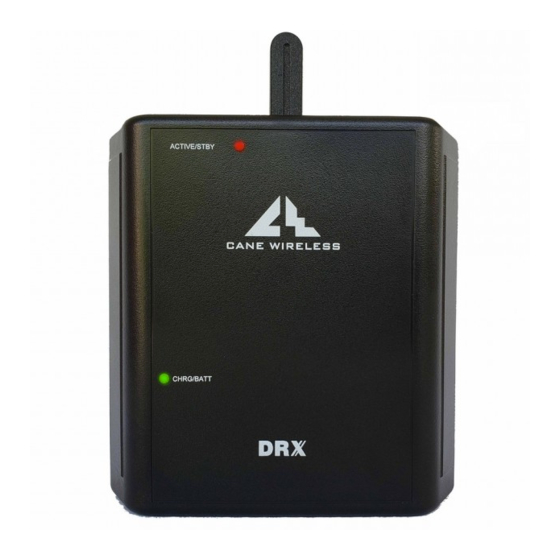
The DTR Range Extender (DRX) kit uses two Motorola DTR™ Series digital radios to receive (RX) and retransmit (TX)
a single public or private group. Additional DTR repeater kits are required to repeat each additional public or private
group.
CAUTION! The radios used in the DRX kit contains special programming and settings to allow it to operate as a
repeater. Do NOT replace the radios in the DRX RX and TX units with standard DTR radios!
Note: The DTR Range Extender kit will only repeat ONE Public or Private group (Private contacts will NOT be
repeated but can still connect directly from radio to radio). Additional DRX kits will be needed to extend coverage
coverage or to repeat additional groups.
GETTING STARTED
Your unit contains LiION batteries that need to be charged before use. These batteries power the units and allow for
approximately10 hrs of battery back-up in the event of a power outage. If the batteries are depleted they will need to
be recharged or replaced and the units reset to resume operation.
Installing and charging the battery (skip steps 1 to 3 if battery is already installed)
1. Remove the back cover of the DTR repeater kits by unscrewing the four self tapping screws.
2. Remove the battery door cover from the radio in the Repeater kit (remember to unlock the latch on the battery
door).
3. Insert the included LiION battery into the battery compartment of the radio in the DTR Repeater kit.
4. Plug the power supply into the Power/programming port and the A/C connector to the wall outlet to begin
charging the unit (Green LED will turn on). Charge the unit for at least 3hrs before using.
NOTE: The LiION batteries should be replaced every two years for optimal performance.
PROGRAMMING
Note: The DTR Range Extender kits are default programmed to operate on Public 5 (Channel 1; Group 5). You do not
need to program the DTR repeater kits if your portable units are also set to use the default Public 5 Group.
The DRX kit can be programmed using the standard DTR radio Computer Programming Software (CPS) available from
Motorola at http://www.motorolasolutions.com
Note: You will need a DTR programming cable p/n 0105950U15 to connect the unit to your computer for
programming.
The following instructions assume you already have a working knowledge of using the DTR CPS tool. To learn more
about using the DTR CPS tool please read the help file from the CPS menu or instructions from the DTR radio user
manual.
Version 1.4
DRX Range Extender Kit Installation Guide
Copyright 2014 Cane Wireless Inc. All rights reserved.
www.canewirelesspro.com
Page 1
Advertisement
Table of Contents

Summary of Contents for Cane DRX Range Extender Kit
- Page 1 The following instructions assume you already have a working knowledge of using the DTR CPS tool. To learn more about using the DTR CPS tool please read the help file from the CPS menu or instructions from the DTR radio user manual. Copyright 2014 Cane Wireless Inc. All rights reserved. Version 1.4 Page 1...
- Page 2 NOTE: The repeater RX and TX unit IDs should be set to operate on the same channel number as the group. Ex: If the Repeater Group is set to CH3 and Group ID56, then the repeater unit ID (RPTR RX/TX contact) should also be set to operate on CH3. Copyright 2014 Cane Wireless Inc. All rights reserved. Version 1.4 Page 2...
- Page 3 When installing multiple DTR repeater kits they should be separated at least 20ft from each other for optimal performance. “ Daisy-chaining” repeater kits, although possible, is not recommended as this degrades audio quality and increases the audio delay. Copyright 2014 Cane Wireless Inc. All rights reserved. Version 1.4 Page 3...
- Page 4 For more information and to order additional accessories visit us at www.canewirelesspro.com Motorola and DTR are registered trademarks of Motorola Inc. The trademark owners are not affiliated with the makers of this product. Copyright 2014 Cane Wireless Inc. All rights reserved. Version 1.4 Page 4...
Need help?
Do you have a question about the DRX Range Extender Kit and is the answer not in the manual?
Questions and answers