Table of Contents
Advertisement
Quick Links
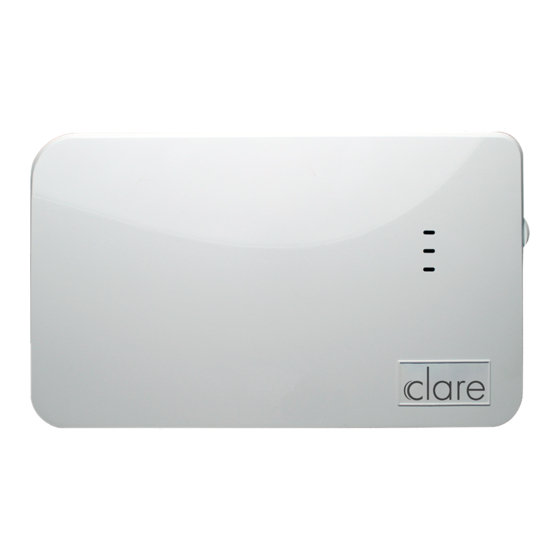
ClareOne Wireless to Wireless
Translator/Repeater Installation Sheet
Last modified: 12/23/20
Model number: CLR-C1-W2WL
Features
•
Selectable wireless sensor compatibility
•
Translator or repeater operation
•
Rechargeable backup battery
•
Cover tamper and wall tamper
•
Certified to UL1023, ULC1023, UL1610, and ULCS304
©20NOV20 Clare Controls, LLC.
1 / 7
DOC ID – 1990 • Rev 01
(47-00014 Rev A)
Advertisement
Table of Contents

Summary of Contents for Clare Controls ClareOne CLR-C1-W2WL
- Page 1 • Translator or repeater operation • Rechargeable backup battery • Cover tamper and wall tamper • Certified to UL1023, ULC1023, UL1610, and ULCS304 DOC ID – 1990 • Rev 01 ©20NOV20 Clare Controls, LLC. 1 / 7 (47-00014 Rev A)
- Page 2 Figure 1: W2WL enclosure interior for mounting Quick Setup 1. Mount and Wire Select a mounting position and location. Connect the power supply to the translator. 2. Translator Configuration Turn the PANEL SELECT knob to ClareOne. Select the brand of sensors that the translator must listen to using the SENSOR SELECT knob. C.
- Page 3 • Trip the translator tamper to enroll the translator into the panel. - or - • Enter ID into panel. The Translator’s ID is printed on the bar code label. Access the ClareOne panel’s Sensor Settings, then select the type of sensor to add. Trip one of the repeated or translated sensors to enroll it with the panel.
- Page 4 • Verify adequate RF signal strength at the panel 4. Finish before permanently mounting. With the translator cover open, perform a panel Connect the power supply to the W2WL using the supplied sensor test. barrel connector. When the translator cover is open, the translator •...
- Page 5 D. With the cover closed, insert the cover securing screw Factory default into the screw hole near the cover latch. To return the translator to a factory default condition, press and hold the configure button. After a couple seconds, the Sensor notes sounder will start beeping rapidly.
- Page 6 Right (A2) No action Star Star Regulatory information Warranty information Clare Controls offers a two (2) year limited warranty on original Manufacturer Clare Controls, Llc. Clare Controls components, from the date of shipment from 7519 Pennsylvania Ave, Suite 104 Clare Controls.
- Page 7 Contact information Clare Controls, LLC. 7519 Pennsylvania Ave, Suite 104 Sarasota, FL 34243 General: 941.328.3991 Fax: 941.870.9646 www.clarecontrols.com Integrator/Dealer Support: 941.404.1072 claresupport@clarecontrols.com Homeowner Support (ClareCare): 941.315.2273 (CARE) help@clarecontrols.com DOC ID - 1990 • Rev 01 (47-00014 Rev A) 7 / 7...

Need help?
Do you have a question about the ClareOne CLR-C1-W2WL and is the answer not in the manual?
Questions and answers