Advertisement
Quick Links
Advertisement

Related Manuals for Geutebruck G-Case/WPH-1010

Summary of Contents for Geutebruck G-Case/WPH-1010
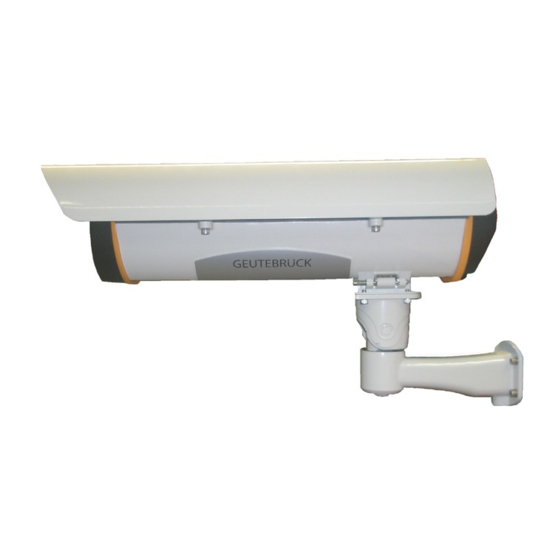
- Page 1 G-Case/WPH-1010 Weather Proof Housing Installation...
- Page 3 Installation G-Case/WPH Series Preface The information given in this manual was current when published. The company reserves the right to revise and improve its products. All specifications are subject to change without notice. Copyright Under copyright laws, the content of this user manual may not be copied, photo- copied, translated, reproduced or reduced to any electronic medium or machine- readable format, in whole or in part, without prior written permission of the com- pany.
-
Page 4: Package Contents
Installation G-Case/WPH Series Package Contents WPH with 1 (Heater) + 2 (Camera mounting plate) + 3 (PSU) Space holder for camera mounting Desiccant bag Manual Cable gland, already mounted... - Page 5 Installation G-Case/WPH Series Contents: Package contents Page 2 Technical data Page 4 Installation guide Page 5 Splitter connectors Page 9 Accessories Page 10 NOTES: Installation and usage of the product must be done by qualified personnel under compliance of laws and instructions which are valid for the installation site. ...
-
Page 6: Technical Data
Installation G-Case/WPH Series Technical data G-Case/WPH-1001 Weather proof housing with sunshield, temperature controlled heater, in- Description tegrated splitter and additional temperature controlled fan Concealed cable guide Ka- belführung Varnish RAL 9002 Material of housing Aluminium Power supply for heater 12 VDC Cable entry PG gland Power supply for splitter... -
Page 7: Installation
Installation G-Case/WPH Series Installation For installation of the wall mount bracket and the G-Case/WPH-1001, please follow the steps below: 1. Mark the drill holes by using the bracket, drill the holes and place the plugs. 2. Guide the network cable through the bracket. - Page 8 Installation G-Case/WPH Series 6. Loosen the PG gland. 7. If you need a network cable only, take the rubber seal with one 6 mm bore. If 2 cables are needed use the seal with 2 x 6 mm bore. Choose one of the rubber seals and lead (e.g. only) the network cable through these 3 components, as shown here.
- Page 9 Installation G-Case/WPH Series Completion should look like shown here. CAUTION! For Pole mount please respect the following order a) At first install the bracket onto the pole mount adapter. b) Guide the network cable through the bracket and pole mount adaptor. c) Mount this combination at the pole by using the two ten- sion bands.
- Page 10 Installation G-Case/WPH Series For this, use a suitable screw in the accessory bag. If the combination is too deep, increase the seat of the camera with the space holders in the accessory bag and a suitable screw with washer. Pay attention that, if the camera is placed into the WPH, the distance between lens and front glass is not too large.
-
Page 11: Psu Connectors
Installation G-Case/WPH Series PSU connectors Connector Description PS In External Power Source 110 VAC– 230 VAC PS Out, 12 VDC clamps Power supply for the camera 12 VDC plug Power supply for the heater (already in use) 12 VDC plag Power supply for additional devices... - Page 12 Installation G-Case/WPH Series Accessories G-Case/WMB-005 Art.-No.: 5.15922, Wall Mount Bracket for G-Case/WPH-1010 G-Case/PMA-101 Art.-No.: 5.18375, Pole Mount Adapter G-Case/BCE-010 Art.-Nr.: 5.15921, Ceiling Mount Bracket for G-Case/WPH-1010 340 mm...
- Page 14 GEUTEBRÜCK GmbH Technische Änderungen vorbehalten. Im Nassen 7-9 | D-53578 Windhagen Technical alterations reserved. Tel. +49 (0)2645 137-0 | Fax-999 Sous réserve des modifications. info@geutebrueck.com Suministro sujeto a modificaciones técnicas o disponibilidad. www.geutebrueck.com...
Need help?
Do you have a question about the G-Case/WPH-1010 and is the answer not in the manual?
Questions and answers