Advertisement
Quick Links
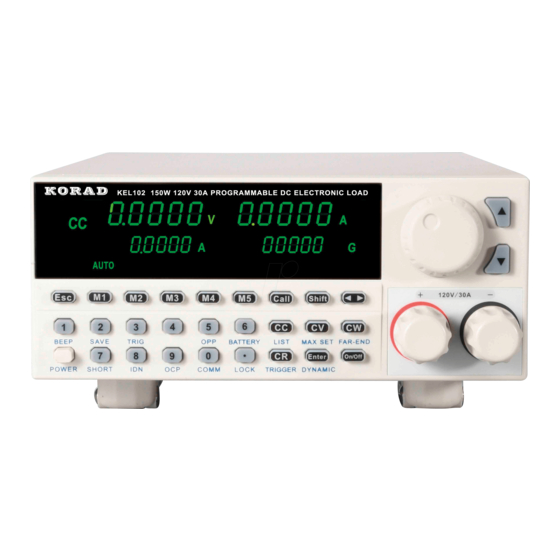
KEL102 & KEL103 Calibration Instruction
Testing equipment:
1. Six and a half multimeter;
2. One power supply with adjustable output voltage 0‐100V, current 0‐12A and
constant current.
Before the electronic load is powered on, press and hold the "ESC" key to enter the
calibration mode. At the same time, the "ESC" key light is on, and 00001G is
displayed on the lower right.
1. Verify the voltage value of DA when the low range is 0.1V:
Method: set the power supply to 1V and the maximum output to 1A, set the
multimeter to the voltage range, combine the power supply and the multimeter
into the load interface at the same time, turn on the ON/OFF switch, and adjust
the knob to display the voltmeter voltage as 0.1V, which can be adjusted by
pressing the left and right keys to increase or reduce. Then press ENTER to enter
the next check, or press ESC to return to the previous check.
2. Check the voltage value of DA when the high level is 0.1V:
Method: set the power supply to 1V and the maximum output to 1A. Set the
multimeter to the voltage range. Combine the power supply and the multimeter
into the load interface at the same time. Turn on the ON/OFF switch and adjust
the knob to make the voltmeter voltage display 0.1V. And press the left and right
keys to adjust the increased and reduced value. Then press ENTER to enter the
next check, or press ESC to return to the previous check.
3. Verify DA and AD when the maximum voltage is 18V:
Method: set the power supply to 20V and the maximum current output to 1A.
Set the multimeter to the voltage range. Combine the power supply and the
multimeter into the load interface at the same time. Turn on the ON/OFF switch
and adjust the knob to make the voltage on the voltmeter display 18V. And press
the left and right keys to adjust the increased and reduced value. Then press
ENTER to enter the next check, or press ESC to return to the previous check.
Calibration Procedures
Advertisement

Related Manuals for KORAD KEL102

Summary of Contents for KORAD KEL102
- Page 1 KEL102 & KEL103 Calibration Instruction Testing equipment: 1. Six and a half multimeter; 2. One power supply with adjustable output voltage 0‐100V, current 0‐12A and constant current. Calibration Procedures Before the electronic load is powered on, press and hold the “ESC” key to enter the calibration mode. At the same time, the “ESC” key light is on, and 00001G is displayed on the lower right. ...
- Page 2 4. Verify DA and AD when the maximum voltage is up to 90V: Method: set the power supply to 100V and the maximum current output to 1A. Set the multimeter to the voltage range. Combine the power supply and the multimeter into the load interface at the same time. Turn on ON/OFF switch and adjust the knob to make the voltage on the multimeter display 90V. And press the left and right keys to adjust the increased and reduced value. Then press ENTER to enter the next check, or press ESC to return to the previous check. 5. Check the zero point of DA low current: Method: set the power supply to 5V and the maximum current output to 1A. Set the multimeter to the current range. Connect the power supply and the multimeter to the load interface. Turn on the ON/OFF switch and adjust the knob to make the multimeter current display between 1mA and 2mA. And press the left and right keys to adjust the increased and reduced value. Then press ENTER ...