Table of Contents
Advertisement
Advertisement
Table of Contents

Related Manuals for Bang & Olufsen BeoSound 4


Summary of Contents for Bang & Olufsen BeoSound 4
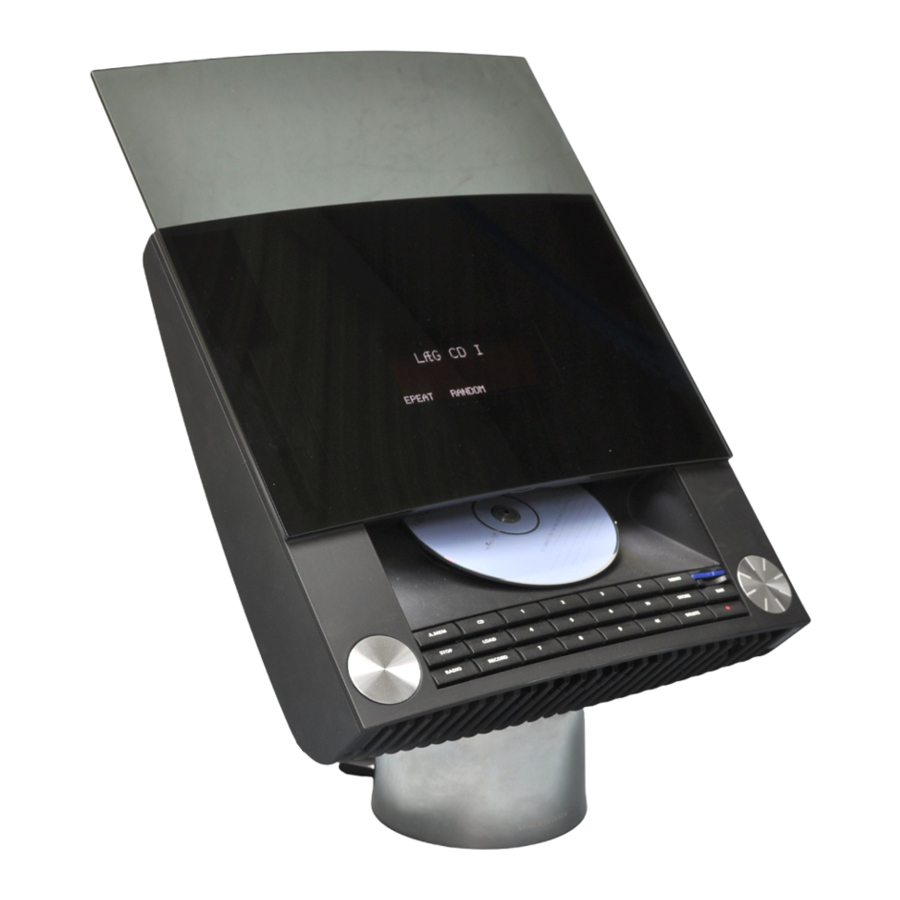
- Page 1 BeoSound 4 Guide...
- Page 2 CAUTION RISK OF ELECTRIC SHOCK DO NOT OPEN CAUTION: To reduce the risk of electric shock, do not remove cover (or back). No User-serviceable parts inside. Refer servicing to qualified service personnel. WARNING: To reduce the risk of fire or electric shock, do not expose this appliance to rain or moisture.
-
Page 3: Table Of Contents
Contents Introducing your music system, 4 Use the Beo4 remote control, 21 Find out how to use the Beo4 remote control and Menu system, 5 operate your music system from a distance How to use your music system, 6 Setting-up and assembly, 22 Find out how to switch on and operate sources, Find out how to set up your music system and such as CD, radio or A.MEM via the close-up... -
Page 4: Control Panel
Menu system overview 1 N.MUSIC 10 SETUP 2 N.RADIO 1 A.MEM 3 A.AUX 4 RANDOM ON/OFF 5 REPEAT ON/OFF 6 TIMER ON/OFF 2 RADIO 7 EDIT A.MEM 1 ARRANGE REARRANGE DELETE TRACK DELETE FOLDER 2 RENAME 8 PLAY TIMER 1 TIMER 1 PROGRAMMING ON/OFF SOURCE (SOURCE, PROGRAM) START/STOP... - Page 5 All functions of your music system can easily be operated via the close-up operation panel. An explanation to the buttons is found here. BeoSound 4 can also be operated with the Beo4 remote control. For further information, refer to page 21.
-
Page 6: How To Read The Menu Symbols
The menus of your music system gives you several options. Choose extra functions and features via the menus or make your own setup preferences. The current settings for the functions are shown in the menu, for example ‘RANDOM – ON or OFF’. The symbols explained to the right help you find your way around the menus. -
Page 7: How To Use The Menus
How to change a setting … Press MENU to bring up the menu system Turn the wheel to move to SETUP Press the wheel to enter the SETUP menu Turn the wheel to move to OPTIONS Press the wheel to enter the OPTIONS menu Press the wheel to enter the SET CLOCK menu Turn the wheel... -
Page 8: Naming Procedure
Use the naming function, for example, to name your Timers for easy recognition, or your CDs. The naming procedure is the same no matter what you are naming. Each name may contain up to 17 characters, including numbers, however, Timer names can only contain up to 12 characters. -
Page 9: First-Time Setup
Once your music system is installed and switched on for the first time, you are guided through the first-time setup procedure. The first time setup consists of: – Menu language selection – DAB aerial adjustment* – Auto tuning of radio stations –... -
Page 10: Call Up Additional Sources, Functions And Menus
This is done via the OPTIONS menu, for further information, refer to page *NOTE! If your BeoSound 4 is set up in a Master Link system and a computer with BeoLink PC 2 or BeoPort connected, you can listen to N.Music or N.Radio via BeoSound 4. -
Page 11: A.mem And Memory Card
We recommend that you format new memory cards in BeoSound 4 before recording onto them. Only MultiMedia (MMC) and Secure Digital (SD) cards from SanDisk are supported by BeoSound 4. -
Page 12: Tune In And Edit Radio Stations
Let the music system find avail able radio stations for you. You can store up to 99 radio stations. Once a station is stored, you access it directly by keying in the program number or by stepping through all the stored stations. You can rearrange the order in which tuned radio stations appear or delete them via the ARRANGE PROGRAMS... - Page 13 Radio text – text information about the current station and broadcaster – is supported by BeoSound 4. You can set your system to display radio text via the DISPLAY SETUP menu. For further information, refer to the chapter ‘Make option settings’...
-
Page 14: Audio Cd Settings
If you name a CD, the name appears in the display whenever you play this Also additional CD functions are available via the main menu, if you have added them in the MENU OPTIONS menu, refer to page 18 for further information. -
Page 15: Make Sound Settings
All sound levels are set to neutral values from the factory, but you can make your own sound adjustments and store them. If speakers are connected directly to your music system, you can adjust the volume, bass and treble levels, or alter the balance between the left and right speaker. -
Page 16: Make Option Settings
When your music system is connected to a television, Timers are programmed via the television, but if you want them executed on BeoSound 4, you must set the TIMER menu to ON. This requires that you have connected speakers to BeoSound 4. -
Page 17: Music System
Timer settings on this equipment, as described in its Guide. If you want these settings to apply to BeoSound 4 as well, you must activate the Timer function on BeoSound 4, as described on page 12. -
Page 18: How To Use The Pincode System
The use of a pincode means that if your music system has been disconnected from the mains for more than approximately 30 minutes, it can only be activated again by switching it on and keying in your pincode via the close-up operation panel. -
Page 19: Use The Beo4 Remote Control
If your music system is used together with other Bang & Olufsen products, refer to the Guides delivered with these products for further explanation on their operation. Steps through your radio stations, or tracks. When RANDOM or REPEAT is shown in the Beo4 display, press to activate the function, and press deactivate it... -
Page 20: Setting-Up And Assembly
We recommend that you follow this procedure when you set up your music system: 1 Place the music system where you want to use it. 2 Set up your speakers and any auxiliary equipment. 3 Connect all cables to their sockets on the socket panel of the music system –... - Page 21 Glass door: We recommend that the music system is disconnected from the mains supply, when you mount the glass door. > Position the glass door so that the fastening points on the glass door are aligned with the corresponding fastening socket on the music system.
-
Page 22: Connect The Cables
The socket panel is placed at the base of your music system. Use the diagram and graphics imprinted on the socket panel unit when locating the sockets. Do not connect your system to the mains until you have finished connecting all other cables. *NOTE! The DAB socket is only available if your music system is equipped with the built-in DAB module. - Page 23 Mains connection – Plug the mains cord into the socket marked ~ on the socket panel, but do not connect it to the mains before you have fi nished all connections. The music system can only be switched off completely by disconnecting it from the wall socket.
-
Page 24: Audio/Video Setup
You can use your music system as a stand-alone system or as a Audio/ Video system, if you connect the systems with a Master Link cable. If you connect your music system and your video system, you must make sure that they are set up to function together. -
Page 25: Maintenance
Normal maintenance, such as cleaning the music system, is the responsibility of the user. To achieve the best result, please follow the instructions. Please make sure to treat the glass door with great care. If it cracks or chips, or if it is damaged in any other way, it should be replaced immediately as it could otherwise cause bodily harm. -
Page 26: Index
Index A.MEM Delete from memory card, 13 Insert a memory card, 6 Name folders and tracks, 10 Play from A.MEM, 7 Random playback, 18 Record onto memory card, 13 Repeated playback, 18 Audio/Video system Connect your music system to a video system, Option programming, 26 Beo4 remote control Use the Beo4 remote control, 21... - Page 27 Master Link Audio/Video setup, 26 Option programming, 26 Memory card Insert memory card, 6 Compatible memory cards, 13 Format memory card, 13 Record onto memory card, 13 Write-protect memory card, 27 Menus How to read menu symbols, 8 How to use the menus, 9 Naming Name a CD, 10 Name a folder, 10...
- Page 28 For your information … Your needs as a user are given careful consideration during the design and development process of a Bang & Olufsen product and we strive to make our products easy and comfortable to operate. Therefore, we hope that you will take the time to tell us about your experiences with your Bang &...
- Page 29 Waste Electrical and Electronic Equipment (WEEE) – Environmental protection The European Parliament and the Council of the European Union have issued the Waste Electrical and Electronic Equip ment Directive. The purpose of the Directive is the prevention of waste of electrical and electronic equipment, and to promote the reuse and recycling and other forms of recovery of such waste.
- Page 30 CLASS 1 LASER PRODUCT This product fulfils the conditions stated in the EEU directives 89/336 and 73/23. The black and yellow label on the compact disc player serves as a warning that the apparatus contains a laser system and is classifi ed as a class 1 laser product.
- Page 32 www.bang-olufsen.com...
Need help?
Do you have a question about the BeoSound 4 and is the answer not in the manual?
Questions and answers