Advertisement
Quick Links
Installation Guide
Tools & materials required for each application
All Applications
• Mitre saw with a non-ferrous
metal cutting blade
• Drill
• Phillips #2 bit
• Phillips #2 screwdriver
• Level
• Socket or wrench set
• Measuring tape
• Pencil
5/8 " Self-drilling screw
1/2" Self-drilling screw & washer
Concrete anchor
Concrete screw
Fasteners included by Fence Component
Rail & Picket Kit
Hard Surface Post
Soft Surfaces
• Post hole digger
• Shovel
• Concrete mixing
equipment
• Concrete trowel
• Dry premixed concrete (per post):
Climate with frost heave - 200 lb.*
Climate without frost heave - 100 lb.*
*Quantities are estimated. Always check your
local codes for post hole size and depth.
1 " Self-drilling screw
5/8 " Self-tapping screw
1 " Self-drilling screw
U.S. Version
U.S. Version
Hard Surfaces
• Hammer drill
• Masonry bits:
7/32", 5/16"
• Hammer
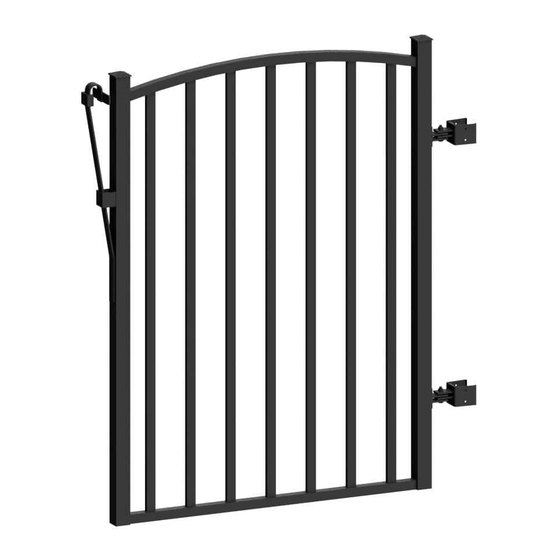
Pool Gate
Yard Gate
Hinge bolt
Advertisement

Subscribe to Our Youtube Channel
Related Manuals for Peak Aquatine

Summary of Contents for Peak Aquatine
- Page 1 Installation Guide U.S. Version U.S. Version Tools & materials required for each application Hard Surfaces Soft Surfaces All Applications • Mitre saw with a non-ferrous • Post hole digger • Hammer drill metal cutting blade • Shovel • Masonry bits: •...
- Page 2 In the unlikely event that any member of The Peak Group of Companies becomes liable for any loss or damage, the aggregate liability shall be limited to the retail purchase price of the product.
-
Page 3: Picket Fence
PICKET FENCE INSTALLATION (soft surface) 4' H fence 5' H fence A: Install all remaining pickets and fasten the This symbol indicates important information pickets to the rails using 1/2" self-drilling screws and washers (provided). First post Second post Measure and mark the position of all posts and B: Snap a cap over each ensure they are aligned. - Page 4 ra il le n g th PICKET FENCE INSTALLATION (hard surface) If required, cut the rails to This symbol indicates important information rail length fit between the brackets. If you plan to cut the rails before Measure and mark the position of all posts and ensure assembling the fence panel, they are aligned.
-
Page 5: Installation
POOL GATE INSTALLATION A: Position the latch at the required height on the fence IMPORTANT: Always understand and comply with your local building codes for post and then mark the location access gate requirements: of both latch brackets (maximize • Height, clearances, and openings •... - Page 6 4 2 " The opening between the fence posts must be 42". For Aquatine™ fence posts: Use 1" self-drilling screws (provided) for these steps: A: Align the bottom of the gate with the bottom of the fence, then fasten each U-bracket to the fence post.
Need help?
Do you have a question about the Aquatine and is the answer not in the manual?
Questions and answers